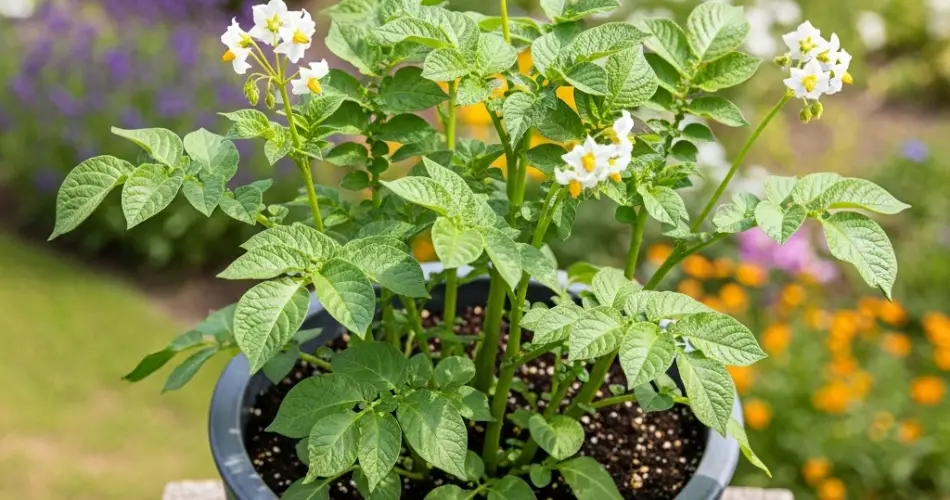
Potatoes are a staple in kitchens worldwide—and the good news is, you don’t need a garden bed to grow them. With the right method, potatoes can thrive in containers, making them an excellent crop for patios, balconies, rooftops, or any sunny corner. Growing potatoes in pots is simple, space-efficient, and yields delicious results. Here’s a complete guide to help you grow your own potatoes from pot to plate.
Why Grow Potatoes in Pots?
Growing potatoes in pots offers multiple benefits. It allows for greater control over soil conditions, reduces exposure to pests like wireworms and potato beetles, and makes harvesting easier. Container-grown potatoes are less likely to suffer from soil-borne diseases and can be placed in ideal sunlit areas even in small spaces.
Choosing the Right Potato Variety
While most potatoes will grow well in containers, some are particularly suited for confined spaces. Here are a few popular types for pot cultivation:
-
First Early Varieties (e.g., ‘Red Duke of York’, ‘Swift’, ‘Rocket’): Mature quickly—ready in 10–12 weeks.
-
Second Early Varieties (e.g., ‘Charlotte’, ‘Kestrel’): Harvested slightly later, typically within 13–15 weeks.
-
Maincrop Varieties (e.g., ‘Maris Piper’, ‘King Edward’): Need more time and space but produce a larger harvest.
For container growing, first and second earlies are the best choices. They produce tender new potatoes and require less soil depth.
Selecting the Ideal Container
Potatoes need deep containers to allow room for tuber formation. Choose a pot that is:
-
At least 40–50 cm (16–20 inches) deep
-
30–40 cm (12–16 inches) wide
-
Equipped with good drainage holes
You can use plastic pots, grow bags, buckets, old bins, or even woven fabric containers. Just ensure the pot has space for multiple layers of soil and hilling as the plant grows.
Preparing the Soil Mix
Potatoes thrive in fertile, loose, well-draining soil. A compacted mix can hinder tuber development, so use:
-
50% high-quality potting mix
-
30% compost or aged manure
-
20% perlite or coarse sand for improved drainage and aeration
Add a handful of balanced organic fertilizer or bone meal to enrich the mix before planting. Potatoes prefer a slightly acidic pH of 5.0 to 6.5.
Chitting and Planting Seed Potatoes
Before planting, allow your seed potatoes to sprout (a process known as chitting). Place them in a cool, bright area for 2–3 weeks until short, sturdy sprouts appear.
To plant:
-
Fill the container with about 10–15 cm (4–6 inches) of your prepared soil mix.
-
Place the seed potatoes on top, with the sprouts facing upward. Space them 20–25 cm (8–10 inches) apart.
-
Cover with another 10 cm (4 inches) of soil.
Depending on the size of the container, you can plant 2–4 seed potatoes per pot.
Watering and Sunlight Requirements
Potatoes need 6–8 hours of full sun daily. Place the pots in the sunniest spot available. During hot periods, you may need to move containers to afternoon shade to prevent overheating.
Keep the soil consistently moist but not soggy. Water when the top inch of soil feels dry. Containers dry out faster than ground soil, so monitor regularly—especially during dry spells.
Hilling: The Key to Higher Yields
As the potato plants grow, hill up soil around the base to encourage more tuber development. This involves adding soil or compost around the plant stems to cover new growth and keep tubers from being exposed to sunlight (which turns them green and toxic).
-
Begin hilling when plants reach 15–20 cm (6–8 inches) tall.
-
Add soil until only the top few leaves are visible.
-
Repeat every couple of weeks until the pot is nearly full.
Feeding Your Plants
Once the plants are established, feed them every 2–3 weeks with a potassium-rich organic fertilizer, like comfrey tea or seaweed extract. Avoid high-nitrogen fertilizers, which encourage excessive leafy growth at the expense of tubers.
Pest and Disease Management
Potatoes are vulnerable to:
-
Aphids – Can be managed with insecticidal soap or neem oil.
-
Blight – A fungal disease; ensure good air circulation and remove any infected leaves promptly.
-
Slugs – Use crushed eggshells or copper tape around containers to deter them.
Container growing naturally reduces many soil-borne risks, making management easier.
Harvesting Your Potatoes
For first early varieties, harvest once the plants flower and the foliage begins to yellow—usually around 10–12 weeks after planting.
To harvest:
-
Tip the container onto a tarp or large tray.
-
Gently sift through the soil to collect the tubers.
-
Let them air-dry for a few hours before storing.
Maincrop potatoes can be left in the container longer—until the plants fully die back—usually 16–20 weeks after planting. These will be better suited for long-term storage.
Final Tips for Success
-
Rotate your container crop locations each season to reduce disease risk.
-
Reuse the soil only after enriching it with compost and resting it with another crop (like beans or leafy greens).
-
If space allows, stagger your planting every 2–3 weeks for a steady supply of new potatoes throughout the season.
With a little planning and care, growing potatoes in pots is a practical and satisfying way to enjoy one of nature’s most versatile crops. From small patios to sunny windows, anyone can grow and harvest their own fresh, flavorful potatoes—no backyard required.


