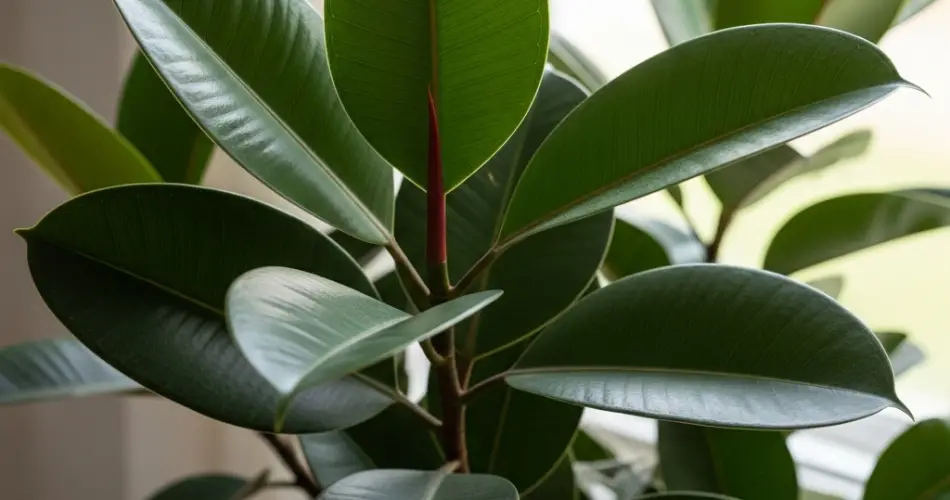
The rubber plant (Ficus elastica) is a popular houseplant known for its thick, glossy leaves and easy-going nature. While many people enjoy its decorative appeal, fewer realize how simple it is to propagate rubber plants at home. With the right method, you can create new plants from a single cutting—perfect for sharing with friends, expanding your indoor jungle, or replacing an older, leggy plant. This guide walks you through the most reliable propagation technique that delivers consistent results every time.
Why Propagate a Rubber Plant?
There are several reasons to propagate a rubber plant. Over time, older plants may grow tall and sparse, especially if they haven’t been pruned. Propagation allows you to start fresh with a more compact, bushy plant. It’s also an excellent way to make use of healthy trimmings during pruning. And of course, propagating your own plant is far more affordable than buying new ones.
The Best Time to Propagate
The ideal time to propagate a rubber plant is during the warmer months—spring and early summer—when the plant is in its active growth phase. Propagation during these periods results in faster root development and a higher success rate. While it’s possible to propagate at other times of the year, root growth tends to be slower when temperatures are cooler.
The Most Reliable Propagation Method: Stem Cuttings in Soil
Rubber plants can be propagated through air layering, water rooting, or soil rooting. Of these, rooting stem cuttings directly in soil is the most consistent and foolproof method, especially for beginners.
Materials You’ll Need:
-
A healthy rubber plant
-
Clean, sharp pruning shears or a knife
-
A small pot with drainage holes
-
Fresh, well-draining potting mix (ideally peat-based with added perlite)
-
Rooting hormone (optional, but recommended)
-
Clear plastic bag or humidity dome
-
Spray bottle or watering can
Step-by-Step Guide to Propagating in Soil
1. Select a Healthy Stem
Choose a healthy, mature stem that’s at least 6 inches long with a few leaves. Avoid stems that are too woody or too young. The best cuttings are semi-mature, with a firm stem and vibrant leaves.
2. Make a Clean Cut
Using sterilized pruning shears, cut the stem just below a node (the point where a leaf emerges). Remove the bottom one or two leaves to expose the node, which is where the roots will develop.
3. Apply Rooting Hormone (Optional)
Dip the cut end into rooting hormone powder or gel to encourage faster root development. While not essential, it does improve the chances of success.
4. Prepare the Pot and Soil
Fill a small pot with a well-draining soil mix. A combination of regular potting soil with added perlite or sand works well. Moisten the soil slightly—just enough so it’s damp but not soggy.
5. Plant the Cutting
Insert the cutting into the soil so the node is buried. Gently firm the soil around the stem to keep it upright.
6. Create a Humid Environment
Cover the cutting with a clear plastic bag or place it under a humidity dome to maintain high humidity. This reduces moisture loss through the leaves and helps the plant focus on root growth.
7. Provide Indirect Light and Warmth
Place the pot in a warm, bright location with indirect light. Avoid direct sun, which can scorch the cutting. A temperature between 21°C and 27°C (70–80°F) is ideal.
8. Mist and Monitor
Open the bag every few days to allow fresh air in and check for mold or rot. Mist the cutting lightly to keep humidity levels high. Water only when the top inch of soil feels dry.
9. Be Patient
Roots typically begin to form in 3 to 4 weeks. You can test for root growth by giving the cutting a gentle tug—if there’s resistance, roots are developing.
10. Transplant When Ready
Once the cutting has established roots and begins to show new leaf growth, you can transplant it to a larger pot and care for it as you would a mature rubber plant.
Extra Tips for Success
-
Sterilize tools before cutting to prevent introducing bacteria or fungi.
-
Use clean pots and fresh soil to minimize the risk of disease.
-
Don’t overwater—rubber plant cuttings are prone to rot if the soil stays soggy.
-
If leaves droop, it’s usually a sign of low humidity or overwatering. Adjust conditions accordingly.
Final Thoughts
Propagating a rubber plant doesn’t have to be complicated. With a clean cut, good soil, and the right humidity, you can successfully grow a brand-new plant that will thrive for years. This method is consistent, beginner-friendly, and an excellent way to enjoy more greenery indoors. Whether you’re propagating to save space, multiply plants, or simply try something new, this technique is guaranteed to deliver results with a little patience and care.


