Spider plants (Chlorophytum comosum) are beloved for their lush green leaves, natural air-purifying abilities, and effortless charm. They adapt well to a variety of environments, from homes and offices to classrooms and shaded balconies. But one essential aspect often overlooked is choosing the right pot. The container you select plays a crucial role in the plant’s growth, water retention, root development, and overall health.
Whether you’re nurturing a baby spider plant or repotting a mature one with arching foliage and baby offshoots, using the right pot can make all the difference. Here’s a comprehensive guide to picking the best pot for your spider plant to help it flourish indoors.
Why the Right Pot Matters
The pot isn’t just a decorative base—it directly influences drainage, airflow to the roots, and moisture levels. Spider plants are resilient, but they are sensitive to overly wet conditions, which can lead to root rot and leaf browning. A well-chosen pot prevents waterlogged soil and gives the roots space to grow without becoming cramped or overly spread.
The right pot:
-
Encourages strong root development
-
Reduces the risk of fungal diseases
-
Enhances the plant’s appearance
-
Supports healthy shoot and offshoot growth
Ideal Pot Size for Spider Plants
Spider plants have moderately fast-growing roots that can quickly fill a container. When potting or repotting, aim for a pot that’s about 1–2 inches larger in diameter than the current root ball.
-
Too small: The plant becomes root-bound, limiting its growth and making it harder for the soil to hold moisture.
-
Too large: Excess soil retains more water than needed, which increases the risk of overwatering and root rot.
Generally, a pot with a diameter of 6 to 8 inches is ideal for a young or medium-sized spider plant. As the plant matures, or if you’re housing a large plantlet cluster, go up to a 10- or 12-inch pot.
Drainage: A Non-Negotiable Feature
Drainage holes are essential for spider plants. These plants like consistently moist—but not soggy—soil. Without adequate drainage, water can pool at the bottom, leading to rotting roots and yellowing leaves.
Always choose a pot with at least one drainage hole. If you love a decorative pot that doesn’t have drainage, use it as a cover pot: plant the spider in a plastic grow pot with drainage, then place it inside your decorative container. Be sure to empty excess water from the bottom after watering.
Best Pot Materials for Spider Plants
The material of the pot affects how much water is retained or wicked away. Here are the most common options and how they interact with spider plants:
-
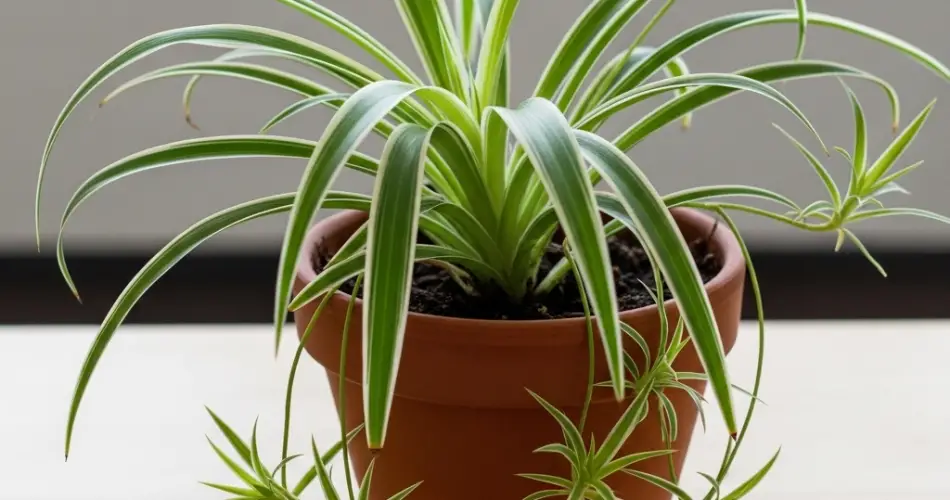
Terracotta (clay): Breathable and porous, terracotta helps wick away excess moisture, making it ideal for those who tend to overwater. However, it dries out faster, so more frequent watering may be needed.
-
Ceramic: Glazed ceramic pots hold moisture better than terracotta. They’re stylish and come in many designs, but be cautious not to overwater.
-
Plastic: Lightweight and inexpensive, plastic pots retain moisture well and are great for warm, dry indoor climates. However, they offer less breathability than terracotta.
-
Metal or concrete: While durable, these pots may heat up or cool down quickly depending on the environment, which can affect root temperature. Ensure they have drainage holes if used.
Pot Shape and Stability
Spider plants develop long, arching leaves and offshoots (or “spiderettes”) that may hang over the pot’s edge. This means the pot should be sturdy enough to support the plant’s weight and avoid tipping.
-
Wide, low pots offer better stability, especially for larger plants with long runners.
-
Hanging pots are perfect for showcasing cascading spiderettes and maximizing vertical space. Just ensure they have excellent drainage and aren’t overly deep.
If using a hanging basket, go with coconut fiber liners or breathable materials to avoid stagnant water accumulation.
Repotting Tips for Spider Plants
Spider plants typically need repotting every 1–2 years as they become root-bound. Signs it’s time to repot include roots circling the surface, water draining too quickly, or stunted growth.
When repotting:
-
Gently remove the plant from its current pot.
-
Trim any mushy or blackened roots.
-
Choose a pot 1–2 inches larger with good drainage.
-
Refill with fresh, well-draining potting mix.
Use a light potting soil mixed with perlite or sand to encourage aeration and avoid soggy conditions.
Boosting Plant Health with the Right Pot
Spider plants are natural air purifiers, removing common toxins like formaldehyde and carbon monoxide from the air. A thriving plant in a well-chosen pot will actively support this function. Ensuring good drainage, breathable material, and correct size means fewer watering issues, healthier leaves, and more offshoots.
After repotting or moving into a new pot, allow the plant to adjust in indirect sunlight and resume regular watering only after the top inch of soil dries out.
Final Thoughts
The right pot is more than just a vessel—it’s a foundation for your spider plant’s health and vitality. Prioritize drainage, select the correct size, and match the pot material to your watering habits. Whether displayed on a shelf or hung in a window, a spider plant in the right container will reward you with lush green foliage and easy-going beauty for years to come.


