Swiss chard is a colorful and nutrient-rich leafy green that’s easy to grow and surprisingly versatile in both gardens and kitchens. If you’re working with limited space, like a small balcony or window ledge, bottle gardening is a clever way to propagate your own Swiss chard seedlings. This method reuses plastic bottles and provides a compact environment for starting plants before transplanting them into larger containers or beds.
Whether you’re new to gardening or a seasoned green thumb looking to save space, this guide will walk you through the steps of propagating Swiss chard using repurposed bottles.
Why Use Bottles for Propagation?
Plastic bottles offer several benefits when it comes to seed starting:
-
Compact and portable: Ideal for windowsills, ledges, or small balconies.
-
Recyclable: Great way to reuse plastic bottles that would otherwise become waste.
-
Greenhouse effect: Clear bottles trap humidity and warmth, helping seeds germinate faster.
-
Root visibility: You can observe root development through the transparent sides.
Bottle propagation is perfect for city gardeners or anyone looking for a sustainable, low-cost propagation method.
Materials You’ll Need
To start propagating Swiss chard in bottles, gather the following items:
-
Clear plastic bottles (1.5–2-liter soda or water bottles)
-
Scissors or a utility knife
-
Heated nail or skewer (for drainage holes)
-
Seed-starting mix or light potting soil
-
Swiss chard seeds
-
Spray bottle with water
-
Labels or markers (optional)
Step 1: Prepare the Bottles
Clean the plastic bottles thoroughly and remove any labels. Cut each bottle horizontally about two-thirds of the way up, creating a top and bottom section. Poke several drainage holes into the base of the bottom part using a heated nail or knife tip.
If you’d like to make a self-watering version, punch a hole through the cap and insert a cotton wick that hangs down into the lower part (filled with water). This wick will draw moisture up into the soil.
Step 2: Add Soil
Fill the bottom section of each bottle with a well-draining seed-starting mix. Avoid heavy garden soil, which can compact and limit root growth. Pre-moisten the soil with a spray bottle so that it is damp but not soggy.
Swiss chard prefers fertile, loamy soil. If mixing your own, combine equal parts compost, coco coir or peat moss, and sand or perlite for drainage.
Step 3: Sow the Seeds
Make shallow indentations about ½ inch (1.2 cm) deep in the soil. Drop 2–3 Swiss chard seeds into each bottle section, spacing them slightly apart. Cover them lightly with soil and mist again with water.
Swiss chard seeds are actually seed clusters, so thinning will be necessary once they sprout. Don’t worry if more than one seedling comes up.
Step 4: Cover and Create Humidity
Place the top half of the bottle over the bottom like a dome. This creates a mini greenhouse that retains heat and moisture—ideal for seed germination. Leave the bottle cap off to allow some airflow.
Set your bottles in a bright spot that receives indirect sunlight. A windowsill, balcony shelf, or patio table works well. Avoid placing them in direct harsh sunlight, which could overheat the seedlings inside the plastic.
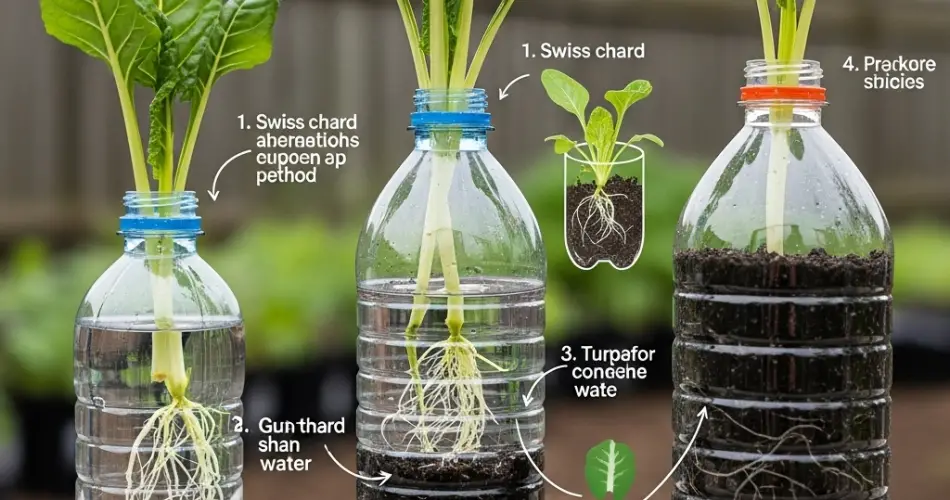
Step 5: Germination and Early Growth
Swiss chard seeds typically sprout within 7–14 days. Once seedlings appear, remove the plastic dome during the daytime to improve airflow and prevent fungal buildup. Keep the soil evenly moist by spraying it when the surface dries out.
If more than one seedling emerges in a bottle, allow them to grow until the true leaves appear (not just the first seed leaves). Then snip the weaker ones at the base, leaving the strongest to continue growing.
Step 6: Monitor and Strengthen Seedlings
As your seedlings grow taller and develop stronger leaves and roots, expose them to more light and airflow. Rotate the bottles occasionally to ensure even growth. You can start to feed them with a diluted organic liquid fertilizer once a week, if desired.
By this stage, you should notice a healthy root system forming along the inner bottle walls. This is a great sign they’re getting ready for transplanting.
Step 7: Transplanting to Bigger Containers or Beds
When the seedlings reach 4–6 inches tall and have 3–4 mature leaves, they are ready to be transplanted. Water them well before transplanting to reduce shock.
To transplant:
-
Gently squeeze the sides of the bottle to loosen the soil.
-
Use a spoon or small tool to lift the seedling, keeping as much of the root ball intact as possible.
-
Place it in a larger pot, raised bed, or crate filled with rich, well-draining soil.
-
Water thoroughly and keep the plants in partial shade for the first few days.
Swiss chard will thrive with 4–6 hours of sunlight a day and regular watering.
Tips for Success
-
Start a batch every couple of weeks for a continuous supply of seedlings.
-
If pests like aphids appear, rinse the leaves gently with soapy water.
-
You can regrow Swiss chard by cutting mature leaves from the outer edges while leaving the center intact.
Conclusion
Bottle propagation is an easy and eco-conscious way to grow Swiss chard from seed, especially if you have limited gardening space. By reusing common household items, you can enjoy the satisfaction of starting your own vibrant, healthy plants while keeping waste out of the landfill.
Whether you’re planting them in crates, containers, or garden beds, this method sets you up for a bountiful harvest of homegrown Swiss chard—right from your window or balcony.


