How to Revive a Nearly Dead Orchid: A Step-by-Step Guide
Orchids are known for their beauty, elegance, and resilience, making them a favorite among plant lovers. However, due to their specific care requirements, many people mistakenly believe that an orchid is dead when it begins to wilt or lose its leaves. If you have an orchid that looks lifeless, don’t be too quick to throw it away. With the right care and techniques, you can successfully revive your orchid and help it bloom again. In this guide, we will walk you through the step-by-step process of bringing an orchid back to life.
Step 1: Assess the Orchid and Remove Damaged Roots
The first step in reviving an orchid is to carefully examine it and identify any damaged or rotting roots. Dead roots are usually mushy, dark, or shriveled. To encourage new growth, use sterilized scissors or pruning shears to cut away all the unhealthy roots. Be sure to leave only the firm, green, or white roots, as these indicate that the plant is still alive and capable of absorbing nutrients.
Step 2: Rinse the Orchid and Seal the Cuts
After removing the damaged roots, gently rinse the remaining roots under lukewarm water to cleanse any bacteria, dirt, or leftover debris. It is important to seal the freshly cut wounds to prevent water loss and infection. A simple yet effective way to do this is by applying a molten candle solution to the cuts. Carefully drop a small amount of melted wax onto the cut ends of the roots. This will help retain moisture and protect against fungal diseases.
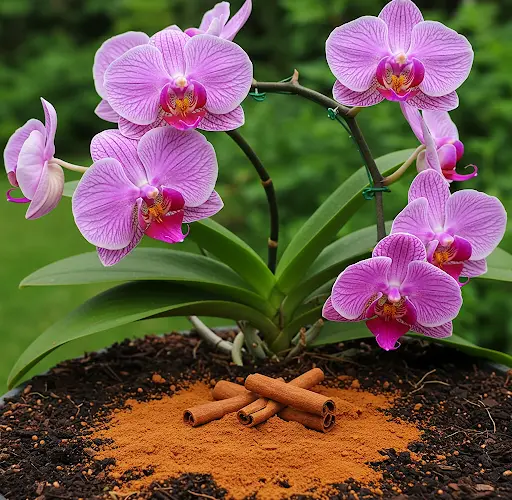
Step 3: Prepare a Cinnamon Solution for Disinfection
Cinnamon is a natural antiseptic and fungicide that can help prevent infections and encourage healing in orchids. To prepare a cinnamon solution:
- Boil 1 liter of water and let it cool slightly.
- Add one teaspoon of cinnamon powder to the water.
- Stir well and cover with a lid.
- Allow the solution to cool completely before using.
Once the solution has cooled, strain it to remove any solid residue. This ensures that the liquid is clear and easy to apply.
Step 4: Soak and Treat the Orchid with Cinnamon Water
Place the orchid in the prepared cinnamon water for about 30 minutes. This process helps eliminate any lingering bacteria, fungi, or pests that could harm the plant. After soaking, use a spray bottle to apply the cinnamon solution to both the top and bottom of the leaves. This extra step ensures that any hidden fungal spores or insects are eradicated. Additionally, cinnamon contains essential minerals, vitamins, and amino acids that promote orchid revival and overall health.
For optimal results, repeat this treatment once a month to maintain the orchid’s resistance against diseases and harmful insects.
Step 5: Prepare the Growing Medium
Orchids require a well-draining and breathable growing medium to thrive. Instead of soil, they prefer materials like pine bark and sphagnum moss. To prepare the growing environment:
- Use dry pine bark as the base material for the pot.
- Add a thin layer of dry moss on top of the pine bark to help retain moisture.
- Gently place the orchid in the pot, ensuring that the roots are evenly spread.
Once the orchid is placed in the pot, leave it in a cool area without watering for one week. This allows any remaining wounds on the roots to heal properly and prevents harmful fungal growth.
Step 6: Resume Watering After One Week
After a week has passed, begin watering the orchid lightly to maintain moisture levels. A useful technique is to pour water into a dish placed under the pot rather than watering from above. This method helps create a humid environment, which is essential for reviving the orchid’s roots.
Additionally, you can recycle plastic bottles to create a miniature greenhouse for your orchid. By cutting a plastic bottle in half and placing it over the plant, you can trap humidity and warmth, accelerating the revival process.
Step 7: Introduce Organic Fertilizer After One Month
After one month, the orchid should start showing signs of recovery, such as new root growth. At this stage, you can introduce an organic fertilizer made from fish waste. Since the plant is still delicate, apply the fertilizer around the outer edge of the pot rather than directly on the plant to prevent root shock.
For best results, continue watering and moisturizing the plant once a week. Over time, you will notice the orchid growing stronger and healthier.
Step 8: Care for the Orchid as a Mature Plant
After two months of consistent care, the orchid should be well on its way to recovery. At this point, you can treat it like any other mature orchid by maintaining regular watering, providing sufficient indirect sunlight, and using appropriate fertilizers to encourage flowering.
Final Thoughts
Reviving an orchid requires patience, but with the right approach, it is possible to bring even the weakest plant back to life. By following these steps, you can help your orchid recover, thrive, and eventually bloom again. Remember to be consistent with your care routine, provide adequate humidity, and protect your orchid from fungal infections using natural remedies like cinnamon.
By implementing these methods, not only will you save your orchid, but you will also gain valuable experience in plant care. So next time you come across a struggling orchid, don’t throw it away—give it a second chance to bloom beautifully once more!


