Garlic is one of those essential ingredients that no kitchen can do without. Whether you use it to flavor soups, sauces, or stir-fries, this small bulb adds an irresistible aroma and a wealth of health benefits. But did you know that you never need to buy garlic again? With the right technique, you can grow garlic in pots forever, ensuring a continuous and endless supply right on your balcony, patio, or windowsill.
Even if you don’t have a garden, garlic is perfectly suited for container growing. It requires little space, minimal care, and rewards you with flavorful bulbs and fresh green shoots all year round. Here’s how to do it step by step.
Why Grow Garlic in Pots?
Garlic (Allium sativum) is a hardy plant that doesn’t need much attention. Growing it in pots gives you total control over the soil quality, watering, and exposure to sunlight. It’s also a great way to keep pests and diseases under control, as the contained environment is easier to manage than open ground.
Another advantage? You can harvest both bulbs and greens. The garlic greens — those long, tender shoots that grow above the soil — can be used in salads, stir-fries, and sauces. They have a mild garlic flavor and can be harvested multiple times from the same plant.
By following a few simple tricks, you’ll have an endless supply of garlic — harvest, replant, repeat.
Step 1: Choosing the Right Garlic
Start by selecting healthy, firm garlic bulbs. Avoid soft or moldy cloves and those treated with growth inhibitors (often found in supermarket varieties). Whenever possible, choose organic garlic — it’s more likely to sprout successfully.
Separate the bulb into individual cloves, but keep the papery skin on each one. This thin layer protects the clove and helps it establish roots faster. Choose the largest cloves for planting, as they will produce the biggest bulbs.
Step 2: Selecting the Right Pot
Garlic needs space for its roots to develop properly. Choose a deep pot, at least 20–25 cm (8–10 inches) deep and wide enough to hold several cloves. A clay or terracotta pot is ideal because it allows better airflow and prevents excess moisture buildup.
Make sure the container has good drainage holes at the bottom. Garlic hates soggy soil — standing water can cause the cloves to rot before they ever sprout.
Step 3: Preparing the Soil
Garlic grows best in loose, well-draining, and nutrient-rich soil. Prepare a mix using equal parts of garden soil, compost, and sand or perlite. The compost will provide nutrients, while sand helps drainage.
Before planting, mix a little wood ash or crushed eggshells into the soil — both are excellent sources of minerals like potassium and calcium, which garlic loves.
Step 4: Planting the Cloves
Fill your pot with the prepared soil, leaving about 3 cm (1 inch) of space from the rim. Insert each clove pointed side up and flat side down, about 5 cm (2 inches) deep. Space them at least 8–10 cm (3–4 inches) apart so the bulbs have room to expand.
Cover lightly with soil and water gently until the surface is moist but not soaked.
If you live in a cold climate, plant your garlic in early fall (September to November). In warmer regions, you can plant it in late winter or early spring. Garlic prefers cool temperatures for root growth before it starts producing leaves.
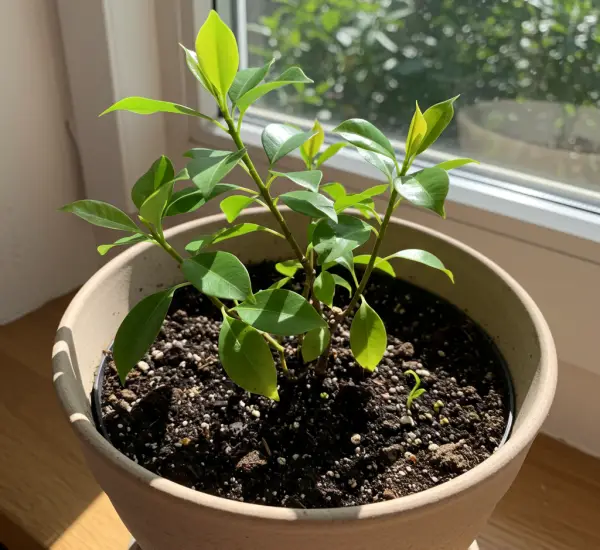
Step 5: Light, Water, and Care
Garlic thrives in full sun, so place your pot in a sunny location that receives at least 6 hours of direct sunlight daily.
Water your garlic once or twice a week, keeping the soil slightly moist but never waterlogged. During colder months, water less frequently.
Every few weeks, you can feed your plants with a mild organic fertilizer or compost tea to encourage healthy bulb development.
To keep the soil soft and prevent weeds, gently loosen the surface every few weeks with your fingers.
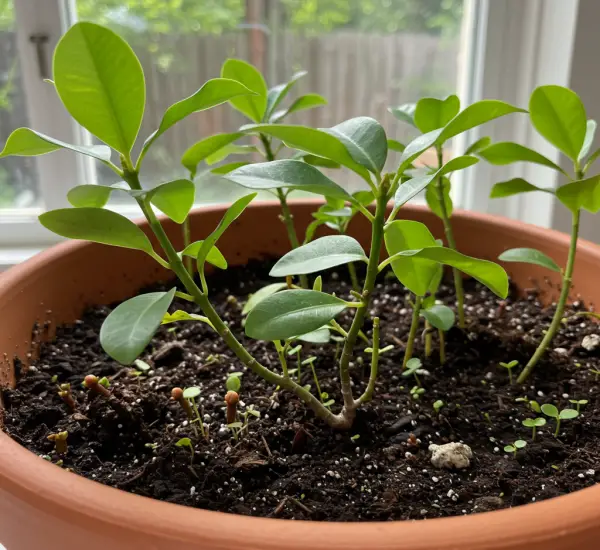
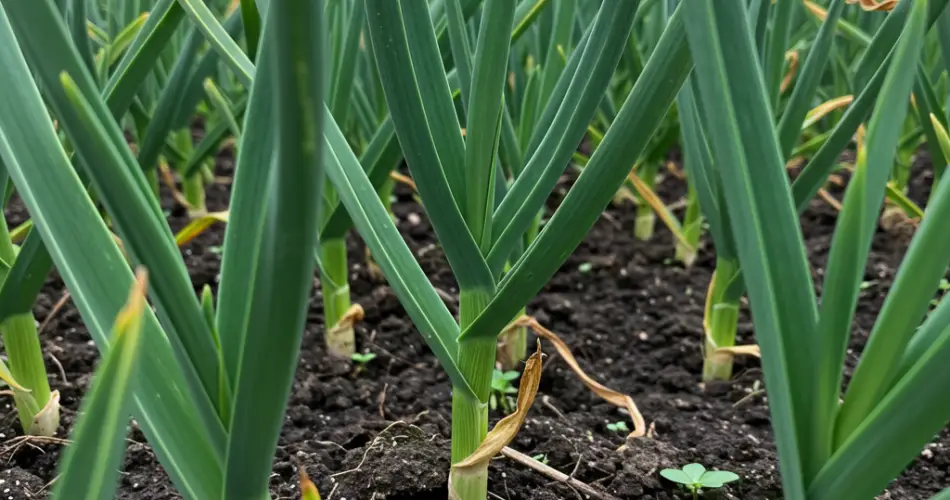
Step 6: Harvesting Garlic Greens and Bulbs
Within 2–3 weeks, you’ll see green shoots emerging from the soil. These are garlic greens — you can start trimming them once they reach about 20 cm (8 inches) tall. Always leave a few shoots to continue photosynthesis and nourish the bulb below.
The bulbs themselves take about 7–9 months to mature. You’ll know it’s time to harvest when the lower leaves begin to yellow and dry out. Gently pull up the bulbs, shake off the soil, and let them dry in a shaded area for several days.
Once they’ve cured, your garlic is ready to use — and to replant. Simply save the largest, healthiest cloves from your harvest for your next planting.
Step 7: Creating a Continuous Cycle
The secret to growing garlic forever is simple: replant from your harvest. Each harvested bulb gives you several cloves, and each clove can grow into a new bulb.
By staggering your plantings — for example, planting a few cloves every month — you can create a continuous supply of fresh garlic throughout the year. As you harvest one pot, another will be ready to sprout.
This self-sustaining cycle means you’ll never need to buy garlic again.
Final Tips for Success
-
Keep your pots clean and rotate your soil every few cycles to prevent disease buildup.
-
Avoid overwatering; garlic prefers slightly dry conditions.
-
During extreme heat or cold, move your pots indoors or to a shaded area.
With just a few cloves and a bit of patience, you can transform a small pot into a permanent garlic garden. Not only will you save money, but you’ll also enjoy fresher, healthier, and more flavorful garlic — grown by you, for you.
Once you start this cycle, you’ll wonder why you ever bought garlic from the store again.