Oregano is one of the most popular culinary herbs, valued for its bold, earthy flavor and versatility in the kitchen. Whether sprinkled on pizza, blended into sauces, or infused in oils, oregano brings a depth of taste that makes it a must-have in home gardens. While buying seeds or mature plants is common, propagating oregano from cuttings offers a faster and more sustainable option. Even better, you can do it with repurposed plastic containers, making the process budget-friendly and eco-conscious.
This method not only allows you to expand your herb collection quickly but also helps reduce waste by turning discarded plastic bottles or containers into useful gardening tools. With a little effort, you can grow new oregano plants in a simple, environmentally friendly way.
Why Propagate Oregano from Cuttings?
While starting oregano from seeds is possible, cuttings offer several advantages:
-
Faster growth: Cuttings develop roots in just a couple of weeks, while seeds take longer to germinate and mature.
-
Consistency: A cutting produces a plant identical to the parent, ensuring the same taste and growth traits.
-
Sustainability: By repurposing household plastics, you cut down on waste while creating new plants.
-
Cost-effective: One healthy oregano plant can yield dozens of new ones without buying seeds or starters.
What You’ll Need
To start propagating oregano with repurposed plastic, gather a few simple items:
-
A healthy oregano plant for cuttings
-
Scissors or a sharp knife
-
A plastic bottle, cup, or container (cleaned and repurposed)
-
Fresh water or lightweight potting mix
-
Optional: a rubber band or plastic wrap for creating a mini greenhouse effect
Step 1: Prepare Your Plastic Container
Select a used plastic bottle or container. Wash it thoroughly to remove any residue. If you’re using a bottle, cut it in half: the bottom half serves as your base container, and the top half can act as a humidity dome if you choose the soil method.
-
For water propagation: The container will simply hold water.
-
For soil propagation: Fill the container with a well-draining potting mix, preferably one mixed with sand or perlite to avoid soggy conditions.
Step 2: Take Healthy Oregano Cuttings
Choose vigorous stems from your existing oregano plant. Cut sections that are 4–6 inches long, making the cut just below a leaf node. Strip away the leaves on the bottom half of the cutting, leaving only a few at the top. The bare nodes will be where new roots emerge.
Step 3: Place Cuttings in the Container
Depending on your chosen method:
-
Water method: Fill the bottom of the container with water and place the stems inside. Ensure that the nodes are submerged but that no leaves touch the water, as they may rot.
-
Soil method: Insert the cuttings into the moist potting mix, gently pressing the soil around the stems for stability. Cover the container loosely with the top of the bottle or plastic wrap to help retain humidity.
Step 4: Find the Right Spot
Put the container in a bright location with plenty of indirect sunlight, such as a kitchen windowsill. Avoid placing it in harsh, direct midday sun, which can cause overheating, especially inside plastic.
-
Replace the water every few days if using the water method.
-
Mist the soil lightly whenever it begins to dry if using the soil method.
Step 5: Watch for Root Development
One of the advantages of using clear plastic containers is that you can easily see progress. In water, roots usually appear within 10–14 days. In soil, new leaf growth is a good sign that roots have taken hold.
When the roots are about 2 inches long or when the cutting looks firmly established, it’s ready for transplanting.
Step 6: Transplanting Your Oregano
Transfer the rooted cuttings into larger pots with drainage holes or into your outdoor garden if conditions are suitable. Use well-draining soil, water the plants thoroughly after transplanting, and place them in a spot that gets at least six hours of sun each day.
Step 7: Ongoing Care for Healthy Oregano
To ensure strong, flavorful plants:
-
Water wisely: Allow the soil to dry slightly between waterings. Oregano does not like overly wet roots.
-
Prune regularly: Pinch or trim stems above a node to encourage fuller growth and prevent legginess.
-
Harvest often: Frequent harvesting stimulates new leaf production, ensuring a steady supply for your kitchen.
-
Feed occasionally: Use a diluted organic fertilizer once a month to keep the plants vigorous.
Final Thoughts
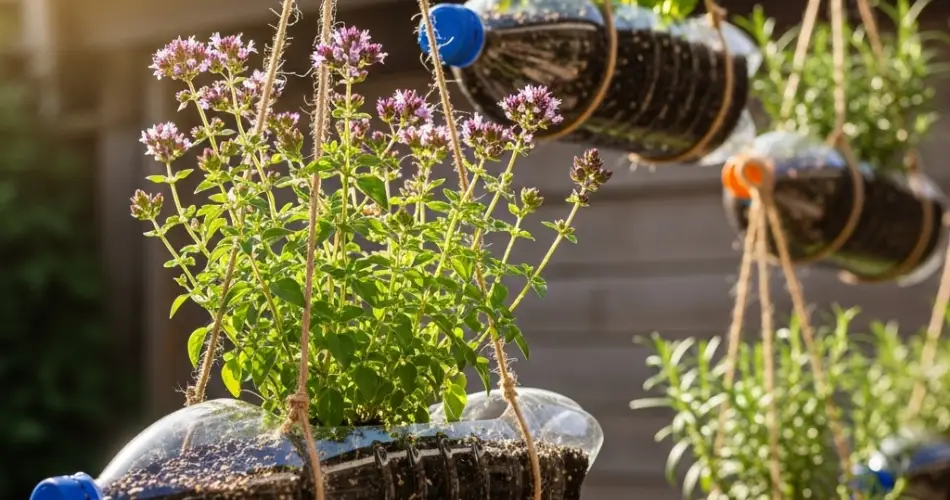
Repurposing plastic containers for oregano propagation is a simple and sustainable gardening practice. Instead of discarding bottles or cups, you can transform them into mini propagation stations that help you grow a constant supply of this flavorful herb.
By combining eco-friendly practices with practical herb gardening, you save money, reduce waste, and enjoy the satisfaction of cultivating oregano from a single parent plant. Whether you’re working with a sunny balcony, a kitchen windowsill, or a small garden corner, this method makes it easy to expand your herb collection while keeping things green in more ways than one.


