Dill (Anethum graveolens) is a fragrant and flavorful herb often used in pickling, cooking, and herbal remedies. While it’s commonly grown from seed, rooting dill from cuttings can be a fast and efficient method—especially if you want to multiply an existing healthy plant. One of the easiest and most accessible ways to propagate dill cuttings is by using plastic bottles. This simple DIY method helps you save space, reduce costs, and get quicker results compared to waiting for seeds to germinate.
Whether you’re gardening in a small apartment or just want to try a new propagation technique, rooting dill in plastic bottles is a great solution.
Why Use Cuttings Instead of Seeds?
Starting dill from seed is common, but it requires time, consistent moisture, and suitable soil conditions. Propagating from cuttings, on the other hand, can give you a head start—especially when working with an established dill plant that you want to multiply.
Using cuttings means you’ll get a clone of the parent plant, retaining its flavor, leaf structure, and growth habit. It’s a reliable method if you have a particularly productive or aromatic dill variety that you’d like to replicate.
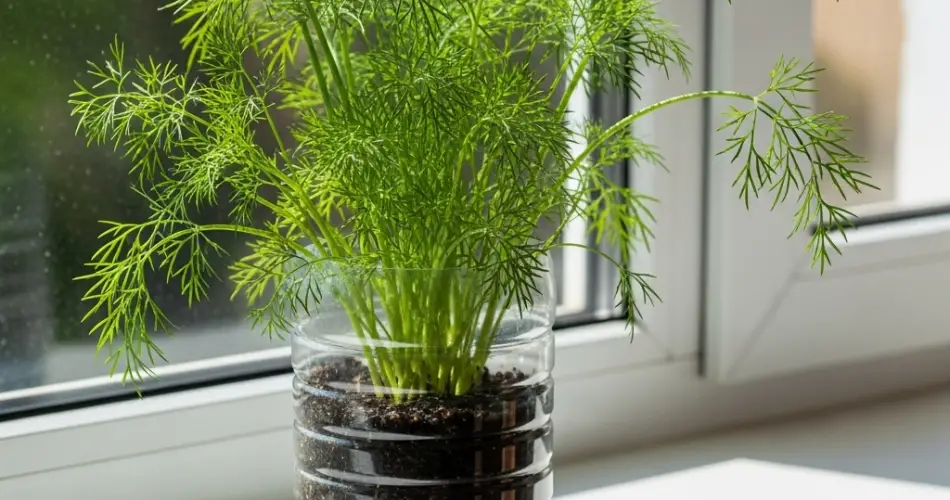
Why Plastic Bottles Work Well
Plastic bottles are widely available and versatile for plant propagation. They’re easy to cut and modify, retain moisture well, and allow you to monitor root development if the bottle is transparent. Plus, repurposing used bottles makes the process eco-friendly.
You can create a simple mini greenhouse using a clear bottle, which helps retain humidity and encourages faster rooting.
Materials You’ll Need
-
Fresh, healthy dill cuttings
-
A 1-liter or 1.5-liter clear plastic bottle
-
Clean scissors or pruning shears
-
Bottled or filtered water (avoid chlorinated tap water)
-
Optional: rooting hormone
-
Indirect light source
Step 1: Take the Right Cuttings
Select a mature, non-flowering dill stem that looks strong and vibrant. The ideal length for a cutting is about 4 to 6 inches (10 to 15 cm). Using clean, sharp scissors or pruning shears, cut the stem just below a leaf node.
Remove the lower leaves, leaving only a few at the top. This helps reduce water loss and focuses the plant’s energy on developing roots.
Step 2: Prepare the Plastic Bottle
Take your plastic bottle and cut it roughly one-third from the top. This will leave you with a lower container to hold water and an upper section you can invert to create a mini greenhouse effect, if desired.
Fill the bottom half with bottled or filtered water, about two-thirds full. If your tap water is safe and not heavily chlorinated, you can also let it sit out overnight before using it.
You can rest the cuttings directly in the water or insert them through small holes poked in the bottle cap to keep them upright. Ensure the cuttings sit deep enough for the nodes to be submerged, but no leaves should touch the water.
Step 3: Set Up for Rooting
Place the bottle in a warm spot with bright, indirect light. Avoid placing it in direct sunlight, which could heat the water too much and stress the cuttings.
If using the top of the bottle as a cover, leave it slightly open to allow air circulation. This creates a moist environment without trapping too much heat or encouraging mold.
Change the water every 2–3 days to keep it fresh and oxygenated, which is essential for healthy root development.
Step 4: Wait and Monitor
In about 7 to 14 days, you should begin to see fine, white roots developing from the submerged nodes. Keep the water clean and the environment consistent to encourage steady growth.
Once the roots are 1 to 2 inches (2.5 to 5 cm) long, the cutting is ready to be transferred to soil.
Step 5: Transplanting to Soil
Choose a small pot or garden bed with loose, well-draining soil. Dill prefers a mix of loam and sand and thrives in slightly acidic to neutral pH.
Make a hole in the soil and gently plant the rooted cutting. Press the soil around the base and water lightly to help it settle in. Keep the transplanted cutting in partial shade for a few days, gradually introducing it to full sun as it adapts.
Ongoing Care for Dill Plants
-
Sunlight: Dill loves full sun and needs at least 6 hours of direct sunlight daily.
-
Watering: Keep the soil moist but not soggy. Water when the top inch feels dry.
-
Feeding: Dill doesn’t require heavy feeding. An occasional dose of diluted liquid fertilizer can help boost growth if needed.
-
Harvesting: Once the plant is about 8 inches tall, you can begin harvesting leaves. Snip the outer stems first, allowing the center to continue growing.
Final Thoughts
Rooting dill cuttings in plastic bottles is a simple, space-saving way to multiply your herb garden. It’s fast, requires minimal materials, and is perfect for beginners or small-space gardeners. Whether you’re looking to boost your harvest, share plants with friends, or just experiment with propagation, this method delivers quick and satisfying results. With just a few steps and a recycled bottle, you can enjoy a continuous supply of fresh, aromatic dill right at home.


