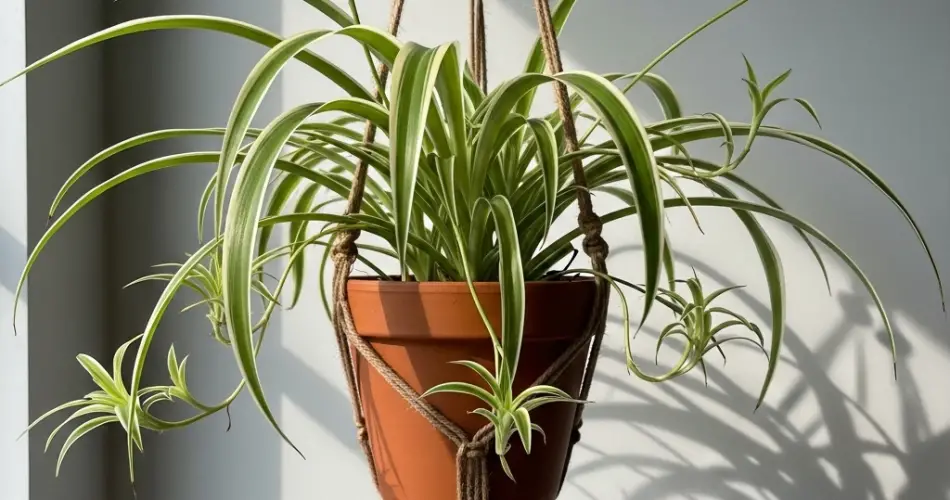
Spider plants (Chlorophytum comosum) are popular houseplants known for their lush green foliage, air-purifying qualities, and the adorable plantlets—or “spiderettes”—that hang from their long arching stems. Easy to grow and maintain, they thrive with a little care and occasional repotting. Knowing when and how to repot your spider plant is an essential skill that ensures its long-term health, vigor, and continued beauty in any indoor space.
If your spider plant has outgrown its container, looks tired, or the roots are circling the surface, it’s likely time to repot. Fortunately, repotting spider plants is a straightforward task—even for beginners—and can instantly refresh your plant’s appearance and well-being.
Why Repotting Matters
Repotting is more than just upgrading your plant to a larger pot. It’s a critical part of routine plant care that helps prevent root binding, restores soil nutrients, and gives your spider plant room to grow. Left too long in the same container, spider plants can become pot-bound. This means the roots run out of space and may start to circle the inside of the pot tightly, which leads to stunted growth, yellowing leaves, or poor water absorption.
Fresh soil and a bit more room give your plant a new lease on life and encourage vibrant foliage and baby plant production.
Signs Your Spider Plant Needs Repotting
Look for these common indicators:
-
Roots growing out of the drainage holes
-
Water draining too quickly through the pot
-
Soil that dries out very fast after watering
-
Slowed or stunted growth
-
Leaves wilting despite proper watering
-
The pot feeling unusually tight or bulging at the sides
If any of these signs appear, it’s time to give your plant some attention.
When to Repot Spider Plants
The best time to repot is in the spring or early summer. This allows the plant to recover quickly and take full advantage of the growing season. However, spider plants are tough and can handle repotting at other times of the year if needed—just avoid doing it in the middle of winter unless absolutely necessary.
Repotting every 1 to 2 years is typically enough, depending on how quickly your plant grows and the conditions in your home.
Step-by-Step Guide to Repotting
1. Choose the Right Pot
Pick a pot that’s 1–2 inches wider in diameter than the current one. Make sure it has proper drainage holes to prevent root rot. Terracotta, plastic, or ceramic are all suitable materials depending on your watering habits.
2. Prepare Fresh Potting Mix
Spider plants thrive in light, well-draining soil. A general-purpose potting mix with added perlite or coarse sand is ideal. Avoid heavy soils that retain too much moisture.
3. Gently Remove the Plant
Carefully take the spider plant out of its current pot. You may need to tap the sides or run a tool along the edge to loosen the root ball.
4. Trim the Roots if Needed
If the roots are tightly wound or circling the pot, gently loosen them. You can trim any overly long, rotting, or mushy roots using clean scissors. This helps the plant adapt to its new environment.
5. Add Soil to the New Pot
Place a layer of fresh soil at the bottom of the new pot. Set the plant in the center, ensuring the crown (where leaves emerge) is slightly above the soil line.
6. Fill Around the Roots
Backfill with soil around the root ball, pressing gently to eliminate air pockets. Don’t pack it too tightly—leave some breathing room for the roots.
7. Water Thoroughly
After repotting, water your spider plant well. Let the water drain completely. Avoid fertilizing immediately after repotting; wait a few weeks for the plant to adjust.
Post-Repotting Care Tips
-
Light: Keep the plant in bright, indirect light. Avoid direct sun for a few days after repotting.
-
Watering: Allow the top inch of soil to dry out before watering again. Overwatering is a common mistake after repotting.
-
Humidity: Spider plants enjoy moderate humidity. Mist occasionally or place a tray of water nearby if your home is very dry.
You may notice slight wilting or drooping right after repotting—this is normal. Within a few days to a week, your plant should perk up and begin thriving again.
Bonus: Divide While You Repot
If your spider plant is particularly large or has multiple crowns, this is the perfect time to divide it. Use clean, sharp tools to separate healthy sections with roots attached. Each new plant can be potted up individually, giving you more greenery to decorate your space or share with friends.
Final Thoughts
Repotting a spider plant isn’t just maintenance—it’s a rejuvenating process that supports continued growth and vitality. A fresh pot, quality soil, and a little root care go a long way in ensuring your plant continues to thrive indoors. Whether you’re a novice gardener or a houseplant enthusiast, this quick indoor garden fix will help keep your spider plant looking lush, healthy, and full of life all year round.


