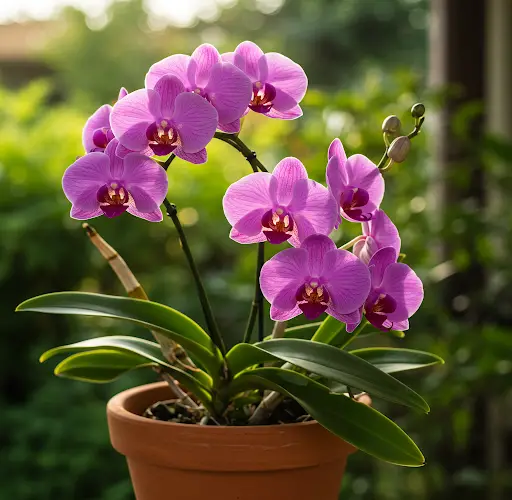
How to Propagate Orchids from Flower Stalks for Healthy Growth
Orchids are beautiful flowering plants that can be propagated using different methods, one of which involves using flower stalks. Instead of discarding flower stalks after the blooms have fallen, you can use them to grow new orchids. This method allows you to expand your orchid collection while ensuring strong and healthy new plants. In this guide, I will walk you through a detailed process of propagating orchids from flower stalks using natural stimulants and simple tools.
Step 1: Identifying the Right Time to Propagate
The best time to propagate orchids from flower stalks is when the last orchid blooms on the branch are about to fall. At this stage, the plant still retains energy in its stalks, making it easier to stimulate new growth.
How to Select the Right Flower Stalks for Propagation
- Identify healthy flower stalks that are still green and firm.
- Look for nodes (small bumps along the stalk) as they are the points where new orchids can sprout.
- Cut the flower stalk just above a node to increase the chances of successful propagation.
- Ensure the cut is clean and precise to prevent damage or infection.
Step 2: Treating the Cut for Faster Healing
To help the cut heal quickly and prevent infections, you can use Amoxicillin, an antibiotic that protects against bacteria and fungi.
How to Use Amoxicillin for Orchid Propagation
- Crush 1 Amoxicillin tablet into powder.
- Dab the powdered Amoxicillin directly on the fresh cut of the flower stalk to promote healing and prevent bacterial infections.
- Mix the remaining powder into 500ml of room-temperature water to create an antibacterial solution.
Step 3: Preparing the Propagation Medium
For propagation, it is essential to use a growing medium that retains moisture and provides nutrients to support new growth. One effective method is using plastic hydroponic seed pellets, which help orchids develop roots efficiently.
How to Prepare the Growing Medium
- Soak plastic seed pellets in the Amoxicillin solution for 30 minutes. This step helps eliminate fungi and bacteria that could harm new orchid sprouts.
- While waiting, prepare a recycled plastic container to serve as a propagation chamber.
- Remove any plastic film on the container to allow for better airflow and moisture retention.
Step 4: Using Ginger to Stimulate Growth
Ginger is a powerful natural stimulant that enhances root development and speeds up germination.
How to Use Ginger for Propagation
- Take a fresh ginger root and extract pure ginger juice by squeezing or blending.
- Soak a cotton ball in the ginger juice.
- Apply the soaked cotton ball to the node of the flower stalk for 5 minutes to stimulate germination and root growth.
Step 5: Placing the Orchid Stalk on the Growing Medium
Once the stalk has been treated with ginger juice, it is ready to be placed on the prepared plastic seed pellet.
Propagation Setup
- Position the flower stalk on the plastic pellet, ensuring the treated node is in direct contact with the medium.
- Use a fine mist spray to moisten the setup every two days.
- Keep the container in a cool, well-lit place, away from direct sunlight.
Step 6: Monitoring Growth Over Time
After 1 Month
- Small sprouts will appear, but roots will not have developed yet.
- Continue misting every two days to maintain moisture levels.
After 10 More Days
- The sprouts will begin to form roots, although they may still be weak.
- Keep misting and maintaining humidity to encourage further growth.
After 2 More Months
- The orchid sprouts will have strong roots and healthy leaves.
- Now, they are ready to be transferred into a proper growing environment.
Step 7: Transferring the Young Orchids to a Pot
Once the new orchid plants are strong enough, they can be moved into pots for further growth in a natural environment.
How to Transplant Orchids Successfully
- Choose a small pot with good drainage holes.
- Use a well-draining orchid mix such as bark, sphagnum moss, or coconut husk.
- Carefully place the young orchid in the pot, ensuring the roots are well-positioned.
- Water lightly and keep the pot in a shaded area with indirect sunlight.
Final Tips for Successful Orchid Propagation
- Avoid Overwatering – Young orchids require moderate moisture, so only mist every two days until they establish stronger roots.
- Provide Good Air Circulation – This prevents mold growth and keeps the plant healthy.
- Use Natural Growth Stimulants – Ginger, cinnamon, and amoxicillin help protect and strengthen orchids during propagation.
- Be Patient – Orchids take time to develop. By following this method, you will achieve strong and healthy orchids ready for full growth in just a few months.
Conclusion
Propagating orchids from flower stalks is a rewarding process that allows you to grow new orchids using natural techniques. By following these detailed steps—cutting the right flower stalks, treating them with amoxicillin and ginger, using plastic seed pellets for growth, and misting regularly—you can successfully grow new orchids with strong roots and vibrant leaves.
With patience and proper care, you will soon have healthy new orchid plants blooming beautifully in your garden. Happy orchid growing!


