ZZ plants (Zamioculcas zamiifolia) are a favorite among both beginner and experienced indoor gardeners. Known for their glossy, deep green leaves and tolerance of neglect, they bring life to any space with minimal fuss. Whether you’re starting from cuttings or transplanting a mature clump, potting ZZ plants correctly ensures healthy growth and long-lasting beauty.
This guide will walk you through everything from choosing containers to planting methods and long-term care, so your ZZ plant can thrive for years.
Why ZZ Plants Are Ideal for Indoor Potting
ZZ plants are low-maintenance, drought-tolerant, and able to adapt to a variety of light conditions. They store water in thick rhizomes beneath the soil, which means they can survive weeks without watering. Their upright stems and shiny foliage also make them an attractive, sculptural addition to living rooms, offices, and even low-light hallways.
Because they grow slowly, potting them properly from the start will save you time and reduce the need for frequent repotting.
Choosing the Right Container
When potting ZZ plants, the container plays a big role in preventing root issues.
Drainage
The most important feature is drainage holes. ZZ plants hate sitting in water, and poor drainage can lead to root rot. If you want to use a decorative pot without drainage, keep the plant in a nursery pot inside the decorative one, removing it for watering.
Size
Pick a pot that’s only slightly larger than the plant’s current root system—about 2 inches wider in diameter. This prevents excess soil from holding too much water and creating soggy conditions.
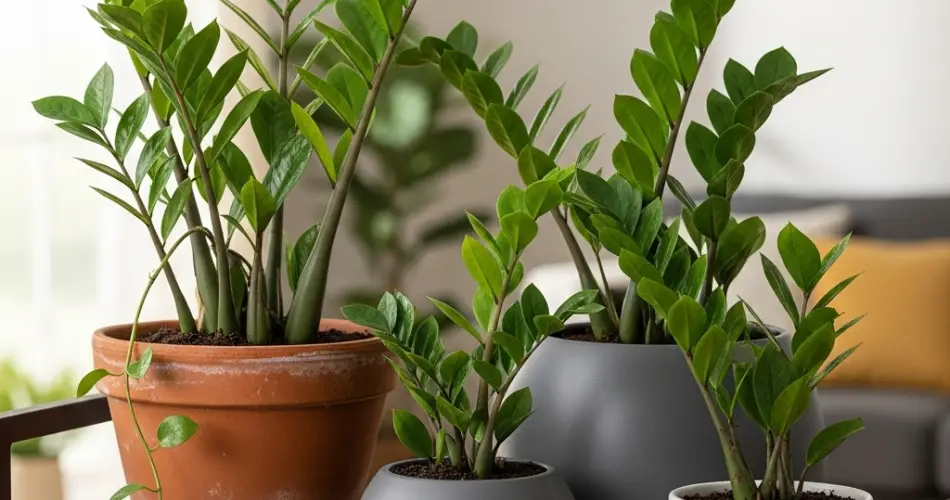
Material
Terracotta pots are a great option because they allow soil to dry faster, which ZZ plants prefer. However, glazed ceramic or plastic pots also work well if you’re careful with watering.
The Best Soil Mix for ZZ Plants
A well-draining soil mix is key to success. You can use a quality indoor plant potting mix and improve drainage by adding perlite, coarse sand, or orchid bark. A good ratio is:
-
2 parts indoor potting mix
-
1 part perlite or coarse sand
This ensures the soil retains some moisture without becoming compacted, letting oxygen reach the rhizomes.
Avoid heavy garden soil or mixes high in peat moss alone, as these can hold too much water and cause rot.
Potting from Cuttings
If you’re starting from leaf or stem cuttings, patience is essential—ZZ plants grow slowly, and it may take months for roots and rhizomes to form.
-
Choose Healthy Cuttings – Select mature leaves or stems with at least a few leaflets.
-
Dry Before Planting – Allow cut ends to dry for a day or two to reduce the risk of rot.
-
Plant in Soil – Insert the cuttings into your prepared soil mix, burying the stem base just enough to hold it upright.
-
Water Lightly – Keep the soil barely moist. Overwatering at this stage can cause the cutting to decay.
-
Provide Indirect Light – Place in bright, indirect light and wait patiently for roots to form.
Potting from a Clump Division
If you have an established ZZ plant, you can divide it into smaller clumps during repotting. This method is faster than growing from cuttings.
-
Remove the Plant from Its Pot – Gently slide it out, supporting the stems to avoid damage.
-
Separate Rhizomes – Look for natural divisions in the root system. Use your hands or a clean, sharp knife to split them.
-
Pot Each Division – Place each clump in its own pot with fresh soil mix.
-
Water Sparingly – Allow a short adjustment period before resuming regular watering.
Watering Tips
ZZ plants prefer to dry out between waterings. Wait until the top 2–3 inches of soil are dry before watering again. When you do water, give it a thorough soak until water runs from the drainage holes, then empty the saucer.
Overwatering is the most common mistake with ZZ plants. If in doubt, it’s safer to water less frequently.
Light and Placement
ZZ plants adapt to various lighting conditions, from low light to bright, indirect sun. However, they grow best in medium to bright, indirect light. Avoid harsh, direct sunlight for extended periods, as it can scorch the leaves.
If placed in very low light, expect slower growth. You can rotate the pot every month to ensure even light exposure and balanced growth.
Fertilizing for Healthy Growth
Feed ZZ plants during the growing season (spring and summer) every 6–8 weeks with a diluted, balanced liquid fertilizer. Skip fertilizing in fall and winter when growth naturally slows.
Common Problems and Solutions
-
Yellowing leaves – Usually caused by overwatering. Check soil moisture and adjust your schedule.
-
Wrinkled stems – May indicate underwatering. Give the plant a deep drink.
-
Dusty leaves – Wipe gently with a damp cloth to restore their shine and help the plant breathe better.
Final Thoughts
Potting ZZ plants—whether from fresh cuttings or mature clumps—is a straightforward process when you focus on proper soil, drainage, and watering habits. These resilient, attractive plants can thrive with minimal attention, making them perfect for busy plant owners or those new to indoor gardening. With the right start, your ZZ plant will reward you with years of glossy, vibrant foliage and low-maintenance charm.


