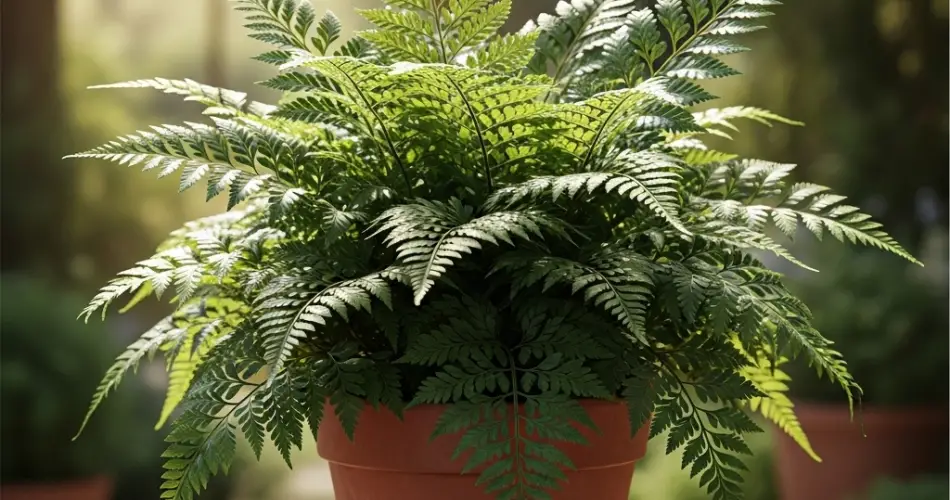
Indoor ferns bring a lush, green elegance to any space. Their delicate fronds and graceful appearance make them a favorite choice for bathrooms, living rooms, and shaded corners. While many houseplants thrive on neglect, ferns are a bit different—they crave consistent moisture and high humidity. Potting them correctly is key to supporting their moisture needs while preventing issues like root rot or fungal infections.
This guide offers essential potting techniques tailored to moisture-loving indoor ferns, helping you keep them healthy and thriving.
Understanding Ferns’ Moisture Needs
Ferns naturally grow on forest floors, where they enjoy indirect light, high humidity, and moist, well-draining soil. Their roots don’t like to dry out, but neither do they tolerate being waterlogged. The challenge is to provide a balance—consistently moist but not soggy soil.
To achieve this, selecting the right container and potting mix is just as important as your watering routine.
Choosing the Right Pot
A well-chosen pot can make all the difference in a fern’s health. It should encourage moisture retention without becoming waterlogged.
Key features to look for in a pot for ferns:
-
Drainage holes: Even though ferns like moist soil, excess water must drain out to avoid root rot. Always choose a pot with one or more drainage holes at the bottom.
-
Material:
-
Plastic pots retain moisture longer, making them ideal for ferns in dry indoor environments.
-
Ceramic or glazed pots also help keep soil moist but should still have a drainage hole.
-
Terracotta pots are porous and allow moisture to evaporate quickly; they’re best for overwaterers or highly humid spaces.
-
Tip: If you have a beautiful pot without drainage holes, use it as a cachepot. Place your fern in a plastic nursery pot inside it, and remove the inner pot when watering.
Best Potting Mix for Ferns
Ferns need a soil mix that retains moisture while allowing air to circulate around the roots. Regular potting soil alone is too dense and can lead to compacted roots and poor drainage.
Ideal fern soil mix:
-
2 parts peat moss or coconut coir (to hold moisture)
-
1 part perlite or pumice (for drainage and aeration)
-
1 part organic compost or leaf mold (for nutrients and structure)
This mix mimics the rich, loamy soil of a forest floor—moist yet breathable. If you prefer pre-mixed soil, choose one labeled for African violets or houseplants and amend it with additional peat or perlite to achieve the right balance.
Proper Potting Technique
When potting or repotting a fern, follow these steps for best results:
-
Choose the right size pot: Slightly larger than the root ball—no more than 2 inches wider. A pot that’s too large retains excess moisture.
-
Layer the bottom: Place a small amount of your soil mix at the base of the pot.
-
Remove the fern from its old pot: Gently loosen the roots and trim away any that are dead or rotting.
-
Center the plant: Position it in the new pot and fill in the sides with fresh soil, gently pressing to eliminate air pockets.
-
Water thoroughly: After potting, give the plant a deep watering to help it settle and hydrate the roots.
-
Top with moss or bark (optional): Adding a layer of sphagnum moss or bark mulch helps retain surface moisture and gives a tidy appearance.
Ongoing Care Tips
After potting, keeping your fern happy is all about consistency. Here’s how to support their moisture-loving nature:
-
Humidity is key: Place a humidifier nearby, group plants together, or set the pot on a pebble tray with water (without the pot sitting directly in water).
-
Water regularly: Keep the soil consistently moist but never soggy. Check the top inch of soil every few days, and water when it begins to feel dry.
-
Avoid direct sunlight: Ferns prefer bright, indirect light or filtered shade. Too much direct sun can dry out soil and scorch the fronds.
-
Mist the leaves: Light misting can help increase humidity, especially during dry seasons. Do this in the morning to allow leaves to dry before nightfall.
-
Monitor for pests and fungus: High humidity can attract pests like fungus gnats. Ensure proper airflow around the plant, and avoid overwatering.
When to Repot
Ferns should be repotted every 1–2 years or when they outgrow their container. If roots begin circling the pot or poke out of drainage holes, it’s time to size up. Repotting also refreshes the soil, preventing compaction and salt buildup from tap water and fertilizer.
Conclusion
Potting moisture-loving indoor ferns is all about creating the right environment—plenty of humidity, consistently moist soil, and good airflow. With the proper pot, a breathable yet water-retentive soil mix, and thoughtful placement, your fern will reward you with vibrant green fronds and healthy growth. By mastering these techniques, even beginner gardeners can enjoy the lush, calming presence of ferns indoors all year round.


