Growing your own potatoes may sound like a task that requires a full backyard, but it’s entirely possible to cultivate a generous harvest right on your patio using pots. This method is perfect for those with limited space, poor soil, or simply looking for a more convenient and cleaner way to garden. With just a few containers and some basic supplies, you can enjoy fresh, flavorful potatoes straight from your own outdoor space.
Here’s a complete guide to growing potatoes in pots—from selecting the right type to harvesting your own crop.
Why Grow Potatoes in Pots?
Potatoes thrive in containers when given the right conditions. Growing them in pots offers several key benefits:
-
Space-saving: Ideal for patios, balconies, or rooftops.
-
Soil control: Avoids pests and diseases common in the ground.
-
Cleaner harvest: No digging in heavy soil—just tip over the pot.
-
Easier maintenance: Less weeding and more accessible for beginners.
Whether you’re aiming for a small harvest or experimenting with new gardening methods, this technique is both efficient and rewarding.
Choosing the Right Potatoes
For container growing, opt for early or second-early potato varieties. These are quicker to mature and generally more compact, making them perfect for limited space. Popular options include:
-
‘Yukon Gold’ – Creamy and great for boiling or roasting.
-
‘Red Pontiac’ – A productive red-skinned variety.
-
‘Charlotte’ – A second-early salad potato.
-
‘Annabelle’ – Smooth-skinned with yellow flesh.
-
‘Rocket’ – A reliable early cropper with excellent yields.
Start with certified seed potatoes to avoid introducing diseases. These can be purchased from garden centers or online during planting season.
Prepping Seed Potatoes
Before planting, allow your seed potatoes to sprout, a process known as chitting. Place them in a cool, bright spot (not direct sunlight) for 2–3 weeks until short, stubby sprouts appear from the eyes.
Cut larger seed potatoes into pieces, making sure each piece has at least 1–2 eyes (sprouts). Let the cut surfaces dry for a day or two to reduce the risk of rotting in the soil.
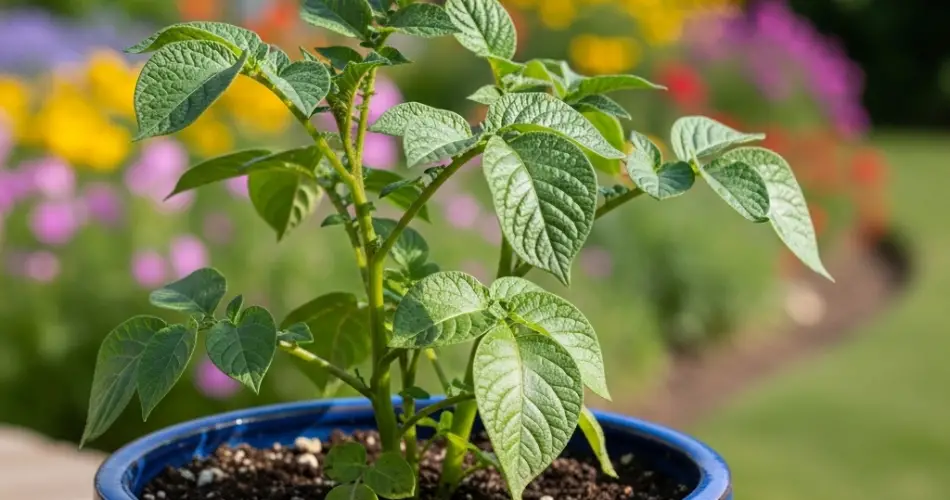
Selecting the Right Container
Your pot should be deep and have good drainage. Potatoes grow best when they have room to expand downward.
Ideal container specs:
-
Depth: At least 12–16 inches
-
Capacity: 10–15 gallons per plant (about 40–60 liters)
-
Drainage: Ensure holes at the bottom
You can use:
-
Large plastic pots
-
Fabric grow bags
-
Buckets or bins with drainage
-
Even sturdy trash bags (punched with holes)
Planting Step-by-Step
-
Add Base Soil: Fill the container with 4–6 inches of loose, well-draining soil. A good mix includes compost, potting soil, and a handful of organic fertilizer.
-
Position Seed Potatoes: Place 2–3 sprouted seed potatoes (sprouts facing up) spaced evenly apart.
-
Cover: Add 3–4 inches of soil over the top and water lightly.
As the plants grow, you’ll need to add more soil in a process called “earthing up”.
Hilling: The Key to Bigger Yields
When shoots reach 6–8 inches tall, add more soil or compost around the base, covering the lower half of the stems. Repeat this every time the plant grows another 6 inches, until the container is nearly full.
This encourages the plant to produce more tubers along the buried stems and protects developing potatoes from sunlight, which can turn them green and toxic.
Watering and Feeding
Potatoes need consistent moisture, especially while tubers are forming.
-
Water deeply 2–3 times per week, more in hot weather.
-
Avoid soggy soil, which can lead to rot.
-
Fertilize every 2–3 weeks with a balanced liquid fertilizer or one formulated for vegetables.
Avoid high-nitrogen formulas which promote leafy growth over tuber development.
Sunlight Requirements
Potatoes require at least 6 hours of full sun per day. Place your containers in a bright spot, such as a patio corner, driveway, or balcony ledge that receives ample sunlight.
Common Problems and Solutions
-
Green Potatoes: Caused by sun exposure. Always cover tubers with soil as they grow.
-
Wilting Plants: Could be due to underwatering or disease—check moisture and root health.
-
Aphids and Beetles: Use neem oil or soapy water spray to deter pests organically.
Containers also naturally reduce the risk of soil-borne pests and diseases.
Harvest Time
Most container-grown potatoes are ready for harvest 60 to 100 days after planting, depending on variety. Once the foliage begins to yellow and die back, stop watering and let the tubers mature for about a week.
To harvest:
-
Tip over the container onto a tarp or large tray.
-
Gently sift through the soil to collect your potatoes.
-
Brush off excess soil and let them cure in a dry, dark, well-ventilated area for 1–2 weeks before storing.
For immediate eating, you can also “sneak a few” new potatoes by digging into the soil gently before full maturity.
Final Tips
-
Rotate container crops annually to reduce disease risk.
-
Replenish soil between seasons with fresh compost and amendments.
-
Save a few healthy tubers to replant next season.
Growing potatoes in pots is a straightforward and fun way to produce your own staple food, even in small spaces. With minimal effort and a bit of patience, you’ll be rewarded with clean, homegrown potatoes you can boil, mash, roast, or fry straight from your patio.


