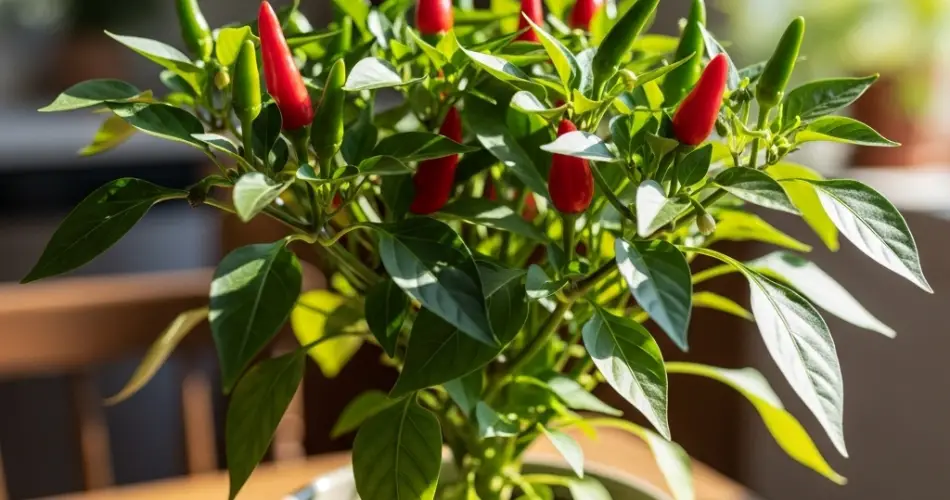
Chilies are an exciting addition to any home garden. Their vibrant colors, spicy kick, and wide variety of uses in cooking make them a favorite among gardeners. Fortunately, you don’t need a large backyard to enjoy a bountiful chili harvest. With the right setup, you can grow healthy, productive chili plants right in pots on your balcony, patio, or even a sunny windowsill.
Potted chilies are ideal for gardeners working with limited space. Containers offer better control over soil conditions, allow for easier pest management, and make it simple to move the plants as needed for optimal sun exposure. Here’s a step-by-step guide to growing chilies successfully in pots.
Choosing the Right Chili Variety
There are many types of chili peppers, from mild to blazing hot. When growing in containers, look for compact or dwarf varieties that are well-suited for pot culture. Popular choices include:
-
Cayenne – Thin, moderately hot peppers great for drying or cooking.
-
Jalapeño – A compact plant that produces thick, flavorful peppers.
-
Thai Chili – A small but prolific plant with strong heat.
-
Tabasco – Famous for hot sauce, it thrives in warm climates.
-
Numex Twilight – A colorful ornamental chili with a fiery punch.
Choose based on your taste preferences and your local climate. Most chilies need warm weather and lots of light to thrive.
The Right Container Matters
Chili peppers have relatively shallow roots, but they still need space to grow and flourish. Select a container that’s at least 10–12 inches deep and 12 inches wide. For larger varieties, use a container up to 5 gallons in size.
Ensure your pot has proper drainage holes at the bottom to prevent waterlogging, which can lead to root rot.
Preparing the Ideal Soil
Chilies thrive in well-draining, nutrient-rich soil. A good potting mix can be made using:
-
2 parts high-quality potting soil
-
1 part compost or aged manure
-
A small amount of sand or perlite for improved drainage
Chilies prefer slightly acidic to neutral soil (pH between 6.0 and 7.0). Make sure the mix is loose and aerated to allow the roots to breathe.
Planting Your Chili Peppers
You can grow chilies from seeds or purchase young seedlings. If starting from seed, begin indoors 6–8 weeks before the last expected frost date. Once your seedlings are 4–6 inches tall and have several leaves, they can be transplanted into pots.
Planting tips:
-
Fill your container with prepared soil.
-
Dig a hole just deep enough to cover the seedling’s root ball.
-
Place the seedling gently and cover with soil, firming it down slightly.
-
Water thoroughly after planting.
Sunlight and Water Requirements
Chilies are sun-loving plants. They need at least 6–8 hours of full sunlight daily to grow well. If you’re growing them indoors, place the pots near a south-facing window or use grow lights.
Water your chili plants regularly, but avoid overwatering. Let the top inch of soil dry out between waterings. Overwatering can lead to root rot and other issues.
To help retain moisture and reduce evaporation, consider adding a thin layer of mulch such as straw, dried leaves, or coconut husk to the surface of the soil.
Fertilizing for Growth and Production
Chilies are moderate feeders. Begin with a balanced fertilizer (e.g., 10-10-10) during the early growth stage. Once flowers start to appear, switch to a fertilizer higher in potassium and phosphorus to encourage fruiting.
Apply liquid fertilizer every two to three weeks, or use a slow-release granular fertilizer according to the package directions.
Supporting Your Chili Plants
As your chili plants grow and start bearing fruit, they may need some structural support. Use small stakes or bamboo skewers to prop up branches, especially for heavier fruiting varieties.
Also, pinch off early flower buds on young plants to allow for stronger root and stem development before fruiting begins. This practice leads to healthier plants and higher yields later on.
Common Pests and Solutions
Chili plants are prone to common pests such as aphids, whiteflies, and spider mites. Regularly inspect your plants for any signs of infestation.
Natural pest control options include:
-
Spraying plants with diluted neem oil or insecticidal soap.
-
Encouraging beneficial insects like ladybugs.
-
Keeping the plants well-ventilated and not overcrowded.
Fungal diseases can be avoided by not overwatering and ensuring good air circulation around the plants.
Harvesting Your Chilies
Chilies can be harvested once they reach their full color and desired size. You can pick them green or wait until they turn red, orange, or yellow depending on the variety. Use scissors or pruning shears to cut them cleanly from the plant to avoid damaging the stem.
Regular harvesting encourages the plant to produce more fruit, so don’t be shy about picking peppers as they ripen.
Conclusion
Growing chilies in pots is a simple, rewarding experience that brings flavor and color to your home garden. With just a little space and care, you can enjoy a steady supply of fresh, spicy peppers for months. From mild to hot, there’s a chili out there for every palate—so grab a pot, plant your favorite variety, and turn up the heat in your container garden!


