How to Propagate Guava Trees from Leaf Cuttings: A Simple Guide for Fast Root and Shoot Growth
Guava trees are beloved for their sweet, tangy fruits, but did you know you can easily propagate them from leaf cuttings? While propagating trees from branches is common, growing guava trees from leaf cuttings is a less-known yet highly effective method. Using natural rooting stimulants like red onion and aloe vera, along with the right care and medium, you can have a thriving guava tree in no time.
In this guide, we will walk you through the process of propagating guava trees from leaf cuttings, a technique that not many people know about. With the right method and a bit of patience, you can enjoy rapid root and shoot growth and successfully grow a new guava tree.
Step 1: Selecting and Preparing the Guava Cutting
The first step in propagating a guava tree from a leaf cutting is selecting the right branch. You’ll need to choose a healthy guava branch that is about 3 to 5 centimeters in length. A semi-woody, mature branch works best because it has the necessary nutrients for the cutting to develop roots.
Using a clean, sharp pair of pruning shears or a knife, make a clean, diagonal cut just below a node (the point where leaves or branches grow). After cutting, remove all the leaves from the lower part of the cutting, leaving a few leaves at the top intact. These remaining leaves will help provide energy through photosynthesis while the cutting is rooting.
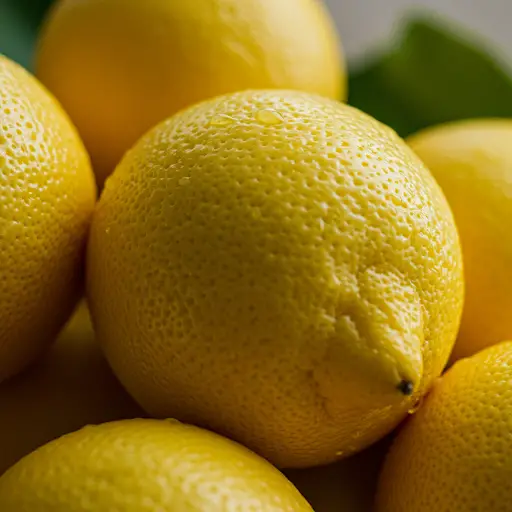
Step 2: Applying Red Onion for Root Stimulation
Red onion is a natural rooting stimulant that can help encourage faster root development in guava cuttings. It contains sulfur compounds and other nutrients that promote root growth while also helping to ward off bacterial and fungal infections. Applying red onion to the cut surface of the guava branch helps create a favorable environment for root development.
To use red onion:
-
Slice a red onion into thin pieces.
-
Spread the sliced red onion evenly over the cut surface of the guava branch. Make sure the onion covers the entire base of the cutting.
-
Allow the onion to sit on the cutting for about 10 to 15 minutes. The sulfur compounds in the onion will coat the surface of the cutting, preparing it to root faster.
This simple step can significantly speed up the rooting process and ensure that your guava cutting has the best chance of thriving.
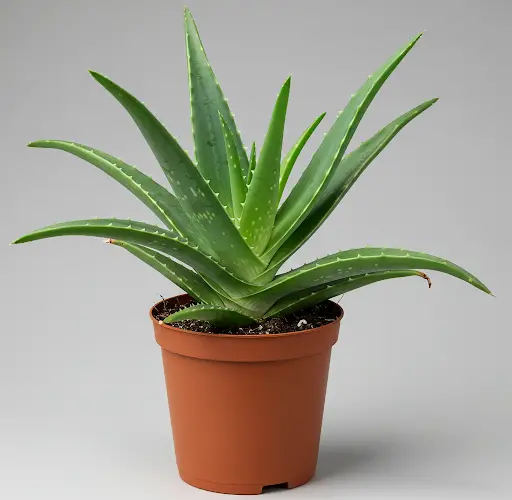
Step 3: Using Aloe Vera to Protect and Stimulate Growth
Aloe vera is a well-known natural remedy for its healing and protective properties. It is also an excellent stimulant for rooting, as it contains hormones that encourage root growth while protecting the cutting from infections.
To use aloe vera:
-
Cut a fresh aloe vera leaf into two pieces.
-
Slice the aloe vera into smaller sections or use the gel directly from the leaf.
-
Rub the aloe vera gel onto the base of the guava cutting where you applied the onion slices. Make sure to coat the cut end thoroughly with the aloe vera gel.
Aloe vera not only helps to stimulate root growth but also acts as a protective barrier against harmful pathogens, ensuring that your guava cutting stays healthy as it develops roots.
Step 4: Planting the Guava Cutting in Sand
The next step is to plant the guava cutting in a suitable growing medium. Sand is an ideal choice for propagating guava cuttings, as it provides excellent drainage and air circulation, which are both crucial for healthy root development. The sand will keep the cutting from becoming waterlogged, while still retaining enough moisture to encourage rooting.
To prepare the planting medium:
-
Fill a small pot or seed tray with clean, coarse sand. Make sure the sand is free from impurities.
-
Lightly moisten the sand with water. It should be damp but not soaking wet.
-
Insert the base of the guava cutting into the sand, ensuring that it is planted about 3 to 4 centimeters deep.
The cutting should be positioned upright and secure in the sand. This will give it the best chance to develop roots and shoots.
Step 5: Caring for the Guava Cutting
Once the guava cutting is planted, it’s important to place it in a shady area where it will receive indirect light. Direct sunlight can be too harsh for young cuttings and may cause them to dry out or burn. A location with diffused light is ideal.
Additionally, the guava cutting needs consistent moisture to develop roots. You should water the cutting at least twice a day, in the morning and again in the evening. Be careful not to overwater, as this can cause the cutting to rot. The sand should remain moist but not soggy.
Maintaining a warm and humid environment is key to successful rooting. If you live in a dry climate, you might want to cover the pot with a clear plastic bag to help retain moisture and humidity around the cutting. Just be sure to allow for air circulation to prevent mold from forming.
Step 6: Monitoring Growth and Root Formation
After about three weeks, you should start to see new growth from your guava cutting. This will include new shoots emerging from the top, and roots beginning to develop at the base. The red onion and aloe vera treatments will have helped stimulate rapid root and shoot growth.
To check the roots, gently tug on the cutting after three weeks. If there’s resistance, that means the roots have formed and the cutting is successfully rooted. You may also notice that the cutting has grown new leaves, which indicates healthy growth.
Step 7: Transplanting the Guava Tree
Once the guava cutting has developed a good root system and new shoots, it’s time to transplant it into a larger pot or directly into the ground. If you’re transplanting it into a pot, choose one with good drainage and fill it with nutrient-rich soil. If planting in the garden, select a location with well-drained soil and plenty of sunlight.
Continue to care for your newly transplanted guava tree by watering it regularly and protecting it from extreme weather conditions as it establishes itself in its new environment.
Final Thoughts
Propagating guava trees from leaf cuttings is a simple yet highly effective method for expanding your guava tree collection. Using natural rooting stimulants like red onion and aloe vera, along with the right care and a well-draining sand medium, you can achieve rapid root and shoot growth in just a few weeks. This method not only ensures healthy tree growth but also allows you to grow guava trees at home with minimal investment.
Give this propagation method a try at home, and soon you’ll be enjoying your very own guava tree!