Ferns are elegant, leafy plants that bring a lush, tropical feel to any indoor or outdoor space. Their finely textured fronds and vibrant green color make them a favorite for container gardening. However, growing ferns in pots requires particular attention to two key factors: moisture and light. These elements directly affect their health, appearance, and long-term growth.
Understanding how to balance humidity, watering routines, and lighting conditions will help your potted ferns thrive, whether you’re growing Boston ferns, maidenhair ferns, bird’s nest ferns, or any other variety.
The Importance of Moisture for Potted Ferns
Ferns are native to forest floors, where the environment is humid and soil remains consistently moist but not soggy. Replicating those conditions is essential when growing them in containers.
1. Watering Needs
Ferns prefer evenly moist soil. Letting the soil completely dry out or, conversely, stay overly wet for long periods can lead to stress, browning fronds, or root rot.
Tips for watering:
-
Water thoroughly when the top inch of soil feels dry.
-
Use room-temperature water to avoid shocking the roots.
-
Water the soil directly rather than the fronds to prevent fungal diseases.
-
Reduce watering slightly in the cooler months, when the plant’s growth slows.
Frequency: Most indoor ferns need watering every 3–4 days in warm conditions and once a week in cooler environments. Outdoor container ferns may need more frequent watering, especially during hot or windy weather.
2. Humidity Control
Ferns love humidity, and dry indoor air can quickly take a toll on their health. This is especially important during winter when heating systems tend to lower indoor moisture levels.
Ways to increase humidity:
-
Misting: Lightly mist the fronds once or twice a day with a fine spray.
-
Humidity trays: Place a shallow tray filled with pebbles and water beneath the pot. As the water evaporates, it raises humidity around the plant.
-
Grouping plants: Placing multiple plants close together can naturally increase the humidity in that area.
-
Room humidifier: A small humidifier near your ferns can keep humidity consistent throughout the day.
Aim to maintain humidity levels between 50–70%, depending on the variety of fern.
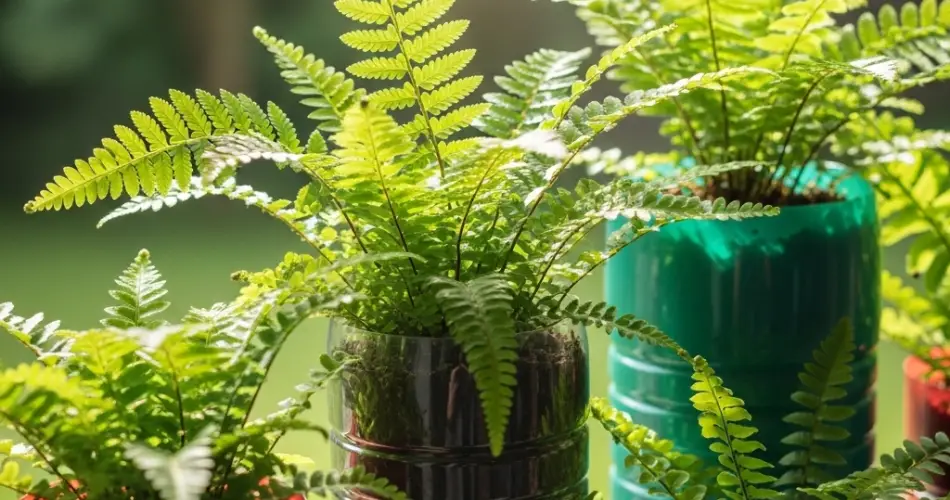
Choosing the Right Pot and Soil
Proper moisture control also depends on the container and soil you choose.
Pot selection:
-
Always use pots with drainage holes to prevent excess water from sitting at the bottom.
-
Choose containers that are slightly wider than the root ball to allow room for growth without retaining excess moisture.
-
Terracotta pots are excellent for ferns that prefer drier soil, as they absorb excess water. Plastic or glazed pots retain moisture better for varieties that need consistent dampness.
Ideal soil mix:
-
Use a lightweight, well-draining mix rich in organic matter.
-
Combine standard potting soil with ingredients like peat moss, perlite, and compost to improve moisture retention without making the soil soggy.
Light Requirements for Healthy Ferns
Light is just as critical as moisture when it comes to fern care. These plants thrive in soft, dappled light similar to what they would receive beneath a forest canopy.
1. Indirect Light is Best
-
Ferns grow best in bright, indirect light or filtered sunlight.
-
Direct sunlight can scorch delicate fronds, while too little light leads to sparse, leggy growth.
Ideal locations:
-
Near east- or north-facing windows
-
Several feet back from a bright window with a sheer curtain
-
In shaded patios or balconies with indirect natural light
2. Low-Light Adaptability
Some fern varieties, like the bird’s nest fern or the Boston fern, can tolerate low-light conditions, making them suitable for bathrooms, shaded corners, or offices. However, even low-light ferns need some exposure to ambient light for healthy growth.
If natural light is limited:
-
Use fluorescent or LED grow lights for 12–14 hours per day.
-
Position the grow light 12–18 inches above the plant to simulate natural light conditions.
Signs of Moisture and Light Imbalance
Learning to recognize distress signs helps you quickly adjust your plant care routine:
Too much light:
-
Scorched or crispy fronds
-
Faded or bleached leaf color
Too little light:
-
Leggy, stretched-out growth
-
Sparse or slow new frond production
Too much water:
-
Yellowing leaves
-
Soft, mushy stems or roots
-
Mold on soil surface
Too little water or humidity:
-
Brittle, brown leaf edges
-
Drooping or curling fronds
Adjust your watering schedule and light placement accordingly to restore the plant’s health.
Seasonal Adjustments
-
Spring/Summer: Increase watering and humidity as the plant enters active growth. Maintain steady light exposure and watch for rapid changes in soil moisture.
-
Fall/Winter: Reduce watering slightly but maintain humidity indoors. Avoid placing ferns near heaters or cold drafts.
Conclusion
Maintaining the right balance of moisture and light is the foundation of successful fern care in containers. By understanding the natural preferences of these lush plants and replicating their forest-like environment, you’ll enjoy healthy, vibrant fronds all year round. With just a few adjustments to your watering routine, humidity control, and light exposure, your potted ferns will continue to flourish—bringing natural beauty and tranquility to any space.


