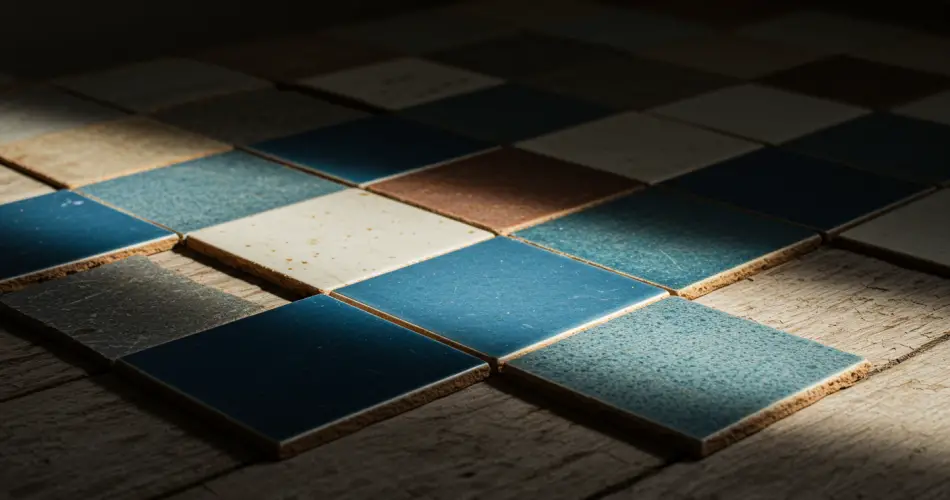
Loose tiles may seem like a minor inconvenience, but they can actually cause serious problems in any room of the house. Whether it’s the kitchen, bathroom, or living room, a single tile that has shifted can create pockets for moisture to accumulate, leading to unsightly mold, unpleasant odors, and even structural issues over time. For homeowners, maintaining a safe, healthy, and beautiful home is always a priority, and addressing loose tiles early can save both money and stress.
Why Loose Tiles Are a Problem
When tiles become loose, they create gaps between the flooring or wall surface and the tile itself. These gaps allow water, dust, and debris to penetrate, which can compromise the integrity of the subfloor or wall. Over time, trapped moisture can lead to:
-
Mold growth – Moist environments are ideal for mold, which can damage surfaces and pose health risks.
-
Persistent damp smell – A home that smells musty can feel uninviting and uncomfortable, particularly if you’re hosting guests.
-
Structural damage – If left unchecked, loose tiles may cause cracks in walls or floors, and prolonged moisture exposure can weaken the underlying materials.
Even in a well-built home, loose tiles are a surprisingly common issue. Often, homeowners assume the only solution is a costly renovation or calling in professionals. In reality, small problems can often be corrected at home with a little patience and the right approach.
The Benefits of DIY Repairs
Repairing loose tiles yourself comes with several advantages:
-
Cost savings – Buying a small tile repair kit is far cheaper than hiring a contractor or replacing tiles entirely.
-
Convenience – You can fix the problem on your own schedule without waiting for a professional.
-
Satisfaction – Completing a DIY repair gives a sense of accomplishment and confidence in your home maintenance skills.
Even if you have limited experience with home improvement projects, a little guidance can allow you to tackle loose tiles safely and effectively.
Step-by-Step Guide to Fix Loose Tiles
Follow these steps to restore your tiles and prevent further moisture damage:
1. Identify the Problem Areas
Start by gently tapping each tile with a small hammer. Pay attention to the sound: a hollow noise indicates that the tile is not properly adhered to the surface. Mark these tiles with a pencil so you know exactly where to focus your efforts.
2. Drill Small Holes
Once the problem tiles are identified, use a drill to create small holes in the loose tile. These holes will allow repair materials to penetrate under the tile, ensuring better adhesion and stability.
3. Prepare and Apply Filler
Purchase a tile repair kit suitable for your type of tile. Most kits include a filler or epoxy that can restore both appearance and functionality. Prepare the filler according to the instructions and load it into a caulking gun or applicator. Carefully inject the filler into the holes and any gaps underneath the tile.
4. Press and Secure the Tile
After filling the gaps, gently tap the tile again with a hammer to remove air bubbles and ensure it sits flush with the surrounding tiles. Take care not to apply too much force, which could crack or damage the tile.
5. Clean Up
Wipe away any excess filler from the surface with a damp cloth before it dries. Allow the repair to set according to the product instructions, usually a few hours. After drying, your tiles should feel solid and look nearly as good as new.
Tips for a Lasting Repair
-
Use quality materials – A reliable tile repair kit ensures the filler adheres properly and lasts longer.
-
Avoid excess water – While repairing, try not to wet the surrounding tiles excessively. Too much moisture can interfere with adhesion.
-
Regular checks – Even after fixing the loose tiles, it’s a good idea to inspect your floors and walls periodically. Early detection prevents small problems from escalating.
By following these steps, you can repair loose tiles without having to remove them entirely, saving time and money while maintaining your home’s structural integrity.
Preventing Loose Tiles in the Future
While repairs are effective, prevention is always better than cure. Here are some tips to help maintain your tiles:
-
Proper installation – Ensure tiles are installed with adequate adhesive and spacing from the start.
-
Avoid heavy impacts – Dropping heavy objects or dragging furniture across tiled surfaces can weaken adhesion.
-
Control moisture – Use sealants, proper ventilation, and waterproofing measures in high-moisture areas like bathrooms and kitchens.
A proactive approach will keep your home safe, dry, and visually appealing, reducing the likelihood of mold, damp smells, or structural damage.
Conclusion
Loose tiles may appear minor, but they can quickly become a source of frustration, unpleasant odors, and costly repairs if ignored. Fortunately, with a small investment in a tile repair kit and some DIY effort, you can restore tiles to their original position and prevent moisture-related problems. By identifying hollow tiles, filling gaps with high-quality filler, and carefully pressing them into place, even beginners can achieve professional-looking results.
Not only will your tiles look better, but your home will also be healthier, free from damp smells and mold. This simple DIY method saves time, money, and stress, making it an essential trick for any homeowner who wants to maintain a strong, safe, and attractive living space.


