Lavender is a beloved plant known for its soothing fragrance, beautiful blooms, and wide range of uses in aromatherapy, cooking, and home decor. If you already have a lavender plant and want to grow more, cloning—or propagating lavender from cuttings—is a simple and effective method. One of the easiest ways to do this is by rooting lavender cuttings in bottled water. This method requires minimal materials, no soil at first, and is perfect for gardeners with limited space or those new to plant propagation.
Here’s a step-by-step guide to cloning lavender using bottled water.
Why Clone Lavender?
Cloning lavender is a cost-effective way to multiply your plants. Since many lavender varieties don’t grow true from seed or have a long germination process, taking cuttings ensures that the new plant will have the same qualities as the parent—whether it’s a particular scent, color, or growth habit.
Using bottled water as the propagation medium eliminates the risk of soil-borne disease, provides a sterile environment, and allows you to clearly see root development before transplanting into soil.
What You’ll Need
-
Healthy, established lavender plant
-
Clean, sharp scissors or pruning shears
-
Bottled water (preferably non-chlorinated or filtered)
-
Clear glass or plastic bottles or jars
-
Optional: rooting hormone (though lavender often roots well without it)
-
Indirect sunlight location
Step 1: Choose the Right Cuttings
Select a non-flowering stem from the lavender plant. Look for a stem that is healthy, flexible, and not woody. The ideal cutting is around 4–6 inches long and taken from new, green growth rather than older, woody sections.
Cut the stem just below a leaf node (the point where leaves attach to the stem), as this is where roots are most likely to develop. Use sterilized scissors or pruning shears to prevent disease transmission.
Step 2: Prepare the Cuttings
Strip the lower leaves from the bottom half of the cutting, leaving only a few leaves at the top. This prevents the submerged leaves from rotting in water and focuses the plant’s energy on root development rather than maintaining foliage.
If desired, dip the cut end in rooting hormone to encourage faster rooting. While not strictly necessary for lavender, it can slightly improve success rates.
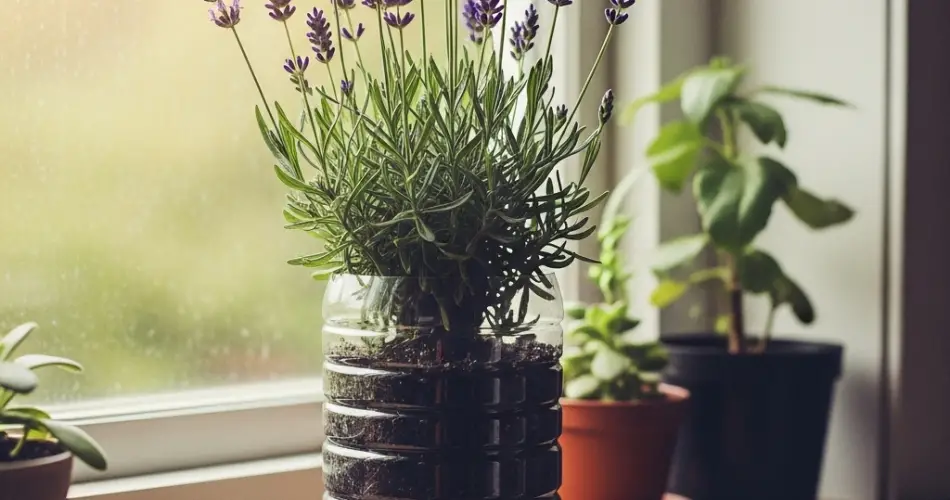
Step 3: Set Up the Bottled Water System
Fill a clear jar, cup, or cut water bottle with bottled or filtered water. Avoid tap water if it’s heavily chlorinated, as chlorine can inhibit root growth.
Place the prepared lavender cutting into the water, making sure that at least one or two leaf nodes are submerged. Only the bare stem should be underwater; leaves should remain above the surface.
You can use a piece of plastic wrap or foil with a small hole to support the cutting if needed, or simply let it rest against the edge of the container.
Step 4: Choose the Right Environment
Put the container in a warm location with bright, indirect sunlight. Avoid placing it in direct sun, which can heat the water too much and stress the cutting. A kitchen counter near a window or a shaded balcony is ideal.
Change the water every 2–3 days to prevent bacterial buildup and to provide fresh oxygen to the developing roots. Make sure the water stays clear and odor-free.
Step 5: Monitor Root Development
Within 2 to 4 weeks, you should see roots begin to form at the base of the cutting. Some cuttings may take a little longer depending on environmental conditions and the variety of lavender.
Once the roots are about 1–2 inches long and look strong and healthy, the cutting is ready to be transplanted into soil.
Step 6: Transplanting to Soil
Prepare a small pot with well-draining soil, preferably a mix of potting soil, sand, and perlite to mimic the dry, rocky conditions lavender prefers. Make a hole in the center of the soil and gently plant the rooted cutting.
Water lightly to help the soil settle around the roots, but avoid overwatering. Keep the pot in indirect light for the first few days to help the plant acclimate, then gradually move it into full sun.
As the plant grows, you can transplant it to a larger container or into the garden.
Care Tips After Transplanting
-
Lavender thrives in full sun—aim for at least 6 hours a day.
-
Water only when the top inch of soil feels dry.
-
Avoid rich or heavy soil; lavender prefers lean, well-drained conditions.
-
Prune back the plant lightly to encourage bushier growth as it establishes.
Final Thoughts
Cloning lavender using bottled water is a straightforward and beginner-friendly method to expand your herb garden. It’s low-cost, requires no special tools or greenhouse conditions, and allows you to propagate multiple plants from one parent. Whether you want to create a full lavender border or just enjoy more of its fragrance indoors, this method makes it possible—even in small spaces or urban settings.


