Kale is one of the most nutrient-dense vegetables you can grow, packed with vitamins A, C, and K, along with fiber, calcium, and antioxidants. The best part? You don’t need a backyard or garden bed to enjoy fresh kale at home. With a pot, some good soil, and regular care, kale can thrive on a balcony, patio, or windowsill. Growing kale in containers is an excellent choice for urban gardeners or anyone short on space.
Choosing the Right Pot
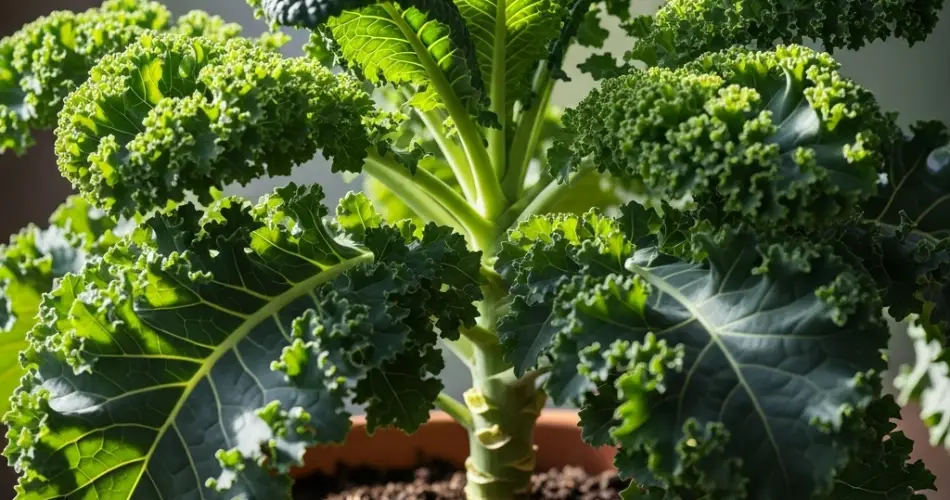
Kale has a moderately deep root system, so choose a pot that is at least 30 cm (12 inches) deep and equally wide. This allows the roots to spread and provides enough room for the plant to grow to its full size. Make sure the container has good drainage holes to prevent water from sitting at the bottom and causing root rot.
You can use plastic, ceramic, terracotta, or even recycled materials like buckets or storage tubs—as long as water can drain freely. Consider placing a saucer underneath indoor containers to catch excess water.
Best Soil for Healthy Growth
Kale prefers well-draining, fertile soil rich in organic matter. A mixture of quality potting soil, compost, and a bit of perlite or sand works well to ensure good drainage and airflow. If you’re mixing your own soil, aim for a blend of 60% garden soil, 30% compost, and 10% sand or coco coir.
Kale thrives in slightly acidic to neutral pH levels (around 6.0 to 7.0). Before planting, enrich the soil with compost or aged manure to provide essential nutrients for strong leaf development.
Planting from Seeds or Seedlings
You can grow kale either by sowing seeds directly into the pot or by transplanting nursery seedlings. If using seeds, plant them about 1 cm (½ inch) deep and space them about 5–10 cm (2–4 inches) apart. Once the seedlings sprout and reach a few centimeters in height, thin them out to leave 20–30 cm (8–12 inches) between plants for proper air circulation and growth.
If transplanting, dig small holes and carefully plant each seedling at the same depth it was growing in its original container. Water well after planting to help the roots settle.
Kale grows best in cool weather and can tolerate light frost. Spring and autumn are ideal planting seasons, but in mild climates, kale can be grown year-round.
Sunlight and Placement
Kale loves the sun but can tolerate partial shade. Place your container in a spot that gets at least 4–6 hours of sunlight daily. Morning sun with afternoon shade works especially well in warmer regions to prevent the plant from drying out or bolting.
If you’re growing indoors, position the pot near a bright window or use a grow light to ensure the plant receives enough light each day.
Watering Tips
Keep the soil consistently moist but never waterlogged. Kale prefers evenly moist soil, so water whenever the top inch of the soil feels dry to the touch. Avoid splashing water directly onto the leaves, especially in humid conditions, to prevent fungal issues.
Mulching around the base of the plant with straw, dried leaves, or coconut husk can help conserve moisture and regulate soil temperature.
Fertilizing for Lush Leaves
Kale benefits from regular feeding to maintain healthy, vibrant leaves. If your soil was enriched with compost at planting time, it may not need additional fertilizer right away. Otherwise, feed the plant every two weeks with a balanced liquid fertilizer or organic options like compost tea or fish emulsion.
Be careful not to over-fertilize, as this can lead to overly rapid leaf growth and weaker flavor.
Managing Pests and Diseases
While kale is hardy, it can still fall victim to pests such as aphids, cabbage worms, and whiteflies. Check the undersides of leaves regularly, and remove pests by hand or spray with a mild insecticidal soap.
For organic pest control, neem oil or a garlic-chili spray can be effective. Make sure your container has good drainage and that plants are spaced to allow airflow, helping to prevent fungal diseases like powdery mildew.
Harvesting Your Kale
You can begin harvesting kale leaves when they are about the size of your hand. Start by picking the outermost leaves first, allowing the inner leaves to continue growing. This method, known as “cut-and-come-again,” allows for continuous harvest over several weeks or months.
Avoid harvesting more than one-third of the plant at a time to keep it healthy and productive. Kale leaves are most tender when harvested young but can be picked at any stage depending on your cooking preferences.
Regrowing and Replanting
Kale can keep producing for several months, especially in cooler climates. However, once the plant begins to bolt (produce flowers), the leaves may turn bitter. At that point, it’s best to pull the plant and start a new one. Succession planting every few weeks during the growing season ensures a continuous supply of fresh kale.
Growing kale in pots is a straightforward and rewarding way to enjoy fresh, homegrown greens. With a little attention to sunlight, watering, and soil quality, even beginner gardeners can successfully raise a thriving crop. Whether you’re adding it to smoothies, salads, or soups, having your own kale on hand is a tasty and healthy convenience you’ll appreciate year-round.


