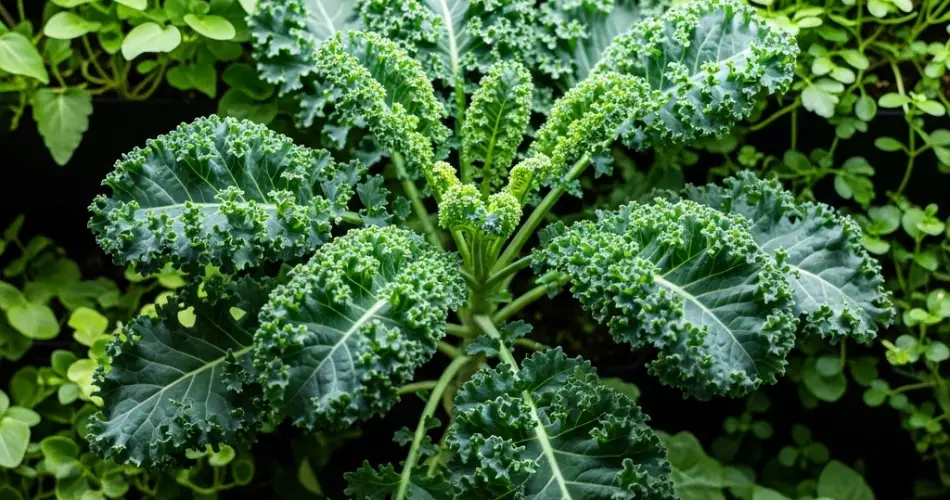
If you love kale but don’t have the space for a traditional garden, growing it on your wall in recycled bottles is a smart and eco-friendly solution. Kale is a robust leafy green packed with nutrients, and it thrives in vertical setups, making it a great option for apartment balconies, patios, or any sunny wall. With just a few plastic bottles and basic gardening tools, you can enjoy fresh, homegrown kale within arm’s reach.
This simple and sustainable method combines vertical gardening with recycling, allowing you to grow healthy greens without taking up precious ground space.
Why Kale is Perfect for Bottle Gardening
Kale is a hardy plant that adapts well to container gardening. It doesn’t require deep soil, and it’s tolerant of cooler temperatures, making it ideal for growing in compact, upright arrangements. When planted in plastic bottles mounted on a wall or vertical frame, kale can grow upward without crowding other plants or using floor space.
Besides saving space, this method helps protect your plants from pests that typically affect ground-level crops. Wall-mounted gardens also improve airflow, reducing the risk of fungal diseases.
What You’ll Need
To set up your vertical kale garden, gather the following materials:
-
Clean 1.5 or 2-liter plastic bottles
-
A sharp knife or scissors
-
Twine, string, or wire for hanging
-
Hooks, nails, or a frame for wall mounting
-
Good-quality potting mix
-
Kale seeds or seedlings
-
Compost or organic fertilizer
-
A small piece of mesh or fabric (to cover drainage holes)
-
Watering can or spray bottle
Optional: A wooden or metal stand for organizing multiple bottle planters vertically.
Preparing the Bottles
-
Cut the Openings:
Use scissors or a craft knife to cut a rectangular opening along the side of each plastic bottle. This will be the planting space for your kale. Leave enough plastic around the edges to maintain the bottle’s structure. -
Create Drainage Holes:
Poke a few holes at the bottom of the bottle for excess water to drain. Inside the bottle, place a small piece of mesh or cloth over the holes to prevent soil from spilling out. -
Set Up for Hanging:
Make two holes near the top and two near the bottom of the bottle. Thread twine or wire through these holes to hang the bottles vertically. You can suspend them from hooks on a wall or attach them to a frame or trellis.
Be sure to leave enough space between each bottle to allow sunlight and airflow around the plants.
Preparing the Soil
Kale prefers loose, well-draining soil rich in organic matter. Use a quality potting mix blended with compost or worm castings. Avoid using plain garden soil, which can become compacted in containers and restrict root growth.
Fill each bottle about three-quarters full with moistened soil, leaving enough room to plant seeds or transplants without spilling.
Planting Kale
You can start kale from seeds or seedlings. If using seeds, sow 2–3 seeds in each bottle cavity about ½ inch deep. Once they sprout, thin them out to keep only the strongest plant in each container.
If using seedlings, gently plant them in the center of the bottle opening and firm the soil around their roots. Water lightly after planting.
Kale grows best in cool weather and prefers partial to full sunlight. Choose a wall or frame that receives 4–6 hours of sunlight per day. In hotter climates, provide some afternoon shade to prevent heat stress and bitterness in the leaves.
Watering and Care
Kale grown in bottles needs regular watering since containers dry out quickly. Check the soil moisture daily by touching the top layer—if it feels dry, water gently until the soil is moist but not soggy.
Use a watering can with a narrow spout or a spray bottle for young plants to avoid washing away soil. Mulching the surface with shredded leaves or coconut husk can help retain moisture and regulate temperature.
Feed the plants every two to three weeks with a diluted organic liquid fertilizer to support leafy growth.
Pest and Disease Management
Keep an eye out for common kale pests such as aphids, cabbage worms, or flea beetles. Check both the tops and undersides of leaves regularly. If you spot any pests, remove them by hand or spray with neem oil or insecticidal soap.
Good airflow between the plants and proper drainage will help prevent fungal diseases like powdery mildew.
Harvesting Kale
You can begin harvesting kale leaves when they’re about 4 to 6 inches long—usually within 4–6 weeks of planting. Use scissors to snip the outer leaves, leaving the inner leaves and growing tip intact. This allows the plant to keep producing new growth.
Regular harvesting encourages a longer lifespan for the plant. For a continuous harvest, sow new seeds every few weeks in different bottles.
Final Thoughts
Bottle gardening is a clever and sustainable way to grow kale when space is limited. This vertical approach not only repurposes plastic waste but also allows you to enjoy a steady supply of nutrient-rich greens right from your wall. With proper care and planning, your kale plants will thrive in their bottle homes, providing a rewarding and visually appealing addition to your urban garden. Whether you’re a beginner or an experienced gardener, this easy method makes growing kale at home more accessible than ever.


