How to Care for Orchids After Blooming to Ensure Continuous Growth
Orchids are beautiful and elegant flowers, but after they finish blooming, they require special care to ensure they remain healthy and continue to bloom regularly. Many people are unsure of what to do once an orchid’s flowers fall off, but with proper techniques, you can encourage your plant to thrive and rebloom. In this guide, I will walk you through step-by-step instructions on how to care for your orchid after it has finished flowering, using natural and effective methods.
Step 1: Pruning the Orchid After Blooming
Once the flowers have fallen, it is essential to trim the old flower stems to redirect the plant’s energy towards new growth. Using a sterilized pair of scissors or pruning shears, carefully cut off the faded flower stem. After making the cut, sprinkle a small amount of coffee powder over the wound. Coffee contains antibacterial and antifungal compounds, which help protect the cut from infections that could be caused by bacteria or fungi.
Step 2: Removing Damaged Roots
After pruning the flower stem, inspect the root system. Any damaged, dried-out, or rotting roots should be removed to help the plant recover efficiently. Cutting off unhealthy roots prevents the spread of disease and allows the orchid to focus its energy on producing new, strong roots. Once the roots are trimmed, leave the plant overnight to allow the cuts to dry completely before proceeding with the next steps.
Step 3: Preparing a Natural Fertilizer Using Potatoes and Aloe Vera
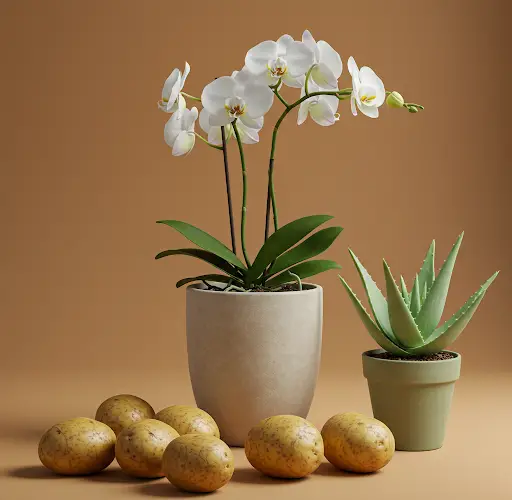
To provide your orchid with the nutrients it needs for new growth, you can create a simple yet effective organic fertilizer using potatoes and aloe vera. Potatoes are rich in potassium, phosphorus, and vitamin C, which promote root and leaf development. Aloe vera contains essential vitamins, minerals, and natural enzymes that stimulate growth and strengthen the plant’s immune system.
To make this natural fertilizer:
- Take about 30 grams of potatoes and cut them into small pieces.
- Chop one aloe vera leaf into small sections.
- Place the chopped potato and aloe vera into a jar.
- Add 1 liter of room-temperature water.
- Cover the jar and let it sit overnight to allow the nutrients to dissolve into the water.
- The next day, stir the mixture well and strain out the solid pieces, keeping only the liquid fertilizer.
Step 4: Applying the Fertilizer to the Orchid
Now that the nutrient-rich liquid is ready, follow these steps to feed your orchid:
Watering the Orchid
Pour the prepared fertilizer solution into the orchid pot, ensuring the roots absorb the beneficial nutrients. The combination of aloe vera and potatoes enhances the orchid’s ability to bloom regularly and maintain healthy growth. After watering, soak the entire orchid pot in the solution for about 20 minutes. This allows the plant to absorb nutrients effectively.
Spraying the Leaves
Pour some of the fertilizer solution into a spray bottle. Use this to mist the top and bottom of the leaves. Spraying the leaves helps the orchid absorb nutrients quickly and promotes a strong root system. Leaves are an essential part of the plant’s nutrient intake, so feeding them directly enhances overall health and blooming potential.
Step 5: Cleaning the Orchid Leaves
Cleaning the orchid’s leaves is just as important as fertilizing. Over time, dust, dirt, and bacteria accumulate on the leaves, which can hinder their ability to absorb light and perform photosynthesis. Use a soft cotton cloth to gently wipe the leaves. This will remove debris and allow the plant to breathe better.
Wiping the leaves also reduces the risk of mold and bacterial infections. Clean leaves are more efficient at absorbing sunlight, which helps the plant produce energy for growth.
Step 6: Final Rinse and Moisture Control
After cleaning the leaves, spray the entire orchid again with the remaining fertilizer solution. This helps wash away any remaining dirt or mold while providing another layer of nutrients. However, after spraying, it is essential to wipe off excess moisture from the leaves. Water droplets left on the leaves can create a favorable environment for mold and bacteria to grow. By keeping the leaves dry, you help prevent infections and improve the plant’s overall resistance to disease.
Step 7: Providing the Right Environment for Growth
Once the orchid has absorbed the nutrients, place the pot in a well-lit area with indirect sunlight. Orchids thrive in bright but not overly harsh light. Repeat the above steps every 10–15 days to maintain continuous growth and blooming.
Step 8: Monitoring Growth and Repotting When Necessary
After about three weeks of consistent care, you should start to notice significant changes. The orchid’s roots will grow longer and stronger, and new leaves will appear. Strong root growth is a crucial indicator of a healthy orchid, as it enables better absorption of water and nutrients.
When the orchid outgrows its pot, it is time to transfer it to a larger one. Choose a well-draining pot and use crushed pine bark as the growing medium. Pine bark ensures the roots receive adequate airflow while retaining the necessary moisture for healthy growth. Water the orchid as needed, ensuring it never sits in excess water to prevent root rot.
Conclusion: Nurturing Your Orchid with Love and Care
Caring for orchids after they finish blooming is essential for maintaining their health and ensuring future blooms. By following these steps—pruning, removing damaged roots, using natural fertilizers, and keeping the plant clean—you can provide your orchid with everything it needs to thrive.
Every leaf and flower bud is a testament to the effort and love you invest in your plant. With patience and dedication, your orchid will reward you with continuous blooms, vibrant leaves, and strong roots. If you found this guide helpful, share it with other orchid enthusiasts so they too can enjoy the beauty of thriving orchids!


