How to Propagate Dendrobium Anosmum Orchids at Home – A Simple and Effective Method
Orchids are some of the most captivating flowers, known for their beauty, elegance, and exotic appeal. Among the many varieties, Dendrobium anosmum orchids are particularly loved for their charming appearance and delightful fragrance. If you’re passionate about growing orchids and want to propagate your own Dendrobium anosmum at home, this guide will walk you through an easy and highly effective propagation method.
With just a few household items and some patience, you can successfully propagate your orchid and enjoy its stunning blooms for years to come. Let’s get started!
Step 1: Preparing the Orchid Branch for Propagation
In my hand is a Dendrobium anosmum orchid branch, which we will use for propagation. Before we begin, it’s essential to seal the cut end of the branch to prevent excessive moisture loss and protect it from infections.
✅ Apply molten candle wax to the cut: Melt a small amount of candle wax and carefully apply it to the fresh cut at the base of the orchid branch. This step helps seal the wound, preventing bacteria, fungi, or pests from entering and causing rot.
This technique mimics what happens in nature—orchids naturally seal off their cuts after being damaged, allowing them to focus on new growth.
Step 2: Preparing the Ginger Water Solution
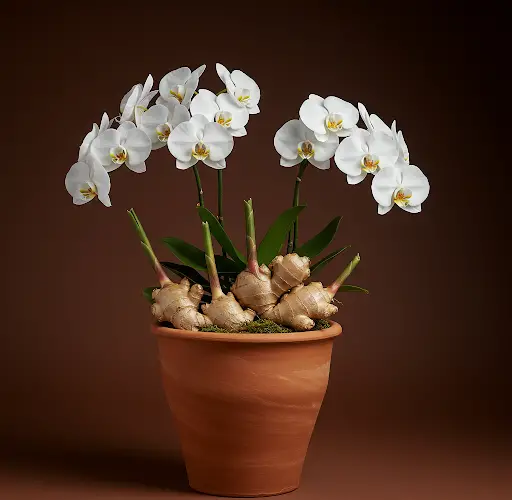
Next, we will prepare a natural growth stimulant to encourage the orchid to develop new roots and shoots. Ginger is an excellent natural rooting agent with antifungal and antibacterial properties, helping protect the orchid while stimulating new growth.
To prepare the ginger solution:
- Take 20g of fresh ginger and slice it into thin pieces.
- Add the ginger slices to 1 liter of water at room temperature.
- Let the mixture sit in a cool place for 24 hours to allow the ginger’s beneficial compounds to infuse into the water.
This ginger water will serve as a rooting solution and a disinfectant for the orchid during the propagation process.
Step 3: Creating a Mini Greenhouse for Orchid Propagation
To improve propagation success, we will create a miniature greenhouse using a recycled plastic bottle or container. This setup will maintain humidity and moisture levels, mimicking the natural tropical environment that orchids thrive in.
✅ How to make a mini greenhouse:
- Cut a large plastic bottle in half or use a transparent container with a lid.
- Make small holes at the bottom for drainage.
- Add some moss or another moisture-retaining medium inside.
- This setup will create an ideal environment for your orchid cuttings, preventing dehydration while promoting healthy root growth.
Step 4: Preparing the Orchid for Propagation
Now, we’re ready to prepare the Dendrobium anosmum orchid branch for propagation.
- Filter out the residue from the ginger water, ensuring a clean liquid remains.
- Soak the orchid branch in the ginger water for 30 minutes. This process allows the orchid to absorb the natural growth stimulants and antibacterial properties of the ginger.
- Soak sphagnum moss in ginger water for 30 minutes. Moss will be used in the propagation process to maintain the right humidity level.
Step 5: Placing the Orchid in the Mini Greenhouse
- Arrange the soaked moss inside the mini greenhouse container.
- Place the orchid branch inside, ensuring that the dormant buds (or nodes) are exposed.
- Seal the container lightly, ensuring proper ventilation.
- Keep the orchid in a cool, shaded place, away from direct sunlight.
Over time, you will begin to notice small sprouts emerging from the orchid branch. These are new orchid plantlets that will eventually grow into full plants!
Step 6: Caring for the Orchid During Propagation
To help the new plantlets grow strong and healthy, we will use a ginger enzyme (GE) spray.
✅ Preparing the GE Ginger Spray:
- Mix 1 tablespoon of fermented ginger enzyme (GE) with 300ml of water.
- Spray this solution onto the orchid once a week.
This natural spray provides additional nutrients, prevents fungal infections, and stimulates faster root and shoot growth.
After a few weeks, the baby orchid will have developed small roots. Keep spraying GE ginger solution once a week and continue placing the plant in a cool, shaded area.
Step 7: Transplanting the Young Orchid
Once the baby orchid has strong, healthy roots, it is ready to be transplanted into a more permanent environment.
- Choose a well-ventilated orchid pot with proper drainage holes.
- Use a growing medium such as pine bark, coconut husk, or a mix of orchid-friendly materials.
- Carefully place the young orchid into the pot and secure it with a small clip or stake to prevent movement.
- Add a thin layer of moss on the surface to help retain moisture.
✅ Final Care Tips:
- Continue misting with GE ginger spray once a week.
- Water the orchid sparingly, making sure the roots dry out between waterings.
- Keep the plant in a bright but indirect light location to encourage further growth.
Results: A Thriving New Orchid Plant!
With proper care, the baby orchid will continue to grow strong and eventually produce beautiful blooms. This propagation method is not only simple but also highly effective, ensuring you multiply your Dendrobium anosmum collection without the need for expensive chemicals or complicated procedures.
🌿 Key Benefits of This Method:
✅ Uses natural ingredients (ginger and moss)
✅ Prevents fungal infections and root rot
✅ Encourages healthy root growth
✅ Provides a sustainable way to propagate orchids at home
If you found this guide helpful, don’t forget to like, share, and subscribe for more orchid care tips! Happy growing, and may your orchids bloom abundantly! 🌸✨


