Grow Sweet Potatoes Year-Round Using Old Bags of Soil – A Simple and Effective Method
Sweet potatoes are nutritious, delicious, and surprisingly easy to grow. Even if you don’t have a large garden, you can successfully cultivate them using old bags of soil. This method not only helps you reuse soil efficiently but also ensures a continuous harvest throughout the year.
Follow this step-by-step guide to grow sweet potatoes for your family using this simple and space-saving technique.
Why Grow Sweet Potatoes in Bags?
✔ Space-Saving: Perfect for balconies, patios, and small gardens. ✔ Year-Round Harvest: Easily control planting times for continuous crops. ✔ Better Soil Management: Reduces soil-borne diseases and improves drainage. ✔ Minimal Maintenance: Requires less weeding and is easy to manage. ✔ Cost-Effective: Reuses old soil and minimizes waste.
Step-by-Step Guide to Growing Sweet Potatoes in Bags
Step 1: Choosing the Right Sweet Potato Variety
Not all sweet potatoes are the same. Here are some top choices for home gardening:
- Beauregard: Fast-growing, high-yielding, and widely adaptable.
- Jewel: Known for its deep orange flesh and sweet flavor.
- Georgia Jet: Early maturing with a rich, creamy texture.
- Purple Sweet Potato: High in antioxidants, adds a unique color and taste to meals.
Step 2: Preparing the Growing Bags
✔ Selecting the Right Bag:
- Use old soil bags, burlap sacks, or grow bags (minimum 10 gallons for better root development).
- Ensure proper drainage by poking small holes in the bottom. ✔ Soil Preparation:
- Use a mix of old garden soil, compost, and sand for aeration.
- Maintain a soil pH of 5.5 to 6.5. ✔ Placement:
- Position bags in a warm, sunny location with at least 6-8 hours of sunlight daily.
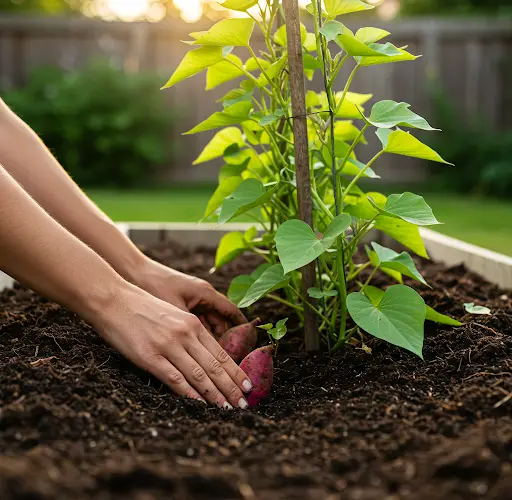
Step 3: Planting Sweet Potatoes
✔ Using Slips (Sprouted Sweet Potato Vines):
- Cut healthy shoots from a sweet potato and let them root in water.
- Once roots develop, transplant directly into the soil bag. ✔ Spacing:
- Plant 2-3 slips per bag, ensuring 12-18 inches of space between plants. ✔ Planting Depth:
- Insert slips about 4 inches deep, covering the base with soil.
- Water thoroughly after planting.
Step 4: Caring for Your Sweet Potato Plants
✔ Watering:
- Keep the soil moist but not waterlogged.
- Reduce watering as harvest time approaches to enhance sweetness. ✔ Fertilizing:
- Use a balanced organic fertilizer (5-10-10) every 3-4 weeks.
- Avoid excess nitrogen to prevent excessive vine growth with fewer tubers. ✔ Mulching:
- Apply straw or dried leaves to retain moisture and suppress weeds. ✔ Trellising (Optional):
- Sweet potato vines can be trained to climb for better space management.
Step 5: Monitoring Growth & Maximizing Yield
✔ Pest & Disease Control:
- Watch for aphids, whiteflies, and fungal infections.
- Use neem oil or insecticidal soap as natural treatments. ✔ Encouraging Bigger Tubers:
- Regularly trim excessive vine growth to focus energy on root production.
- Avoid disturbing the soil around the base of the plants.
Step 6: Harvesting Sweet Potatoes
✔ Signs of Readiness:
- Leaves begin to yellow and wilt.
- Tubers reach a good size (usually 90-120 days after planting). ✔ How to Harvest:
- Gently remove tubers from the bag without damaging the skin.
- Let them cure in a warm, dry area for 7-10 days to enhance sweetness. ✔ Storage:
- Store in a cool, dark place to keep fresh for months.
Conclusion
Growing sweet potatoes in old soil bags is a practical, cost-effective, and efficient method that allows for a continuous supply of fresh, organic produce. With minimal effort, you can enjoy a year-round harvest and never worry about buying sweet potatoes again. Start your bag-grown sweet potato garden today and experience the joy of homegrown food!


