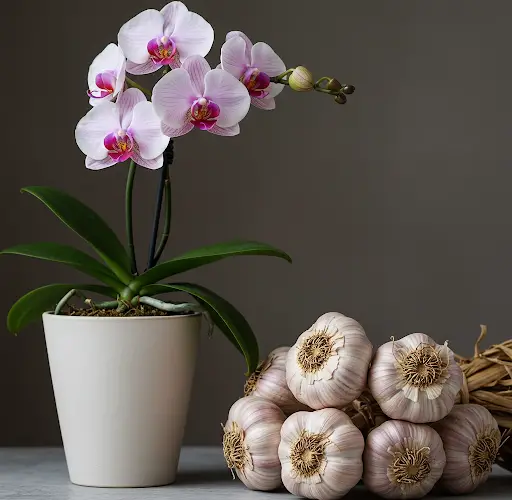
Orchids are delicate and beautiful plants, and with the right care, they can continue to bloom and grow even after their flowers have withered. If your orchid has lost all its flowers, this is the best time to help it sprout again. Here’s a step-by-step guide on how to rejuvenate an orchid and encourage new growth using natural methods.
Preparing the Orchid for Regrowth
- Remove Old Flowers:
- Once all the flowers have fallen, use a sharp knife to cut back the branch. A precise cut ensures the stem is not crushed, allowing it to heal properly.
- Peel off the protective film around the buds to help them germinate faster.
- Seal and Protect the Cut:
- Pour melted candle wax onto the fresh cut. This prevents rot and helps the wound heal quickly.
- Sprinkle cinnamon powder on the base to protect against fungal infections and bacterial rot.
Natural Nutrient Soak for Root Stimulation
- Prepare Garlic Solution:
- Crush one large garlic clove (or two small cloves) and place it in a jar with 500mL of room-temperature water.
- Let it sit for 30 minutes to allow the nutrients to dissolve into the water.
- After 30 minutes, filter out the residue and use the garlic-infused water for soaking the orchid branches.
- Soak the Orchid:
- Submerge the orchid branches in the garlic solution for 30 minutes to help eliminate bacteria and stimulate growth.
- After soaking, take the branches out and plug them into a floral foam or moss to retain moisture.
- Pour just enough filtered water to keep the setup moist, then close the lid of the container to create a humid environment.
Encouraging Sprouting and Root Development
- Miniature Greenhouse Setup:
- Recycle a plastic box to create a small greenhouse for the orchid.
- Ensure the lid has a small vent to allow airflow while maintaining high humidity.
- Place the orchid inside and keep it in a bright area, away from direct sunlight.
- Mist Weekly:
- Spray the orchid branches once a week to maintain moisture.
- Check for any signs of sprouting and continue monitoring growth.
Growth Milestones
- After 3 Weeks: Small sprouts should start appearing on the orchid branch.
- After 1 Month: The sprouts will grow larger, and small roots will begin forming.
- After 2 Months: The new orchid plant will be strong and ready to be transferred into a pot.
Transferring to a Pot
- Choose the Right Pot:
- Use a pot with good drainage to prevent waterlogging.
- Place moss on top of the potting mix to maintain moisture without oversaturating the roots.
- Adjust to Outdoor Conditions:
- Keep the orchid in a bright, shaded area to help it adapt to natural conditions.
- Water sparingly and ensure proper air circulation around the plant.
Propagating from Orchid Flower Stems
- Select Healthy Nodes:
- If you have an orchid flower stem that has finished blooming, cut off the nodes that have already produced flowers.
- Ensure you leave at least three segments of the stem to encourage new growth.
- Use Candle Wax and Cinnamon:
- Apply candle wax to the cut to prevent rotting.
- Sprinkle cinnamon powder to aid in healing and protect against infections.
- Let the cut dry for a day before proceeding with further treatment.
Stimulating Growth with Natural Nutrients
- Ginger Solution:
- Chop fresh ginger and soak it in 500mL of boiled water.
- Let it sit for one day, then filter out the residue.
- Soak the orchid flower stem in ginger water for 30 minutes.
- Soak moss in the ginger water for another 30 minutes to enhance its ability to retain nutrients.
- Miniature Greenhouse for Propagation:
- Use a plastic container with ventilation to create a high-humidity environment.
- Place the treated orchid flower stem inside and mist weekly.
- Keep it in a well-lit, cool place, away from direct sunlight.
Growth Timeline for Propagated Orchids
- After 21 Days: Sprouts begin to emerge from the nodes.
- After 1 Month: Continued growth with small root formations.
- After 2 Months: The orchid is ready to be transferred into a pot.
Reviving Orchid Sprouts with Tomatoes
- Prepare Tomato Nutrient Paste:
- Mash a ripe tomato and apply the core to the base of the orchid’s flower stem.
- Secure it with a cotton wrap and leave it on for 30 minutes to allow the nutrients to penetrate.
- Tomato contains nitrogen, phosphorus, and potassium, which are essential for root and bud formation.
- Humidity Control:
- Insert the treated flower stem into a sponge and place it inside a transparent jar.
- Add a small amount of water to maintain moisture levels.
- Cover with a plastic lid and keep in a cool area with indirect light.
Final Growth Stages
- After 3 Weeks: The flower stem should begin reviving and showing signs of baby orchid growth.
- After 6 Weeks: Strong roots and small leaves will develop.
- Final Step: Once the orchid has established a healthy root system, transfer it to a larger pot for continued growth.
By following these natural and simple steps, you can successfully rejuvenate your orchids, ensuring they continue to thrive and bloom beautifully for years to come. If you found this guide helpful, be sure to share it with fellow orchid enthusiasts!
Show Comments


