How to Properly Water an Orchid for Healthy Growth
One of the most frequently asked questions when it comes to orchid care is how to water them correctly. Proper watering techniques are essential for maintaining the health of your orchid, ensuring it produces abundant flowers, maintains vibrant leaves, and develops strong, active roots. Incorrect watering can lead to root rot and fungal infections, which are among the most common issues orchid growers face. To prevent these problems and ensure your orchid thrives, I will share the correct watering methods in three essential steps.
Step 1: Determine Whether Your Orchid Needs Water
Unlike other houseplants, orchids should not be watered on a fixed schedule, such as daily or weekly. Instead, the best approach is to check whether your orchid actually needs water before proceeding with irrigation. To do this, examine the roots inside the pot rather than relying on the appearance of aerial roots, which is a common mistake many growers make.
Aerial roots, which extend outside the pot, are usually white or gray, but their color does not accurately indicate the plant’s hydration needs. Instead, focus on the roots within the pot. If these roots appear white or gray, it means the orchid requires water. Conversely, if they are green, the plant is already hydrated and does not need additional watering at that time.
Step 2: The Best Time to Water Your Orchid
The timing of your watering routine plays a crucial role in preventing diseases and promoting optimal growth. The ideal time to water orchids is in the morning, before the peak heat of midday. Watering in the evening is not recommended, as it increases the risk of pests such as mealybugs and can encourage fungal growth.
Morning watering allows the roots to absorb moisture throughout the day, ensuring they dry adequately before nightfall. This drying process is important because prolonged moisture retention can lead to root rot. Additionally, after watering, it is beneficial to place your orchid in a well-ventilated area where it can receive plenty of indirect sunlight and fresh air.
Step 3: Choosing the Right Water and Watering Methods
When watering your orchid, it is crucial to use the right type of water. Tap water is not ideal because it often contains chlorine and other chemicals that may hinder the orchid’s growth. Instead, opt for purified or filtered water. Some orchid enthusiasts also recommend using banana peel water, which can provide additional nutrients.
Method 1: The Soaking Method
One of the most effective ways to hydrate an orchid is by soaking it in water for a short period. To do this, fill a bowl with purified water and place the orchid’s pot in the water. Let it soak for a maximum of five minutes. This allows the roots to absorb the necessary moisture without becoming oversaturated.
It is essential not to exceed the five-minute mark, as prolonged soaking can lead to excess moisture accumulation at the center of the pot, increasing the risk of root rot. As you soak the orchid, you will notice the roots gradually changing from white or gray to green, indicating that they have absorbed enough water.
Method 2: Top Watering Technique
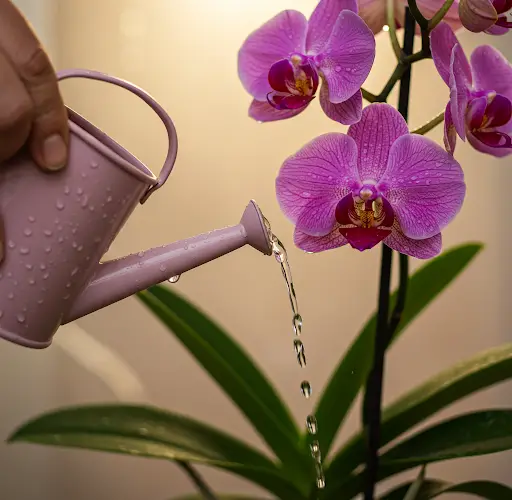
Another recommended method is top watering, which involves gently pouring water over the potting medium. This method provides controlled hydration and minimizes the risk of overwatering.
To use this technique, pour half a glass of water around the edges of the pot, ensuring that the water reaches the roots without entering the orchid’s central stem. Water pooling around the stem can cause fungal infections and rot. As the water drains through the pot, it collects in the dish beneath. The orchid will continue to absorb moisture from this drainage until it dries out by the evening.
If using this method, it is essential to have a drainage plate under the pot. By the end of the day, any remaining water in the plate should be discarded to prevent stagnation and overhydration of the roots.
Additional Tips for Healthy Orchids
- Avoid Moving the Orchid Excessively
- Keep your orchid in a stable location and water it in place rather than moving it frequently. This stability helps the plant adapt to its environment and maintain optimal hydration levels.
- Drain Excess Water Properly
- Whether using the soaking or top watering method, always ensure proper drainage to prevent root rot. Never let water sit at the base of the pot for extended periods.
- Fertilizing Orchids for Optimal Growth
- Orchids benefit from fertilization, but it should be done sparingly. Fertilize only between two watering sessions—approximately once every 20 days rather than weekly.
- Suitable organic fertilizers include banana peel water, eggshell water, or rice water. These natural options provide essential nutrients without exposing the orchid to harsh chemicals.
Signs Your Orchid No Longer Needs Water
After proper watering, the orchid’s roots will change color. If the roots turn green, it indicates that they have absorbed enough water and do not need additional watering for the time being. Always monitor the roots before watering again to avoid overhydration.
By following these techniques and guidelines, you can ensure your orchid remains healthy, vibrant, and free from common watering-related issues. With proper care, your orchid will reward you with stunning flowers and long-lasting beauty.


