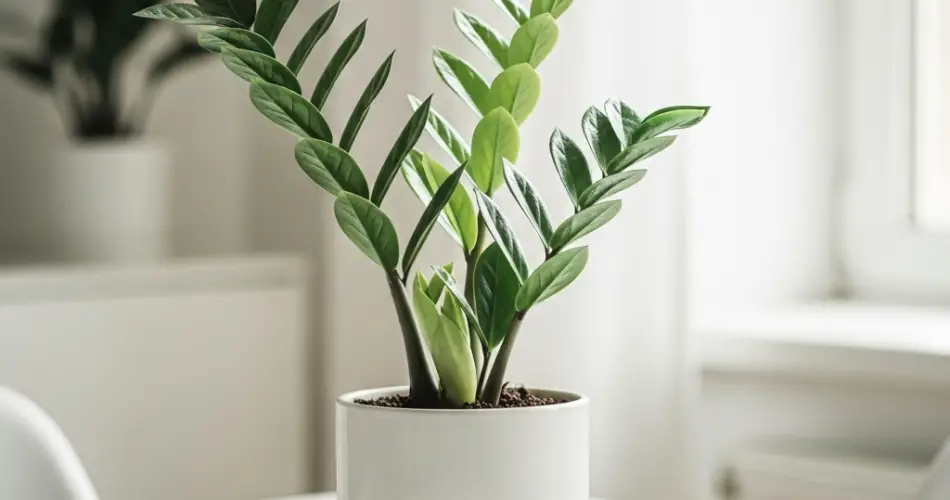
The ZZ plant (Zamioculcas zamiifolia) is one of the most resilient and visually striking plants you can introduce to your home or garden. Known for its glossy, dark green leaves and upright structure, the ZZ plant adds a sculptural elegance to any space while demanding very little care. If you’re looking to start from scratch and grow your ZZ plant from seed, you’re about to begin a journey that’s both rewarding and surprisingly easy.
Whether you’re a beginner or an experienced gardener, here’s a step-by-step guide on how to grow your ZZ plant from seed to stunning display—with results faster than you’d expect.
Why Choose the ZZ Plant?
The ZZ plant is an excellent choice for several reasons:
-
Low maintenance: It tolerates neglect, drought, and low light.
-
Air purifying: It helps clean indoor air by removing toxins.
-
Pest resistant: Rarely affected by pests or diseases.
-
Decorative appeal: Its waxy, green leaves stay shiny and fresh-looking all year.
All of this makes it a perfect addition to gardens, containers, or sunny windowsills.
Step 1: Sourcing ZZ Plant Seeds
While ZZ plants are most commonly propagated through division or leaf cuttings, growing them from seed is possible—though less common and requires patience. Seeds are typically available from specialty nurseries or online plant retailers. Make sure the seeds are fresh and stored in a cool, dry place before planting.
Note: ZZ plant seeds resemble small bulbs or nuts. Don’t mistake them for traditional small seeds like those of herbs or flowers.
Step 2: Preparing the Growing Medium
The ZZ plant prefers well-draining soil. For seeds, use a light, aerated mix that helps retain some moisture without becoming soggy.
Recommended mix:
-
1 part perlite
-
1 part coarse sand
-
2 parts coconut coir or peat moss
Sterilize your growing medium by baking it in the oven at 180°F (82°C) for 30 minutes, or use pre-sterilized seed starting mix to reduce the risk of fungal infections.
Step 3: Planting the Seeds
-
Fill a seed tray or shallow container with the prepared soil.
-
Place each seed about an inch apart and press them lightly into the soil.
-
Cover lightly with a thin layer of soil, no more than ½ inch deep.
-
Water gently, just enough to moisten the soil—don’t overwater.
Cover the tray with clear plastic wrap or a humidity dome to retain warmth and moisture, mimicking the plant’s natural tropical environment.
Step 4: Germination and Early Growth
Germination may take 4 to 12 weeks, depending on conditions. Keep the soil consistently moist but not wet. The ideal temperature for germination is 75–80°F (24–27°C).
Place the container in a bright location with indirect light. Avoid direct sun, which may overheat the seeds.
Once the first leaves emerge (called cotyledons), remove the plastic cover and continue regular light watering.
Step 5: Transplanting Seedlings
When your ZZ seedlings grow two or more sets of true leaves and the roots begin to fill out their starter cells, they’re ready to be transplanted into individual pots.
Use small pots with drainage holes and fill with a cactus or succulent mix—something well-draining. Be gentle during transplanting to avoid disturbing the roots.
Step 6: Routine Care for Rapid Growth
Though ZZ plants grow slowly by nature, you can encourage steady development with the right conditions:
-
Light: Bright, indirect sunlight is best. They can tolerate low light but grow faster with more exposure.
-
Watering: Let the soil dry out completely between waterings. Water deeply, but infrequently.
-
Feeding: Fertilize every 6–8 weeks with a diluted liquid houseplant fertilizer during the growing season (spring through summer).
-
Humidity: Average room humidity is fine, but slightly higher humidity can improve growth.
-
Cleaning: Wipe leaves gently with a damp cloth to keep them shiny and dust-free.
Step 7: Troubleshooting Common Issues
-
Yellowing leaves: Typically a sign of overwatering.
-
Wrinkled stalks: Often caused by underwatering.
-
Slow growth: Usually due to low light or lack of nutrients. Adjust care accordingly.
The ZZ plant is tough, but like all plants, it thrives when its specific needs are met.
Final Thoughts
Growing a ZZ plant from seed may take a little more time and patience compared to other propagation methods, but it’s a satisfying process that allows you to witness every stage of development—from a single seed to a lush, glossy plant.
With minimal effort and the right growing conditions, your ZZ plant will transform your garden, patio, or home interior into a green oasis. It’s a reminder that even the most elegant plants can have humble beginnings—and with a bit of care, even beginners can achieve stunning results.


