Saving seeds from your string bean (also known as green bean or snap bean) plants is a smart and sustainable gardening practice. Not only does it allow you to grow your favorite variety season after season, but it also helps preserve heirloom genetics and reduce your reliance on store-bought seeds. Fortunately, saving bean seeds is one of the easiest seed-saving tasks—even for beginners.
This guide covers everything you need to know to harvest, dry, store, and replant string bean seeds successfully.
Why Save String Bean Seeds?
String beans are self-pollinating plants, meaning they do not easily cross-pollinate with other bean varieties. This makes them ideal for seed saving, as the seeds you collect will grow into plants that closely resemble the parent. By saving seeds, you gain the following benefits:
-
Cost savings: No need to purchase seeds every season.
-
Adapted plants: Your saved seeds gradually become better suited to your local growing conditions.
-
Heirloom preservation: Helps maintain traditional varieties with unique characteristics.
Choosing the Right Plants
For best results, select the healthiest plants to save seeds from. Look for those that are:
-
Vigorous and pest-resistant
-
Free from disease
-
High-yielding
-
Early or consistently productive
Avoid saving seeds from weak, misshapen, or diseased plants, as these traits could carry over into the next generation.
If you’re growing multiple types of beans nearby, consider spacing them apart or planting a single variety to reduce the already low chance of cross-pollination.
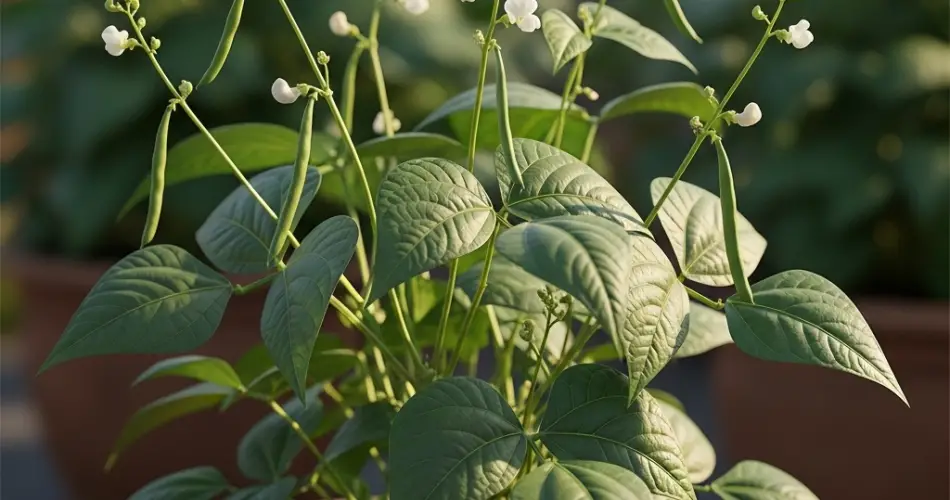
Let the Pods Mature Fully
To collect viable seeds, you need to allow the bean pods to mature and dry completely on the plant. Unlike beans harvested for eating—when pods are young and tender—seed-saving beans must reach full maturity.
Here’s how:
-
Stop harvesting for food on the selected seed plants after the flowering period.
-
Allow the pods to remain on the plant for 4 to 6 weeks past normal picking time.
-
Wait until the pods turn brown, dry, and brittle, and you can hear seeds rattling inside when shaken.
If rain is expected during this late stage, consider covering the plants with a light fabric or harvesting the pods early and finishing the drying process indoors.
Harvesting the Pods
Once the pods are fully dry on the plant, it’s time to harvest:
-
Pick the dry pods during a sunny day to avoid moisture contamination.
-
Remove any pods that show signs of mold or damage.
-
Place the pods in a paper bag, basket, or tray—avoid plastic containers, as they trap moisture.
For extra drying, you can spread the pods out in a single layer indoors in a well-ventilated area for 1 to 2 weeks. This ensures that no residual moisture remains, which could lead to mold during storage.
Extracting and Cleaning the Seeds
After the pods are fully dry, it’s time to remove and clean the seeds:
-
Shell the pods by gently cracking them open and collecting the beans inside.
-
Discard any shriveled, cracked, or insect-damaged seeds.
-
If needed, rub the seeds gently between your hands to remove any remaining pod fragments.
Healthy seeds should be hard, smooth, and uniformly colored.
Curing and Storing the Seeds
To ensure your seeds last until the next growing season (or longer), cure them thoroughly:
-
Let the cleaned seeds air-dry in a shallow tray or screen for 7 to 10 days in a cool, dry place.
-
Stir occasionally to promote even drying.
Once dry, store seeds in an airtight container. Suitable options include:
-
Glass jars with tight lids
-
Paper envelopes placed inside sealed containers
-
Vacuum-sealed bags
Label each container with the variety name and date saved. Store your seeds in a cool, dark, and dry place—such as a pantry, basement, or even the refrigerator.
Properly stored bean seeds can remain viable for up to 3 to 5 years.
Testing Seed Viability (Optional)
If you’re unsure about the quality of older seeds, you can test their viability:
-
Place 10 seeds on a damp paper towel and roll it up.
-
Keep it moist and warm for 5–7 days.
-
Count how many seeds sprout. A rate of 70% or higher is considered good.
Replanting Your Saved Seeds
Plant your saved seeds just like any store-bought ones:
-
Soak them for a few hours before sowing to speed up germination.
-
Plant directly in warm soil after the last frost date in your region.
-
Space them as recommended for the variety (usually 4–6 inches apart for bush beans, more for pole beans).
With time, your saved seed stock will adapt even better to your local soil and climate conditions, giving you hardier and more productive plants year after year.
Conclusion
Saving seeds from string beans is a simple, rewarding way to keep your garden self-sustaining and cost-effective. With a little patience and care, you can preserve your favorite varieties, enjoy dependable harvests, and pass along strong seed lines to future seasons.


