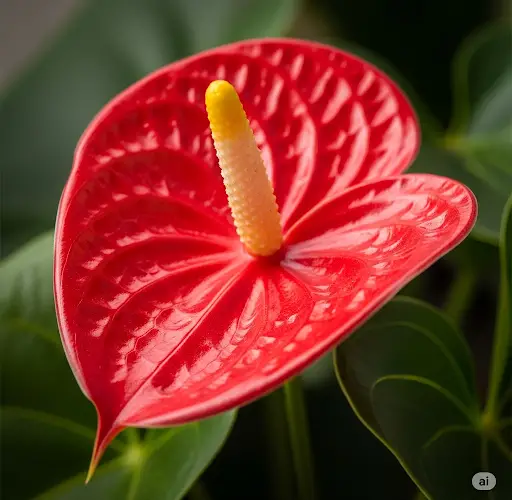
Anthuriums, especially the striking Red Anthurium, are popular houseplants known for their glossy leaves and vibrant, heart-shaped flowers. To keep them healthy and blooming, proper repotting, the right soil mix, and adequate fertilization are essential. In this article, we’ll walk you through how to repot a Red Anthurium, what kind of soil it prefers, and which fertilizers will help it flourish year-round.
When to Repot a Red Anthurium
Anthuriums should be repotted every 1 to 2 years, ideally in the spring or early summer when the plant enters its active growth phase. Signs that your Anthurium needs repotting include:
-
Roots growing out of the drainage holes
-
Soil that dries out very quickly
-
Stunted growth or fewer flowers
-
The plant becoming top-heavy or unstable in its pot
Repotting not only gives the plant more room to grow but also refreshes the soil, allowing for better water retention and nutrient absorption.
Choosing the Right Pot
Select a pot that is 2–3 cm wider than the current one. Make sure it has drainage holes at the bottom to prevent water from stagnating, which can lead to root rot. A slightly deeper pot is preferred, as Anthuriums have thick roots that need space to spread comfortably.
Clay pots are a great option because they are breathable and help regulate moisture levels, but plastic pots with good drainage work just as well.
Preparing the Ideal Soil Mix
The Red Anthurium thrives in a light, airy, and well-draining soil. Regular garden soil is too dense and can suffocate the roots. Instead, create a custom mix that mimics the plant’s natural tropical habitat.
Here’s a recommended Anthurium soil mix:
-
1 part orchid bark or pine bark
-
1 part perlite or pumice
-
1 part peat moss or coco coir
-
Optional: A handful of charcoal to improve drainage and prevent fungal growth
This blend ensures the roots receive sufficient oxygen while retaining enough moisture to support the plant’s needs.
How to Repot the Plant Step-by-Step
-
Water Beforehand: Water the plant a day before repotting. This softens the root ball and makes it easier to remove from the pot.
-
Remove the Plant Gently: Tilt the pot and carefully remove the Anthurium, supporting the base of the stem. Shake off the old soil gently without damaging the roots.
-
Trim Dead Roots: Examine the root system and trim away any dead, mushy, or rotten roots with sterile scissors.
-
Place in New Pot: Add a layer of the new soil mix at the bottom of the pot. Position the Anthurium in the center and fill in the sides with more soil, ensuring the plant sits at the same depth as before.
-
Settle the Soil: Tap the pot lightly to remove air pockets and help the soil settle around the roots.
-
Water Lightly: After repotting, water the plant lightly to moisten the soil. Avoid overwatering during the first week as the plant adjusts.
Fertilizing Your Anthurium
Fertilizing is essential to keep your Anthurium blooming and healthy. Use a balanced, water-soluble fertilizer with a formula like 20-20-20 or one that’s slightly higher in phosphorus (the middle number) to promote flowering.
Apply fertilizer:
-
Once every 4–6 weeks during the growing season (spring to early autumn)
-
Reduce or stop fertilizing in winter when growth slows down
To avoid root burn, dilute the fertilizer to half the recommended strength.
If you prefer organic options, you can use compost tea, fish emulsion, or worm castings. These nourish the plant slowly and improve soil quality over time.
Tips for Ongoing Care
-
Light: Anthuriums prefer bright, indirect light. Avoid direct sunlight, which can scorch the leaves.
-
Watering: Water when the top 2–3 cm of soil feels dry. Don’t let the plant sit in water.
-
Humidity: They love humidity. Mist the leaves regularly or place the pot on a pebble tray with water.
-
Cleaning: Wipe the leaves occasionally to remove dust and allow better photosynthesis.
Final Thoughts
Repotting a Red Anthurium using the right technique and soil mix ensures robust growth and a steady display of vibrant flowers. Pair that with a smart fertilizing routine, and your plant will continue to thrive and brighten your home with its tropical charm.


