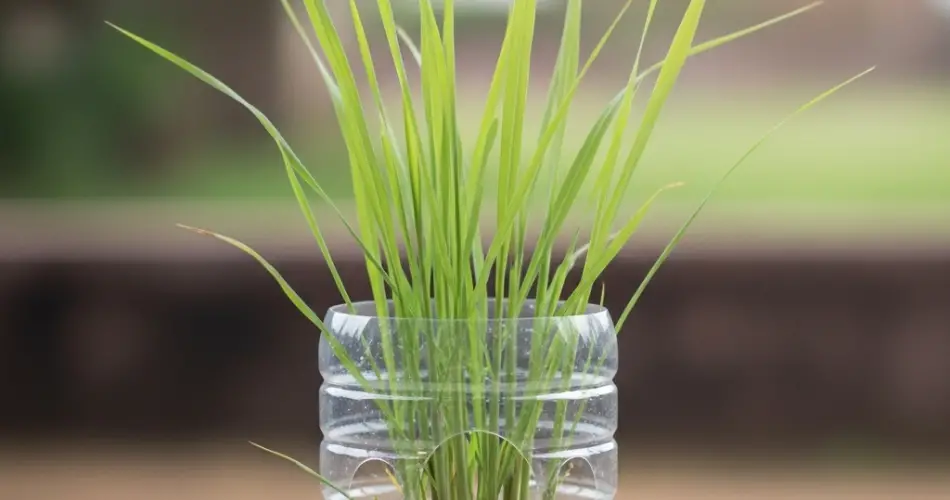
Lemongrass is a fragrant, flavorful herb commonly used in Southeast Asian cuisine, herbal teas, and natural remedies. With its citrusy aroma and slender green stalks, lemongrass not only enhances your dishes but also brings a fresh, tropical scent into your home. The best part? You can regrow lemongrass easily using cuttings and a recycled plastic bottle, making it a perfect project for small-space gardening or sustainable living.
Regrowing lemongrass in plastic bottles is budget-friendly, environmentally conscious, and surprisingly simple. Even if you don’t have a garden or large pots, a basic plastic container can be transformed into a compact herb planter that sits neatly on a windowsill or balcony.
Why Regrow Lemongrass in Plastic Bottles?
Plastic bottles are often discarded, but they can serve as excellent planters for herbs like lemongrass. Their shape and size make them easy to handle, and with a few modifications, they provide the drainage and depth needed for healthy root development.
Benefits of using plastic bottles for regrowing lemongrass:
-
Repurposes plastic waste into a functional container
-
Requires minimal space, ideal for urban or indoor gardening
-
Keeps herbs close for convenient harvesting
-
Promotes self-sufficiency by regrowing store-bought stalks
-
Perfect for beginner gardeners or DIY enthusiasts
Lemongrass grows well in containers, and with proper sunlight and water, it will thrive even in a bottle.
Materials Needed
Before you start, gather these simple materials:
-
A clean plastic bottle (1.5 to 2 liters is ideal)
-
Lemongrass stalks with the root base intact (store-bought or garden cuttings)
-
A pair of scissors or a utility knife
-
Potting soil (light and well-draining)
-
Small pebbles or mesh (optional for drainage)
-
A shallow tray or saucer to catch excess water
-
A watering can or spray bottle
Step 1: Prepare the Lemongrass Cuttings
If you’re using fresh store-bought lemongrass, make sure the base of each stalk is intact. Choose stalks with a firm, pale bulb at the bottom and green tops. If there are no roots yet, they will develop soon.
-
Trim the top green portion, leaving 5–6 inches from the base.
-
Place the stalks in a glass of water with the bulb ends submerged.
-
Keep the glass in a sunny spot and change the water every few days.
-
In about 7–14 days, you should see roots growing from the base.
Once the roots are at least 1–2 inches long, your lemongrass is ready to be transferred into the plastic bottle planter.
Step 2: Prepare the Plastic Bottle Planter
Now, it’s time to build your recycled container:
-
Take a clean plastic bottle and cut off the top third using scissors or a knife.
-
Poke 4–5 small drainage holes in the bottom of the bottle.
-
Add a thin layer of small pebbles or mesh if desired, to improve drainage.
-
Fill the bottle with well-draining potting soil, leaving about an inch from the top.
Make sure the soil is moist but not soggy before planting.
Step 3: Plant the Lemongrass
-
Make a hole in the center of the soil deep enough for the roots of your stalk.
-
Gently place one rooted stalk into the hole and firm the soil around it.
-
Water lightly to help the roots settle.
If you’re using a wider bottle or container, you can plant 2–3 stalks together, leaving space between them to grow.
Step 4: Care and Maintenance
Lemongrass loves sunlight and warmth. Here’s how to care for it:
Light: Place your bottle planter in a spot with 6–8 hours of direct sunlight daily. South-facing windows, balconies, or sunny patios are great options.
Water: Keep the soil consistently moist but not waterlogged. Water when the top inch of soil feels dry. Avoid letting the roots sit in standing water.
Fertilizer: Feed your plant with a diluted liquid fertilizer every 4–6 weeks to encourage growth. A compost-rich potting mix may reduce the need for extra feeding.
Airflow: Good air circulation prevents fungal issues. If growing indoors, occasionally move the plant outside to a breezy location for a few hours.
Step 5: Harvesting Lemongrass
You can begin harvesting once the stalks are thick and about 12 inches tall.
How to harvest:
-
Grasp a mature stalk at the base and twist or cut it off close to the soil.
-
Use the lower, white portion in cooking—this part contains the most flavor.
-
Let younger stalks continue to grow for a continuous harvest.
Trimming off older leaves can help redirect energy to new stalk development.
Common Problems and Tips
-
Slow growth: May result from insufficient sunlight. Move to a brighter location.
-
Yellowing leaves: Often caused by overwatering or poor drainage. Improve soil drainage and reduce watering frequency.
-
Weak stalks: Underfertilized or overcrowded plants can become thin. Thin out the stalks and use a balanced fertilizer.
Conclusion
Regrowing lemongrass in plastic bottles is an easy and eco-friendly way to enjoy fresh herbs year-round. With minimal supplies and a bit of patience, you can turn kitchen scraps into a thriving plant. Whether placed on your kitchen counter or sunny balcony, this sustainable herb garden project adds beauty, fragrance, and flavor to your home—one recycled bottle at a time.


