Roses are timeless garden favorites, cherished for their fragrance, vibrant colors, and elegant blooms. While buying new rose plants can be costly, propagating roses from cuttings offers a simple, rewarding, and budget-friendly alternative. One of the most astonishing methods is propagating rose cuttings in plain water. When done correctly, cuttings can root quickly and begin to sprout—sometimes appearing to grow “overnight.”
This method is especially attractive because it’s nearly effortless, requires no soil or rooting hormones, and allows you to watch root development in real-time. Here’s how you can successfully propagate rose cuttings in water and enjoy the excitement of rapid growth.
Why Water Propagation Works for Roses
Water propagation allows cuttings to remain constantly hydrated, reducing the risk of drying out before roots can form. The transparent container also lets you monitor root development and spot any signs of decay early.
While not traditionally the most recommended method for roses—because they are slightly more sensitive than other plants—it can be surprisingly effective when proper conditions are maintained. The key is to use fresh cuttings, change the water regularly, and provide a warm, well-lit environment.
What You’ll Need
-
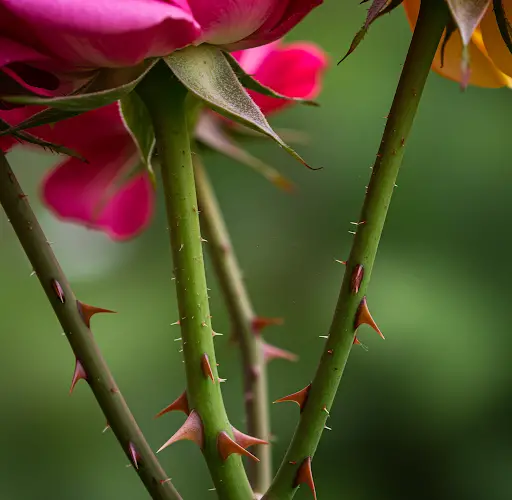
Healthy rose stems (6–8 inches long)
-
Sharp scissors or pruning shears
-
Clean glass or plastic containers (jars or cups work well)
-
Room-temperature filtered or distilled water
-
Optional: clear plastic bag or wrap to retain humidity
Step-by-Step Guide to Water Propagation
1. Choose the Right Rose Cutting
Select a healthy rose stem from a plant that’s disease-free and preferably just after it has flowered. The best cuttings are semi-hardwood—firm, but not completely woody. Use pruning shears to take a 6–8 inch cutting, making the cut just below a node (the swollen part of the stem where leaves grow).
2. Prepare the Cutting
Remove all the lower leaves, leaving only the top one or two sets. This reduces moisture loss and allows the cutting to focus on rooting. If the cutting has a flower bud, snip it off to conserve energy.
At the bottom of the cutting, make a diagonal cut to increase surface area for water uptake. Optionally, you can lightly scrape off the outer bark on one side of the bottom inch to expose more rooting surface.
3. Place in Water
Fill a clear jar or glass with room-temperature water. Insert the cutting so that the lower nodes are submerged, but the leaves stay above water. Use only clean, fresh water—preferably distilled or filtered—to avoid chlorine and contaminants.
4. Provide the Right Conditions
Place the container in a warm spot with bright, indirect sunlight. A windowsill or sheltered outdoor area works well. Avoid direct afternoon sun, which can overheat the cutting or promote algae growth in the water.
To increase humidity and mimic greenhouse conditions, loosely cover the top of the cutting with a clear plastic bag. Make sure the bag doesn’t touch the leaves and is vented to prevent mold buildup.
5. Maintain and Monitor
Change the water every two to three days to keep it fresh and oxygenated. Rinse the container if you notice any algae or murkiness. Roots usually begin to form within 10 to 15 days, depending on temperature and plant health.
As roots develop, you’ll also start to see new leaf growth or buds forming on the upper part of the cutting—an exciting sign that propagation is succeeding.
Transplanting Your Rooted Rose Cutting
Once the cutting has developed strong, white roots at least 2 inches long, it’s ready to be transferred to soil. Gently plant the rooted cutting in a small pot with quality potting mix, burying the roots and part of the lower stem.
Water thoroughly and keep the pot in a partially shaded area for the first few days to help the plant adjust. After a week or two, gradually introduce it to more sunlight.
Tips for Success
-
Use softwood or semi-hardwood cuttings from healthy plants for best results.
-
Avoid overcrowding—one cutting per container ensures better airflow and reduces risk of rot.
-
Keep the environment humid but not stagnant. Fresh air is just as important as moisture.
-
Be patient. While some cuttings root rapidly, others may take a few weeks.
Final Thoughts
Propagating roses in water is a fascinating process that offers visible progress and rewarding results. While it may seem like magic when a cutting suddenly sprouts roots and leaves, the success comes from maintaining the right balance of water, light, and cleanliness.
This method is not only simple and effective but also incredibly satisfying for gardeners of all levels. Whether you’re expanding your rose collection or preserving a cherished variety, water propagation is a natural, low-cost way to grow new rose plants—and it might just surprise you with how fast it works.


