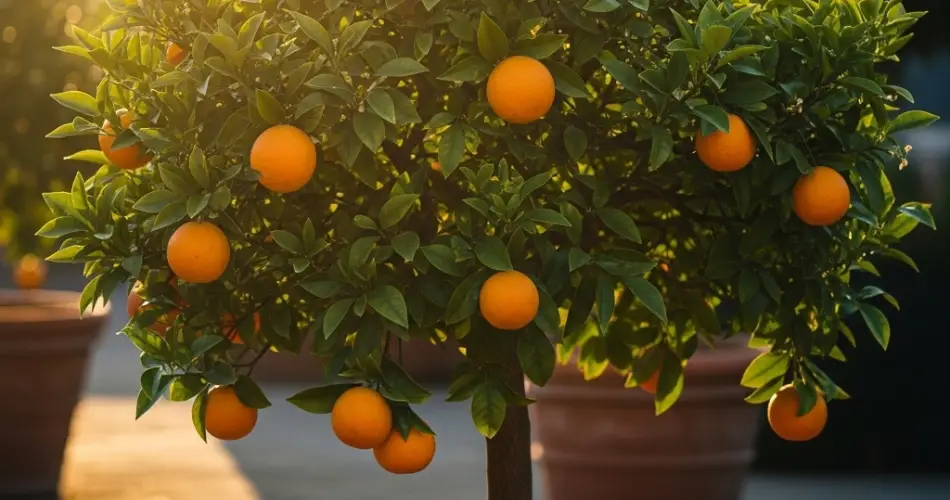
Growing orange trees from cuttings is a rewarding and cost-effective way to expand your citrus garden. While orange trees are often propagated through grafting for commercial production, home gardeners can successfully propagate them from cuttings with a bit of patience and care. This method produces a clone of the parent tree, preserving its exact fruit quality and characteristics.
Whether you want to multiply your favorite variety or grow a new tree indoors or out, this guide will walk you through every step of propagating orange trees from cuttings.
Why Propagate Orange Trees from Cuttings?
Propagation by cuttings has several advantages:
-
It produces a true-to-type plant, identical to the parent.
-
It’s more affordable than buying grafted trees.
-
It allows gardeners to preserve a favorite tree or variety.
-
It avoids the unpredictability of growing from seed, which can result in trees that take years to fruit or produce inferior oranges.
While it may take some time and care for the cuttings to establish, the process is simple and achievable with the right tools and environment.
Best Time to Take Orange Tree Cuttings
The ideal time to take cuttings is during the late spring or early summer, when the tree is actively growing and the stems are semi-hardwood—neither too green nor fully mature. Avoid taking cuttings during cold or dormant periods, as rooting success is significantly reduced.
What You’ll Need
-
Healthy, disease-free orange tree
-
Clean, sharp pruning shears or knife
-
Small pots or containers
-
Well-draining potting mix (e.g., a mix of peat moss, perlite, and sand)
-
Rooting hormone powder or gel (optional but recommended)
-
Plastic bags or a humidity dome
-
Spray bottle with water
-
Warm, bright location (indirect sunlight)
Step-by-Step Guide to Propagation
1. Select the Right Cutting
Choose a healthy, non-flowering stem that is 6 to 8 inches long with several leaf nodes. It should be semi-hardwood—firm but still flexible. Cut just below a leaf node, as this is where roots are most likely to form.
2. Prepare the Cutting
-
Remove the leaves from the lower half of the cutting.
-
Leave a few leaves at the top to support photosynthesis but reduce overall moisture loss.
-
If desired, dip the cut end into rooting hormone to encourage root development and reduce the risk of rot.
3. Prepare the Potting Medium
Fill small pots with a well-draining propagation mix. A blend of equal parts peat moss and perlite or coarse sand and coconut coir works well. Water the mix lightly so it’s moist but not soggy.
Using a pencil or stick, create a hole in the center of the pot to avoid scraping off the rooting hormone when inserting the cutting.
4. Plant the Cutting
Insert the cutting about 2–3 inches deep into the prepared hole, ensuring that at least one or two nodes are buried. Firm the soil gently around the base to keep it upright.
5. Create a Humid Environment
Moisture is key during the rooting stage. Cover the cutting with a clear plastic bag or place it under a humidity dome to maintain a high-humidity environment. Be sure the plastic doesn’t touch the leaves—use sticks or stakes if necessary to hold it up.
Mist the inside of the bag or dome daily using a spray bottle to keep humidity levels high.
6. Provide the Right Conditions
Place the pot in a warm, bright spot with indirect light. Avoid direct sun, which can dry out the cutting. Ideal temperature for rooting is between 70°F to 80°F (21°C to 27°C).
Ensure the soil remains moist but not waterlogged. Overwatering can cause the cutting to rot before it roots.
7. Monitor for Root Growth
Rooting typically takes 4 to 8 weeks, though it can vary depending on environmental conditions and the variety. To check for root development, gently tug on the cutting. If you feel resistance, roots are forming.
Avoid disturbing the cutting too often, as this can damage fragile roots.
8. Transplanting the Rooted Cutting
Once the cutting has developed a healthy root system, it’s time to transplant it into a larger pot with regular citrus potting mix. Continue to keep the young plant in a sheltered, partially sunny location and water consistently.
Allow it to grow and strengthen indoors or in a greenhouse before transitioning it to outdoor conditions.
9. Ongoing Care
Young orange trees need time to mature before fruiting. Depending on the variety and growing conditions, it may take 2 to 3 years for your propagated tree to produce oranges.
Provide:
-
Regular watering (keep soil moist but not soggy)
-
Citrus-specific fertilizer every 4–6 weeks during the growing season
-
Pruning to shape the tree and remove weak growth
-
Protection from pests like aphids, scale, and spider mites
In colder climates, keep the tree indoors during winter or protect it with covers or heat sources if outdoors.
Final Thoughts
Propagating orange trees from cuttings is a fulfilling project that rewards patience and care. By choosing a healthy parent tree and following the proper steps, you can grow a new citrus tree that mirrors the original in flavor, size, and growth habit. With consistent attention and the right environment, your propagated orange tree can eventually produce delicious fruit and bring beauty and fragrance to your home or garden.


