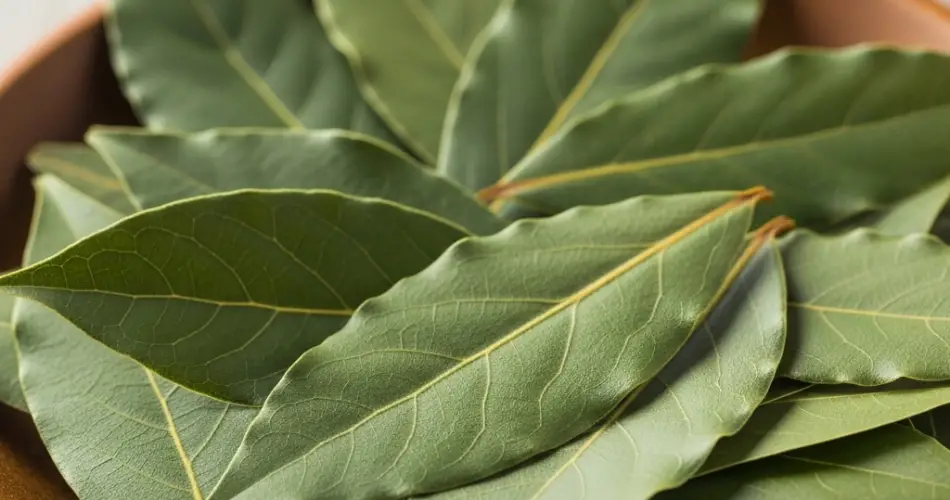
Bay leaf, also known as bay laurel (Laurus nobilis), is a prized culinary herb used to flavor soups, stews, sauces, and meat dishes. While mature bay trees can be grown from seed, propagation through cuttings is a more reliable and faster way to produce new plants. If you already have access to a healthy bay tree, you can easily create new plants by following a few key steps.
Unlike some herbs, bay laurel has a slower rooting process, so patience and proper technique are essential. With the right timing, tools, and environment, you can propagate bay leaf cuttings successfully at home.
Why Grow Bay Leaf from Cuttings?
Propagating bay laurel from cuttings offers several advantages:
-
Cloning a parent plant ensures you maintain the same flavor and leaf quality.
-
It’s faster than growing from seed, which may take a year or more to establish.
-
You avoid potential seed germination failures, which are common with bay trees.
-
It’s an affordable way to expand your herb garden or share plants with others.
Best Time to Take Bay Leaf Cuttings
The best time to take bay cuttings is in late spring to early summer, when the plant is actively growing but not yet flowering. Softwood or semi-hardwood cuttings (from this year’s growth) root more readily than hardwood cuttings taken in fall or winter.
Look for stems that are:
-
Young but not too soft or green
-
Free of pests or disease
-
About the thickness of a pencil
What You’ll Need
-
A healthy bay tree
-
Clean, sharp pruning shears
-
Rooting hormone (powder or gel)
-
Small pots or seed trays
-
A well-draining propagation mix (such as peat and perlite or coconut coir and sand)
-
Clear plastic bags or a humidity dome
-
Spray bottle with water
-
Labels (optional)
Step-by-Step Guide to Propagating Bay Leaf from Cuttings
1. Select and Prepare Your Cuttings
-
Choose non-flowering shoots that are 4 to 6 inches (10–15 cm) long.
-
Make a clean cut just below a leaf node (the point where leaves emerge).
-
Strip off the leaves from the lower half of the cutting to reduce moisture loss and prepare it for planting.
-
Optionally, trim the remaining leaves by half to reduce transpiration, especially if they’re large.
2. Dip in Rooting Hormone
-
Dip the cut end of the stem into rooting hormone to stimulate root development and increase your success rate.
-
Shake off any excess powder or gel.
3. Prepare the Pot and Medium
-
Fill a small pot or tray with a light, well-draining propagation mix. Avoid heavy garden soil or potting soil that retains too much moisture.
-
Moisten the mix slightly so it’s damp but not soggy.
4. Plant the Cuttings
-
Make a small hole in the medium with a stick or pencil.
-
Insert the cutting so that at least one or two nodes are buried.
-
Gently press the soil around the cutting to hold it in place.
5. Create a Humid Environment
-
Cover the pot or tray with a clear plastic bag or place it in a propagator to maintain high humidity.
-
Use sticks or skewers to keep the plastic from touching the leaves.
-
Mist the inside of the cover with water to create a humid atmosphere.
6. Provide the Right Conditions
-
Place the cuttings in a bright spot with indirect light, avoiding direct sunlight.
-
Keep the temperature between 18–24°C (65–75°F).
-
Mist occasionally to maintain humidity and check that the soil remains slightly moist.
Rooting and Transplanting
Bay cuttings take time to root—anywhere from 6 to 12 weeks, or even longer in cooler conditions. Be patient and resist the urge to tug on the stems, as this can damage new roots.
To check for rooting, gently pull after several weeks. If you feel resistance or see new leaf growth, roots are forming.
Once well-rooted:
-
Transplant the cutting into a larger pot filled with regular potting soil mixed with sand or perlite.
-
Continue growing in a sheltered, bright location.
-
Harden the plant off gradually before moving it outdoors, especially if it’s been in a greenhouse or indoors.
Tips for Success
-
Use sharp, clean tools to avoid crushing the stem and introducing disease.
-
Avoid overwatering—soggy soil can lead to rot.
-
Keep humidity high but allow some ventilation to prevent mold.
-
Be patient—bay is slow to root but worth the wait.
Conclusion
Propagating bay leaf from cuttings is a rewarding project that allows you to multiply a valuable kitchen herb without relying on seeds. While it requires some patience and care, especially in the early stages, following the right technique will yield healthy, aromatic plants that you can use for cooking or even ornamental purposes. With a little attention and the proper environment, you’ll soon have a thriving bay laurel plant of your own.


