Garlic is one of the most rewarding crops to grow at home. It requires little space, minimal care, and yields a flavorful, health-boosting ingredient that’s essential in most cuisines. Growing garlic in a clay pot is a great way to enjoy a fresh harvest even if you live in an apartment or have no access to garden beds.
Clay pots offer excellent breathability and moisture regulation, which garlic bulbs appreciate. With just a bit of preparation and patience, you can enjoy a homegrown garlic harvest from a simple pot right on your balcony, patio, or sunny windowsill.
Why Use a Clay Pot for Garlic?
Clay pots are a classic container choice for herbs and vegetables because they allow for better airflow and drainage compared to plastic. Garlic, being prone to rot if overwatered, benefits from the breathability of clay. The porous walls help regulate moisture and temperature, reducing the chance of fungal issues and promoting strong, healthy bulbs.
Other benefits include:
-
Long-lasting material
-
Natural aesthetic
-
Keeps roots cooler in warm climates
Choosing the Right Pot
For garlic to develop full-sized bulbs, each clove needs space to grow. Choose a clay pot that is at least 10–12 inches deep and wide enough to plant several cloves with about 4 inches of spacing between them.
Pot requirements:
-
A drainage hole at the bottom
-
A tray underneath to catch excess water
-
A minimum of 6 inches between each clove
If using a wide clay planter, you can fit more cloves; for smaller pots, you may only plant 3–4.
Soil Preparation
Garlic prefers loose, well-draining soil that is rich in organic matter. Compact or water-retentive soil can lead to rotting cloves and poor bulb formation.
Recommended potting mix:
-
2 parts high-quality potting soil
-
1 part compost or aged manure
-
Optional: a handful of sand or perlite for added drainage
Mix the soil thoroughly and fill the pot, leaving about an inch of space at the top for watering.
Selecting Garlic for Planting
Use organic garlic bulbs from a nursery or farmer’s market, as supermarket garlic is often treated with growth inhibitors. Choose firm, healthy bulbs without mold or soft spots.
How to prepare cloves:
-
Gently break the bulb apart into individual cloves.
-
Do not peel the skin off each clove.
-
Select the largest cloves for planting; they produce the biggest bulbs.
Planting Garlic in the Pot
Garlic is usually planted in the fall (October to November) in cooler climates or in late winter to early spring in warmer zones.
Step-by-step planting guide:
-
Push each clove into the soil, pointed end up.
-
Plant cloves about 2 inches deep and 4–6 inches apart.
-
Gently pat down the soil over each clove.
-
Water thoroughly after planting, ensuring even moisture.
Place the pot in a location that receives at least 6 hours of sunlight daily.
Caring for Potted Garlic
Garlic is low-maintenance but still needs some attention for optimal growth.
Watering:
-
Keep the soil evenly moist but not soggy.
-
Reduce watering in the final weeks before harvest to help bulbs cure.
Fertilizing:
-
Apply a balanced, organic fertilizer every 4 weeks.
-
Avoid high-nitrogen fertilizers after the first couple of months, as they encourage leaf growth over bulb development.
Mulching (optional):
-
Use straw, shredded leaves, or compost to insulate the pot during colder months and retain moisture.
Garlic Growth Timeline
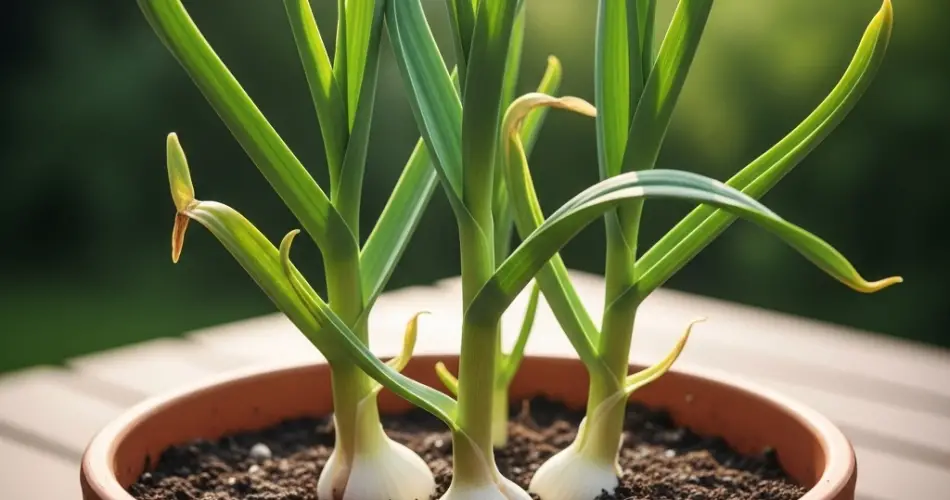
After planting, garlic will begin sending up green shoots within a few weeks. During winter, growth slows, then resumes vigorously in spring. Over time, leaves will multiply and thicken—an indication that bulbs are forming underground.
When and How to Harvest Garlic
Harvest time depends on when you plant, but generally falls in late spring to early summer.
Signs your garlic is ready:
-
Leaves begin to yellow and dry out from the bottom up.
-
Typically, only 4–5 green leaves should remain when it’s time to harvest.
Harvesting steps:
-
Loosen the soil gently with your hands or a small tool.
-
Lift each bulb carefully to avoid bruising or damage.
-
Brush off excess soil but don’t wash the bulbs.
Let the garlic cure in a dry, well-ventilated space away from direct sun for 2–3 weeks. Hang them in bunches or lay them out on a screen or rack.
Storing Your Garlic
Once cured, trim the roots and remove the outermost dirty layers of skin. Store garlic in a cool, dry place with good airflow. Properly cured garlic can last several months.
Avoid refrigerating garlic, as it can trigger premature sprouting.
Final Thoughts
Growing garlic in a clay pot is a satisfying, space-saving way to enjoy this essential kitchen ingredient year-round. With proper soil, sunlight, and care, you can harvest a healthy supply of flavorful bulbs from your balcony or windowsill. Plus, the visual appeal of garlic’s tall, green shoots makes it an attractive addition to any container garden.


