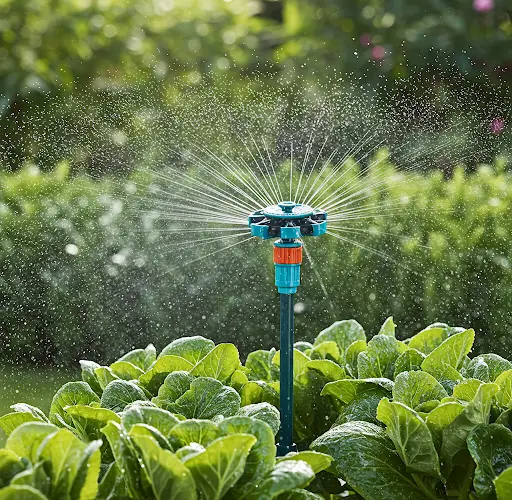
A rotating sprayer can be an excellent tool for efficiently watering your garden, ensuring an even distribution of water across your plants. However, purchasing one can often be costly. Instead, you can make your own rotating sprayer at home using inexpensive and easily available materials. This DIY project is easy, fast, and budget-friendly while providing an efficient solution for your garden watering needs.
In this guide, we will show you how to create a simple, rotating sprayer using everyday items, allowing you to water your plants evenly without spending a lot of money.
Materials You Will Need
To build your own rotating sprayer, you’ll need the following materials:
-
A plastic bottle (1-liter or 2-liter size)
-
A small plastic tube or straw (about 15-20 cm in length)
-
A pin or needle
-
A drill or sharp object to make holes
-
Scissors or a utility knife
-
A plastic or metal bolt and nut (optional, for attaching the sprayer to a stand)
-
A small metal or plastic piece for the rotating mechanism (e.g., a bottle cap or a small plastic disc)
All these materials can be found easily at home or in local hardware stores.
Step 1: Prepare the Bottle
Start by cleaning the plastic bottle thoroughly to remove any labels, dirt, or residues. Make sure the bottle is completely dry before beginning the assembly.
Next, you will need to create holes in the bottle to serve as the outlets for the water. Use a pin or needle to make small holes around the bottle’s side, at the top portion. These holes will allow the water to be sprayed outward when the bottle rotates. Be sure to space them evenly, so the water is distributed equally.
To ensure an even spray, aim for approximately 5 to 10 small holes. The more holes you make, the finer the spray will be, which is ideal for evenly watering plants.
Step 2: Create the Rotating Mechanism
Now, to make the sprayer rotate, you’ll need to create a simple mechanism. This can be done by attaching the bottle to a central rotating axis.
If you’re using a bottle cap, you can attach a small plastic or metal disc to the inside of the cap. The disc should be small enough to allow it to spin freely when water flows through the tube. You can also use a small piece of plastic from a discarded CD case, which is lightweight and easy to attach.
Alternatively, use a small bolt and nut to attach the cap securely to the bottle. This bolt will act as the rotating pivot, allowing the bottle to spin once the water starts flowing through.
Step 3: Attach the Water Supply
Next, take a small plastic tube or straw, which will act as the water supply pipe. Use scissors or a utility knife to cut a small hole near the base of the bottle. Insert one end of the plastic tube into the hole, securing it with glue or tape to prevent any leaks. The other end of the tube should be connected to a water source, such as a garden hose or a water container.
Ensure the tube is long enough to reach the water source comfortably, and that it fits snugly so water doesn’t escape at the junction. You can also use a rubber stopper or tape to seal the edges around the tube to prevent leaks.
Step 4: Secure the Sprayer
To ensure that the rotating sprayer stays upright and rotates properly, you will need to mount it. This can be done in several ways depending on your available materials.
You can drill a small hole in the bottom of the bottle and attach it to a post or pole, making sure that the rotating mechanism can spin freely. If you’re using a bolt and nut to secure the rotating mechanism, make sure it is loose enough to allow smooth rotation but tight enough so the bottle doesn’t fall off easily.
Alternatively, place the bottle on a small stand or in a container with a rotating base, such as a small lazy Susan, which will allow it to spin as water flows through.
Step 5: Test and Adjust the Sprayer
Once you’ve set up the rotating sprayer, it’s time to test it. Turn on the water and observe how it flows from the bottle. The pressure from the water should cause the bottle to spin, and the holes you’ve made will spray water outward in a rotating motion.
If the sprayer is not rotating smoothly, you may need to adjust the size of the holes or check that the rotating mechanism is free of obstructions. You can also adjust the water pressure if necessary.
Step 6: Maintain and Use Your Rotating Sprayer
Once you’re satisfied with the performance of your homemade rotating sprayer, you can use it to water your garden. The rotating action ensures an even distribution of water, preventing over-watering in one spot and under-watering in others. You can place the sprayer in the middle of your garden or in areas where you need consistent watering.
Regularly check the sprayer for any clogs or leaks. Clean the holes in the bottle occasionally to ensure a consistent spray pattern, and make sure the rotating mechanism continues to work smoothly.
Benefits of a Homemade Rotating Sprayer
-
Cost-effective: Uses inexpensive or recycled materials, saving you money compared to store-bought models.
-
Eco-friendly: Repurposes plastic bottles, reducing waste.
-
Customizable: You can adjust the size and number of holes to suit your garden’s specific watering needs.
-
Efficient watering: Ensures an even distribution of water, reducing water waste and improving plant health.
Conclusion
Making your own rotating sprayer is a simple, cost-effective way to improve the efficiency of your garden watering. By using everyday materials, you can build a system that helps save water and time, making it an excellent DIY project for gardeners of all levels. With minimal effort, you’ll have a rotating sprayer that efficiently distributes water to your plants, promoting healthy growth and saving you money on store-bought irrigation systems.


