How to Grow Roses from Cuttings in Plastic Bottles for Beginners
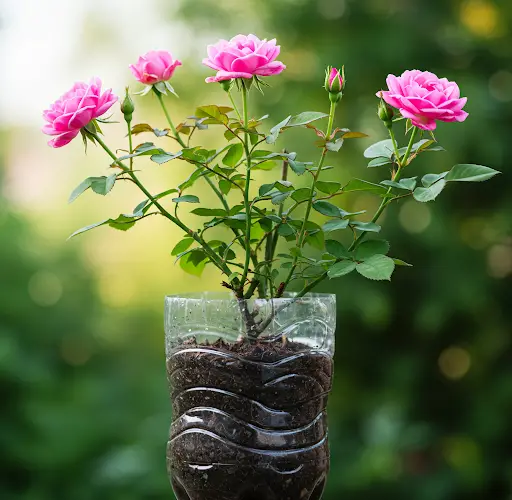
Growing roses from cuttings in plastic bottles is an easy and effective method for beginners who want to propagate beautiful roses without needing expensive equipment. This method helps ensure high moisture retention, faster rooting, and better protection for delicate rose cuttings. With the right technique and patience, you can successfully grow roses from cuttings and enjoy a flourishing garden. Here’s a step-by-step guide to help you get started.
Materials Needed:
- Healthy rose cuttings (6-8 inches long)
- Clean plastic bottles (1-2 liter bottles work best)
- Sharp pruning shears
- Potting soil or a mixture of sand and peat moss
- Rooting hormone (optional but recommended)
- Water
- A small knife or cutter
- A pencil or stick
- A shaded area with indirect sunlight
Step 1: Selecting and Preparing the Rose Cuttings
Choose a healthy rose stem from an existing plant. Ideally, the cutting should have at least 3-4 nodes and no flowers or buds. Using sharp pruning shears, cut the stem at a 45-degree angle just below a node. Remove any leaves from the lower part of the stem, leaving a few on the upper section. This helps the cutting focus its energy on root development rather than sustaining leaves.
Step 2: Applying Rooting Hormone
To improve the chances of successful rooting, dip the cut end of the rose cutting into a rooting hormone powder or gel. Rooting hormones encourage faster and stronger root development. If you don’t have commercial rooting hormone, you can use natural alternatives like aloe vera gel, cinnamon powder, or honey.
Step 3: Preparing the Plastic Bottle
Take a clean plastic bottle and cut it in half horizontally. The bottom half will serve as the planter, while the top half will act as a humidity dome to retain moisture. Punch a few small drainage holes at the bottom of the bottle to prevent waterlogging. Fill the lower half with moist potting soil or a well-draining mix of sand and peat moss.
Step 4: Planting the Rose Cutting
Use a pencil or stick to make a hole in the soil, then gently insert the prepared rose cutting into the hole. Press the soil around the cutting to ensure good contact. Water the soil lightly to keep it evenly moist but not soggy.
Step 5: Creating a Humid Environment
Place the top half of the plastic bottle over the cutting to create a mini greenhouse effect. This helps maintain high humidity, which is essential for successful rooting. If you live in a particularly dry climate, mist the inside of the bottle occasionally to maintain moisture levels.
Step 6: Providing Proper Light and Care
Position the bottle planter in a shaded area that receives indirect sunlight. Avoid placing it in direct sunlight, as excessive heat can dry out the cutting. Check the soil moisture regularly and water when needed. Ensure that the environment stays humid without becoming waterlogged.
Step 7: Monitoring Growth and Transplanting
After about 4-6 weeks, check for signs of root growth by gently tugging on the cutting. If there is resistance, it means roots have developed. Once the rose cutting has established a healthy root system and new leaves begin to sprout, it’s time to transplant it into a larger pot or directly into the garden.
Step 8: Transplanting into a Bigger Pot or Garden
Carefully remove the rooted cutting from the plastic bottle and transplant it into nutrient-rich soil. Choose a spot with good drainage and ample sunlight. Continue watering and caring for the young plant until it matures into a strong, thriving rose bush.
Tips for Success:
- Choose the right season: Spring and early summer are the best times for propagating roses.
- Use healthy cuttings: Avoid diseased or weak stems, as they have a lower chance of rooting.
- Keep the soil moist: Dry soil can cause cuttings to wilt, while overly wet soil can lead to root rot.
- Be patient: Rooting takes time, so don’t rush to transplant too soon.
By following these simple steps, even beginners can successfully grow roses from cuttings in plastic bottles. This eco-friendly and cost-effective method ensures healthy root development and gives you the joy of growing your own roses at home. Happy gardening!


