Radishes are one of the fastest and easiest root vegetables to grow, making them perfect for beginner gardeners or anyone short on time and space. Their crisp texture, peppery flavor, and quick harvest time make them ideal for crate gardening. Using wooden crates not only saves garden space but also adds a rustic charm to your growing area while offering excellent soil drainage and flexibility in placement.
Here’s a complete guide to growing radishes in wooden crates with ease, from sowing seeds to harvesting crunchy, flavorful roots.
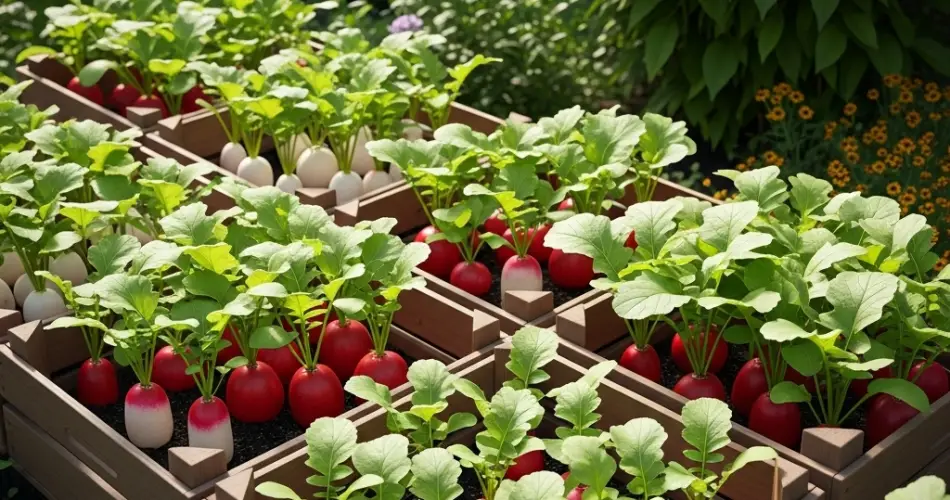
Why Grow Radishes in Wooden Crates?
Wooden crates are a smart option for small-scale gardening. They allow for controlled soil conditions, easy access, and mobility. Radishes thrive in loose, well-drained soil—conditions easily achieved in crate beds. With proper care, you can enjoy multiple harvests of radishes in a single season, even from a small space like a balcony or patio.
Materials You’ll Need
To start your crate radish garden, gather the following:
-
A wooden crate (at least 6–8 inches deep)
-
Landscape fabric or burlap for lining
-
Lightweight potting soil
-
Compost or aged manure
-
Radish seeds (choose fast-growing varieties like Cherry Belle or French Breakfast)
-
Watering can or hose with fine spray nozzle
-
Small hand tools (trowel, fork)
Step 1: Prepare the Crate
Choose a sturdy wooden crate, preferably untreated, to avoid chemicals leaching into the soil. If your crate doesn’t have built-in drainage, drill several small holes in the bottom.
Line the inside with landscape fabric, a burlap sack, or an old rice sack to keep soil in while allowing water to drain. Place the crate in a location that receives at least 5–6 hours of sunlight daily—radishes do best in full sun but can tolerate partial shade.
Step 2: Create the Ideal Soil Mix
Radishes prefer light, loose, and fertile soil. Fill your crate with a mix of 60% quality potting soil, 30% compost, and 10% perlite or sand. This ensures good drainage and allows the roots to expand without resistance.
Avoid compacted or clay-heavy soils, which can result in misshapen roots. Make sure the soil surface is smooth and level before planting.
Step 3: Sow the Radish Seeds
Radish seeds are direct-sown into the crate, as they don’t transplant well. Make shallow furrows about half an inch deep and 1 inch apart across the crate. Sow the seeds about 1 inch apart in each row.
After sowing, lightly cover the seeds with soil and gently press down to ensure good contact. Water immediately using a fine spray to avoid washing away the seeds.
Step 4: Watering and Germination
Radish seeds germinate quickly, usually within 4–7 days. Keep the soil consistently moist during this time. Do not let it dry out, especially in warm weather, as this can lead to poor germination and bitter roots.
Once seedlings emerge, continue to water regularly, aiming to keep the soil evenly moist. Too much water, however, can lead to rot, so ensure your crate drains well.
Step 5: Thinning and Spacing
As the radish seedlings grow, thin them out to about 2 inches apart to allow enough room for root development. You can snip the extra seedlings with scissors and use them as microgreens in salads.
Proper spacing is essential to ensure that each plant forms a well-developed, round root. Crowded radishes may grow small or elongated.
Step 6: Ongoing Care
Radishes are relatively low-maintenance. They do not need much fertilizer—too much nitrogen will lead to lush leaves and tiny roots. If you like, you can add a little compost or a diluted balanced fertilizer once during the growing period.
Weed the crate regularly to reduce competition for nutrients, and keep an eye out for pests like flea beetles or aphids. A simple neem oil spray can help manage infestations naturally.
Step 7: Harvesting Radishes
Radishes mature quickly, often within 3–4 weeks depending on the variety. Check the size of the roots by gently brushing away some soil at the base of the leaves. Harvest when they are around 1 inch in diameter—waiting too long can cause them to become woody and overly spicy.
To harvest, simply grasp the base of the leaves and pull the radish gently from the soil. Brush off the dirt and rinse them clean before use.
Bonus Tips for Success
-
Succession Planting: Sow a new batch of seeds every 1–2 weeks to enjoy a continuous harvest throughout the growing season.
-
Mix Varieties: Plant different types of radishes to enjoy a range of flavors, colors, and textures.
-
Cool Weather Advantage: Radishes grow best in cooler temperatures, making them ideal for spring and fall gardening.
Growing radishes in wooden crates is a quick, simple, and satisfying way to produce fresh vegetables at home. With minimal space, basic tools, and a bit of attention, you can harvest delicious, crunchy radishes in under a month. Perfect for salads, stir-fries, and snacks, crate-grown radishes are a wonderful addition to any home garden.


