Orchids have a reputation for being fussy, delicate, and nearly impossible to keep alive—especially for beginners. If you’ve killed every houseplant you’ve ever owned, the idea of growing orchids might seem completely out of reach. But here’s the truth: orchids are not as difficult as they seem. With just a bit of the right knowledge and a few simple techniques, even self-proclaimed plant killers can learn to grow thriving, blooming orchids at home.
This beginner-friendly guide will walk you through how to choose the right orchid, care for it properly, and avoid the common mistakes that lead to sad, wilted plants.
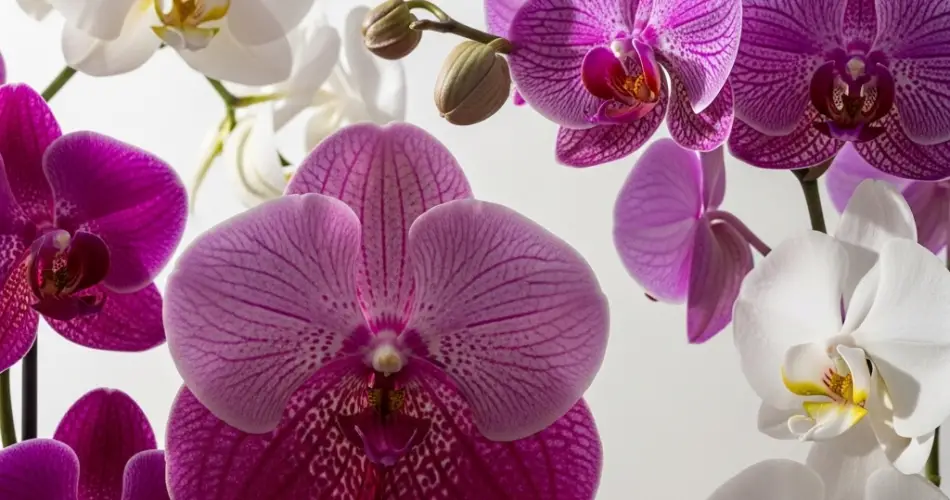
Start with the Right Orchid
Not all orchids are created equal when it comes to care. If you’re new to orchid growing, Phalaenopsis (also known as the moth orchid) is your best bet. It’s widely available, resilient, and can bloom for months with minimal effort.
Why Phalaenopsis is perfect for beginners:
-
It tolerates typical indoor conditions (no greenhouse needed).
-
It blooms reliably, often more than once a year.
-
It’s less fussy about light and temperature than many other types.
Stick with this variety until you’ve built confidence—then you can experiment with more exotic types.
Understand How Orchids Grow
One of the biggest hurdles for beginners is treating orchids like regular houseplants. But orchids are epiphytes, which means in nature, they grow on trees—not in soil. That means standard potting soil and overwatering are a fast track to root rot and plant failure.
Key differences to understand:
-
Orchids need air around their roots—use a special orchid mix with bark or moss.
-
Their roots like light and oxygen, not wet, soggy soil.
-
They prefer to dry out between waterings.
By mimicking their natural growing conditions, you’ll greatly increase your chances of success.
Orchid Light Made Simple
Light is essential to getting orchids to bloom, but many people go wrong by giving them either too much direct sun or not enough light.
Here’s how to get it right:
-
Place your orchid near an east-facing window for soft, bright morning light.
-
A south or west window works too, but use a sheer curtain to filter harsh midday rays.
-
Avoid deep shade—orchids that don’t get enough light will grow leaves but never bloom.
A good rule of thumb: If your orchid’s leaves are dark green, it may not be getting enough light. Healthy orchids usually have light to medium green leaves.
Watering Without Drowning
Overwatering is the number one killer of orchids. Their roots are sensitive and rot easily in standing water.
Follow these watering basics:
-
Water your orchid once a week during cooler months and every 4–5 days during warm, dry weather.
-
Use room-temperature water and let it run through the pot, allowing excess to drain completely.
-
Never let the pot sit in water. Empty saucers after watering.
Instead of guessing, stick your finger an inch into the potting mix. If it’s dry, it’s time to water. If it’s still damp, wait a day or two.
Keep Orchids Humid and Happy
Orchids love humidity, but most indoor environments are too dry—especially in winter. Thankfully, you don’t need a greenhouse to fix that.
Simple ways to increase humidity:
-
Place the orchid pot on a tray filled with pebbles and water, making sure the pot itself sits above the waterline.
-
Group plants together to raise local humidity.
-
Mist the leaves lightly in the morning (avoid soaking the flowers or crown).
Keep the room temperature between 18°C to 24°C (65°F to 75°F) during the day. Orchids also benefit from a 5–10°F nighttime temperature drop, which helps trigger blooming.
Don’t Fear Repotting
Orchids need to be repotted every 1–2 years, especially when their growing medium starts to break down. This keeps their roots healthy and encourages flowering.
Tips for repotting:
-
Repot after flowering or when new roots begin to appear.
-
Use a fresh orchid mix—never regular potting soil.
-
Trim away any mushy or dead roots with clean scissors.
It might seem intimidating, but repotting is a great way to give your orchid a fresh start.
Final Tips for Success
-
Avoid ice cubes: This trendy method is harmful. Use lukewarm water instead.
-
Use orchid fertilizer sparingly—once a month during active growth.
-
Be patient: Orchids can take a while to adjust and rebloom. A healthy plant that isn’t flowering yet is still doing fine.
Final Thoughts
If you’ve struggled with plants before, don’t write off orchids. They’re not as fragile as they appear. With the right care—light, air, proper watering, and a bit of patience—even a complete beginner can keep orchids healthy and blooming.
Transform your “black thumb” into orchid success and enjoy the beauty of long-lasting blooms right on your windowsill. It’s simpler than you think—and the rewards are well worth it.


