Onions are one of the most essential ingredients in cooking, and growing them at home can be both practical and rewarding. If you live in a place with limited garden space—such as an apartment, condo, or townhouse—you can still grow onions using vertical planters made from recycled plastic bottles. This method helps you conserve space, reuse materials, and enjoy fresh onions right at your fingertips.
Vertical bottle gardening allows you to transform unused wall or balcony space into a productive garden. It’s cost-effective, environmentally friendly, and surprisingly easy to set up. Here’s a detailed, step-by-step guide on how to grow onions in vertical bottle planters.
Why Use Vertical Bottles for Onions?
-
Space-saving: Vertical setups make the most of limited space.
-
Recycling: Reduces waste by repurposing plastic bottles.
-
Convenience: Easy to maintain and harvest, even in small areas.
-
Accessibility: Suitable for balconies, kitchen walls, or fences.
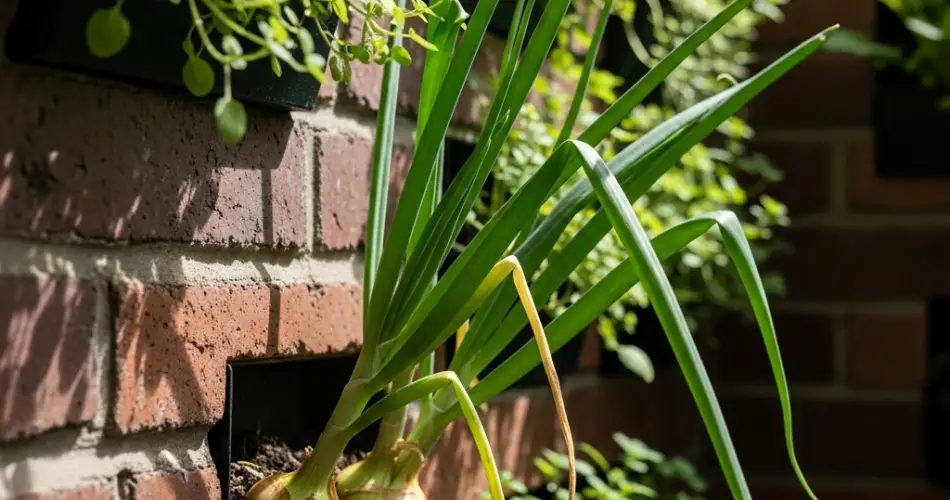
Onions, especially the green (spring) varieties, grow well in shallow soil, making them ideal candidates for this method.
What You’ll Need
To start your vertical onion garden, gather the following materials:
-
2-liter plastic bottles (washed and with caps)
-
Sharp scissors or a box cutter
-
Potting soil mixed with compost
-
Onion bulbs or sets (also called onion slips)
-
String or wire for hanging
-
Nail or screwdriver (for poking holes)
-
A sunny wall, railing, or vertical rack
Step 1: Choose the Right Onion Variety
For vertical bottles, smaller onion varieties or green onions work best. Some great options include:
-
Scallions or spring onions – ideal for harvesting green tops
-
Shallots – smaller bulbs and compact growth
-
Miniature onion varieties – bred specifically for container gardening
Avoid large, globe-sized onions unless your bottles are extra wide and deep, as they need more space to form full-sized bulbs.
Step 2: Prepare the Bottles
-
Wash and dry the bottles thoroughly. Remove any labels.
-
Cut out planting holes on one side of the bottle. You can make multiple small holes vertically, spaced around 3–4 inches apart. These holes will serve as planting pockets.
-
Create drainage holes at the bottom using a screwdriver or nail. This is crucial to prevent waterlogging.
-
Make two small holes at the top sides of the bottle (just below the neck) to attach string or wire for hanging.
-
Keep the cap on to hold the soil in, but poke a small hole in it if you want a drip-style watering system.
Step 3: Fill with Soil
Mix a rich, well-draining potting soil with compost to provide nutrients. You can also add a handful of coco peat or perlite to help retain moisture and improve aeration.
Fill the bottle up to the bottom of the first hole. Add more soil as you plant bulbs through each pocket up the length of the bottle.
Step 4: Plant the Onions
For bulbs or sets:
-
Insert one bulb into each hole, root side in, pointy tip facing out. Gently press the soil to hold it in place.
For green onions:
-
You can also plant trimmed root ends from store-bought green onions. Simply place them in the holes with the roots inside and the green tips sticking out.
As you add more soil, continue planting bulbs in each layer of holes until the bottle is full.
You can also plant a bulb at the top opening of the bottle for added yield.
Step 5: Hang the Bottles
Use strong wire, string, or twine to hang your bottles from a hook, wall bracket, or rack. Make sure the area receives at least 6 hours of sunlight daily.
Vertical hanging ensures good airflow and exposure to sunlight for each plant.
Step 6: Watering and Maintenance
Onions prefer consistently moist soil but not soggy. Water the bottles gently once a day or every other day, depending on the weather. If the bottle caps are punctured, you can water from the top and let excess water drain slowly.
Feed your onions with a diluted organic fertilizer like compost tea every 2–3 weeks. This helps boost growth and ensures bulb development.
Step 7: Monitor and Support Growth
Watch for signs of pests like aphids or fungal spots. These can be managed with a natural soap spray or by removing affected leaves.
Remove any weeds that may sprout and ensure all the bulbs are getting enough light and space.
Step 8: Harvesting
Green onions or scallions can be harvested as soon as they are around 6–8 inches tall. Simply cut the greens and leave the root to regrow.
For bulb-forming onions, wait until the tops start to yellow and fall over, which usually takes 90–120 days depending on the variety. Gently pull them out of the holes and allow the bulbs to cure in a dry, shaded place for about a week before storing.
Final Thoughts
Vertical bottle gardening is a clever and sustainable way to grow onions at home, even in the smallest spaces. With a little preparation and regular care, you’ll have a steady supply of fresh green onions or small bulbs—perfect for adding to your meals. Whether you hang your planters in the kitchen, on a sunny balcony, or along an outdoor wall, this technique proves that you don’t need a big garden to enjoy a productive harvest.


