Corn is often associated with sprawling fields and large-scale farming, but it can also be grown successfully in small spaces. With the right preparation, even apartment dwellers or homeowners with limited yard space can enjoy the sweet taste of homegrown corn. Crate gardening offers a clever solution, allowing gardeners to cultivate corn in compact areas like patios, balconies, or courtyards. By creating the right soil conditions and managing growth carefully, you can harvest fresh ears of corn straight from a container.
This guide walks you through everything you need to know about growing corn in crates at home.
Why Grow Corn in Crates?
Corn is a tall, nutrient-hungry crop that might not seem like a natural fit for container gardening. However, crates provide several advantages:
-
Mobility: Crates can be moved to sunnier spots or sheltered areas during extreme weather.
-
Space Efficiency: Ideal for gardeners without large plots of land.
-
Soil Control: You can customize the soil mix for optimal corn growth.
-
Urban Appeal: Adds greenery and a striking vertical element to patios or balconies.
With proper planning, crate-grown corn can thrive and produce delicious harvests.
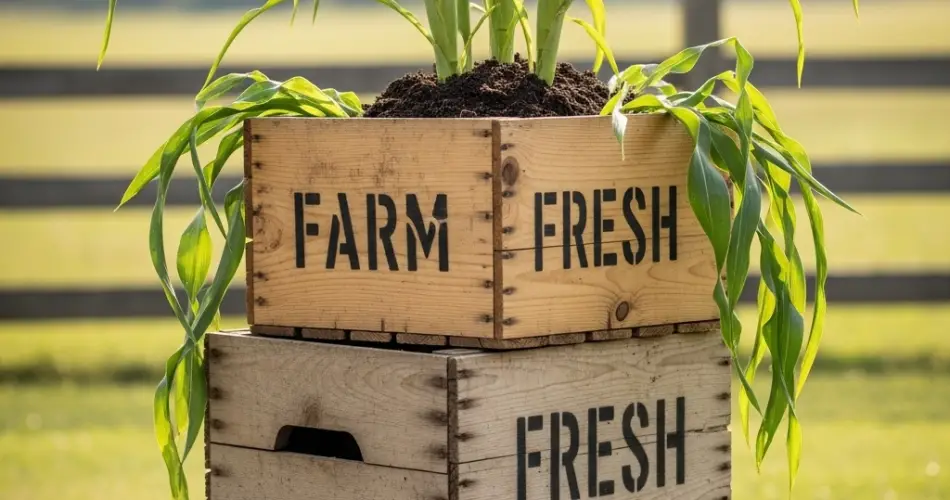
Step 1: Choosing the Right Crate
Corn has deep root systems, so your crate needs to be large enough to accommodate them. Select a wooden crate that is:
-
At least 18–24 inches deep.
-
Wide enough (minimum 18 inches) to support multiple stalks.
-
Equipped with drainage holes to prevent waterlogging.
Line the crate with landscape fabric to keep soil from spilling out while ensuring proper drainage.
Step 2: Preparing the Soil
Corn grows best in fertile, well-draining soil. Since it is a heavy feeder, the soil must be rich in organic matter. Prepare a mix using:
-
40% high-quality garden soil.
-
40% compost or well-rotted manure.
-
20% sand or perlite for aeration and drainage.
Before planting, enrich the soil further with a balanced organic fertilizer. This provides the nutrients corn needs for rapid growth.
Step 3: Choosing Corn Varieties
For crate gardening, it’s best to choose compact or dwarf corn varieties. Sweet corn is the most popular choice for home gardens, but there are also ornamental and popcorn varieties suited to containers. Look for early-maturing types that produce shorter stalks, making them easier to manage in confined spaces.
Step 4: Planting Corn Seeds
Corn grows best when planted directly from seed rather than from transplants. To plant:
-
Sow seeds 1–1.5 inches deep into the soil.
-
Space seeds about 6–8 inches apart in rows within the crate.
-
Plant at least 6–8 seeds per crate to ensure proper pollination.
Corn relies on wind pollination, so multiple stalks are necessary to produce full ears. Planting in clusters rather than single rows improves pollination success.
Step 5: Sunlight and Watering
Corn is a sun-loving plant that requires at least 6–8 hours of direct sunlight each day. Place your crate in the sunniest location available, whether it’s a balcony, rooftop, or backyard corner.
Because corn grows quickly and has high water needs, consistent watering is crucial. Keep the soil evenly moist, especially during tasseling and ear formation. Mulching the top of the crate with straw or shredded leaves helps retain moisture and regulate soil temperature.
Step 6: Fertilization
Since corn is a heavy feeder, regular feeding is essential. Apply a nitrogen-rich fertilizer when plants reach about 6 inches tall, then again at knee height. Compost tea or liquid organic fertilizer can also provide a nutrient boost throughout the growing season.
Step 7: Supporting the Stalks
As corn stalks grow taller, they may need extra support to prevent tipping in windy conditions. Secure the stalks by placing bamboo stakes in the crate and tying them loosely with garden twine. This ensures stability without damaging the plants.
Step 8: Pollination
Proper pollination is key to developing full ears of corn. In small gardens, natural wind pollination may be insufficient. To improve results, gently shake the stalks when tassels release pollen, or hand-pollinate by brushing pollen from tassels onto the silks of developing ears.
Step 9: Harvesting Corn
Corn is ready to harvest about 60–100 days after planting, depending on the variety. You’ll know it’s time when:
-
Silks turn brown and dry.
-
Kernels feel plump and exude a milky liquid when punctured.
Twist the ear downward to snap it off the stalk. Corn tastes best when eaten soon after harvest, as sugars quickly convert to starch.
Final Thoughts
Growing corn in crates at home may seem unconventional, but it’s a practical and rewarding way to enjoy fresh produce in limited spaces. With the right crate, nutrient-rich soil, and attentive care, you can cultivate healthy corn plants that produce sweet, flavorful ears. The process not only provides food but also transforms small patios or balconies into productive mini-farms.
Whether you’re an urban gardener, a balcony farmer, or simply looking for a unique project, crate-grown corn proves that even large crops can thrive in compact, creative setups.


