Cloves (Syzygium aromaticum) are more than just a spice; they are a symbol of warmth, aroma, and natural wellness. Used in cooking to enhance the flavor of red meats, poultry, and even desserts, cloves also hold a significant place in traditional medicine. They are known for their antibacterial, anti-inflammatory, and analgesic properties and can improve hair, skin, and general well-being. Imagine harnessing all these benefits by growing cloves right in your home — fresh, organic, and available whenever you need them. With the right technique, you can cultivate your own clove plants from seed, adding both beauty and fragrance to your living space. Here’s a detailed guide to help you get started.
Step 1: Choose the Right Time to Plant
Timing is crucial when growing cloves from seeds. The best period is late winter or early spring, when temperatures begin to rise, and there’s an increase in daylight. Planting during this period ensures that the seeds receive the warmth they need to germinate. Cloves are tropical plants, so they thrive in warm, humid conditions and prefer a consistent temperature between 25°C and 30°C (77°F to 86°F).
Step 2: Prepare Your Planting Pot
Select a pot or container with good drainage to prevent waterlogging, which can rot the seeds. A pot about 15–20 cm deep is ideal for starting seeds. Use a fertile, well-draining potting soil, enriched with organic matter like compost or coconut coir. The soil should retain some moisture but remain light enough to allow the roots to expand easily.
Before planting, moisten the soil evenly. The goal is to create a damp, soft substrate that encourages the seeds to sprout without being soggy, which could suffocate them.
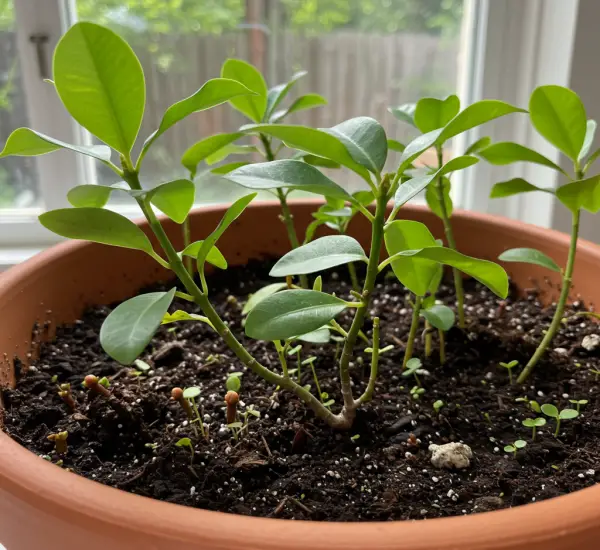
Step 3: Plant the Clove Seeds
Clove seeds require gentle handling. Place the seeds on the soil surface and lightly press them into the soil, ensuring they are about 2 cm deep. Do not bury them too deeply, as they need access to light to begin the germination process. Space multiple seeds at least 5–7 cm apart if planting in the same pot to avoid overcrowding.
After planting, you can cover the pot with clear plastic or a plastic bag to create a mini greenhouse. This “greenhouse effect” maintains humidity and warmth, crucial for clove seeds, which are sensitive to both temperature fluctuations and moisture loss.
Step 4: Provide the Right Light and Location
Place your clove pot in a warm, bright area with indirect sunlight. Cloves do not tolerate harsh, direct sunlight at this stage, which can dry out the soil too quickly and damage the seeds. A sunny windowsill or a bright indoor corner is ideal.
Daily light exposure encourages healthy growth, while indirect light ensures the delicate seedlings are not scorched. Maintaining stable warmth is equally important; avoid placing the pot near drafty windows, heaters, or air conditioners.
Step 5: Watering and Seedling Care
Water management is critical for successful germination. Mist the soil once daily in the morning to keep it consistently damp but never waterlogged. Dry soil can be fatal for clove seeds, while excessive water can cause rot.
Patience is key: expect the first green shoots to appear after around four weeks. Once seedlings emerge, remove the plastic cover gradually to acclimate them to normal humidity levels. Continue watering moderately and avoid letting the soil dry out completely.
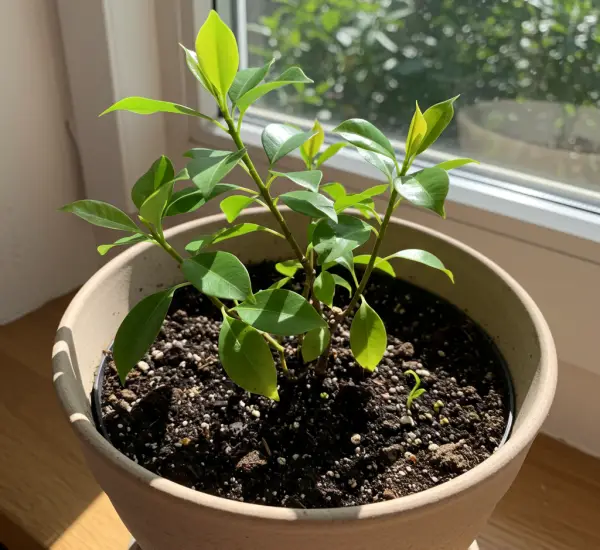
Step 6: Transplanting and Ongoing Care
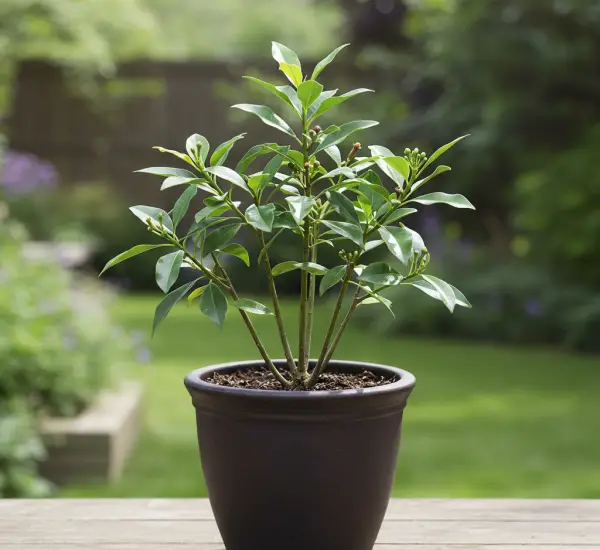
When the seedlings have grown sufficiently — typically when they reach 10–15 cm in height — they can be transplanted into larger pots or directly into your garden if conditions allow. Cloves prefer a sunny location with partial shade during the hottest hours. Well-draining soil rich in organic matter remains crucial for healthy development.
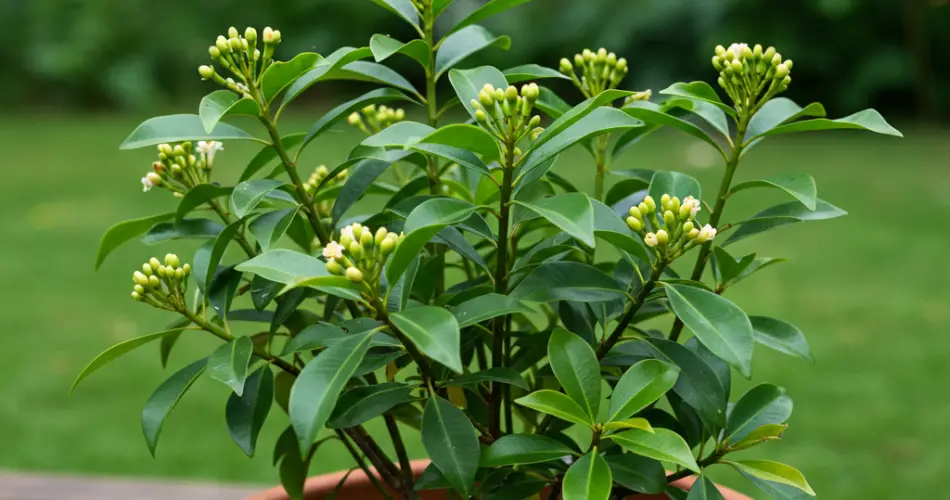
Fertilize lightly with a balanced, organic fertilizer every few weeks to encourage vigorous growth. Over time, with consistent care, your clove plants will develop into lush, aromatic shrubs capable of producing fragrant flower buds.
Tips for Maximizing Success
-
Seeds vs. seedlings: Starting with seeds is affordable and accessible, but it requires patience, as cloves take years to mature and flower. If you want quicker results, consider purchasing seedlings from nurseries — they bloom faster and produce aromatic flowers sooner.
-
Quality of seeds: Always choose fresh, high-quality seeds for better germination rates. Old or dried-out seeds rarely sprout successfully.
-
Seasonal awareness: Planting during the optimal season ensures faster growth and higher survival rates. Avoid cold or excessively dry periods.
-
Consistency: Maintain regular watering, monitor sunlight exposure, and protect seedlings from sudden temperature changes.
Conclusion
Growing cloves at home is a rewarding endeavor that combines the beauty of gardening with practical benefits. Not only will your home be filled with the natural fragrance of clove plants, but you’ll also have a sustainable supply of this versatile spice for cooking and natural remedies. Whether you start with seeds or young plants, following these steps carefully will ensure your clove plants thrive. With patience and care, you can enjoy fresh, homegrown cloves for years, enhancing your meals, your health, and your living environment — all naturally and economically.
Growing cloves at home is more than a gardening project; it’s an investment in wellness, flavor, and self-sufficiency. Start today, and transform your space into a fragrant, productive oasis.