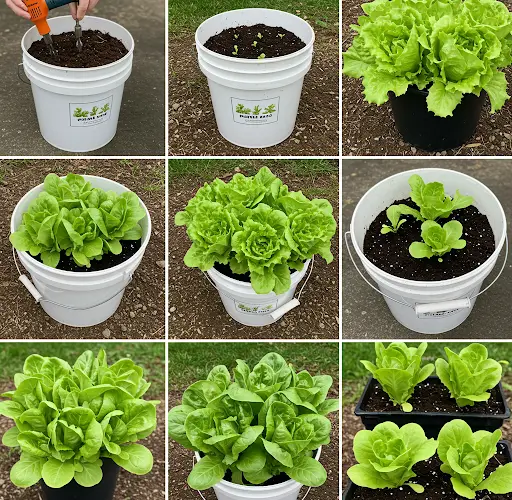
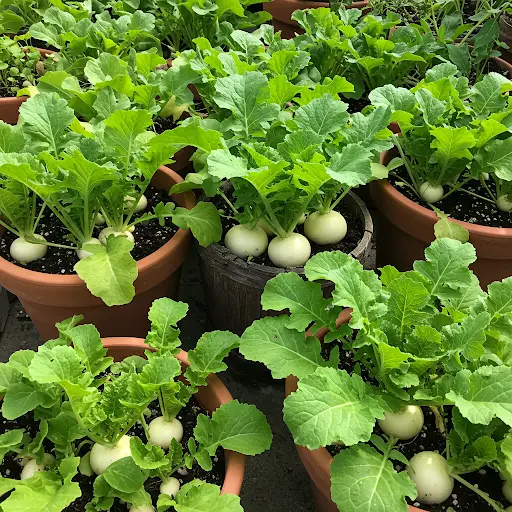
Chard, also known as Swiss chard or silverbeet, is a leafy green that’s packed with nutrients and flavor. It’s easy to grow at home, and you don’t need a garden or large planting area to enjoy a fresh supply. With just a few recycled plastic bottles and some basic materials, you can grow chard on your balcony, terrace, or windowsill. This method is ideal for urban gardeners or anyone looking to make the most of small spaces while practicing sustainable gardening.
Why Grow Chard in Plastic Bottles?
Using plastic bottles to grow vegetables is an eco-friendly and economical way to start a small garden. It allows you to recycle plastic waste and create a self-sustaining source of greens. Chard is a hardy plant that grows well in containers, making it the perfect candidate for plastic bottle gardening.
Benefits of Growing Chard in Bottles:
-
Reuses plastic that would otherwise go to waste
-
Requires minimal space
-
Easy to move and maintain
-
Allows controlled watering and soil conditions
-
Suitable for beginners
Materials You’ll Need
To start your chard-growing project, gather the following items:
-
1.5-liter or 2-liter plastic bottles (clean and label-free)
-
Potting soil or a soil-compost mix
-
Chard seeds or seedlings
-
Sharp scissors or a knife
-
A nail or needle to make holes
-
Watering can or spray bottle
-
Organic fertilizer (optional)
-
String or wire (optional, if you want to hang the bottles)
Step-by-Step Guide
Step 1: Prepare the Plastic Bottles
Start by cutting your bottles. You have two options:
-
Vertical planter: Cut off the top portion of the bottle and use the base as a small pot.
-
Horizontal planter: Cut out a rectangle along one side of the bottle, leaving the cap on. This gives more surface area for planting multiple seeds.
Make 4–5 small holes in the bottom for drainage. If you plan to hang the bottles, make two holes at the top on opposite sides and thread a string through to form a handle.
Step 2: Add Soil
Fill each bottle with potting soil or a mix of soil and compost. Chard prefers well-draining, nutrient-rich soil. Leave about 2 cm (about an inch) of space from the top to allow for watering. You can mix in some slow-release organic fertilizer or compost for an extra boost of nutrients.
Step 3: Plant the Seeds or Seedlings
Chard can be grown easily from seeds. If using seeds:
-
Sow 2–3 seeds about 1 cm deep in the soil.
-
Cover lightly with soil and water gently.
-
If all seeds sprout, thin the plants later, leaving the strongest one.
If you’re transplanting seedlings:
-
Make a hole large enough for the root ball.
-
Place the seedling inside and gently press the soil around it.
Space is limited in a bottle, so plant only one chard per bottle to give it room to grow.
Step 4: Find the Right Location
Chard grows best with 4–6 hours of sunlight per day. Choose a spot on your terrace, balcony, or windowsill that gets good sunlight. If temperatures are very high in your area, provide partial shade during the hottest part of the day.
Step 5: Watering
Chard prefers moist, not soggy, soil. Water regularly to keep the soil evenly moist. Check the bottles daily—due to their small size, they can dry out quickly. A spray bottle or small watering can works well to avoid overwatering.
Step 6: Fertilizing (Optional)
If your soil is not rich in nutrients, consider adding a balanced liquid fertilizer every 2–3 weeks. Organic compost tea or a diluted fish emulsion works well to promote healthy leaf growth.
Step 7: Maintenance and Growth
-
Thinning: If multiple seedlings come up in one bottle, thin them early by snipping the weaker ones at the base.
-
Pruning: Remove any yellowing or damaged leaves to promote new growth.
-
Pests: Chard is relatively pest-resistant, but keep an eye out for aphids or caterpillars. Use neem oil spray or soap water if needed.
Step 8: Harvesting
Chard can be harvested in 30–60 days, depending on the variety and growing conditions.
-
Cut-and-come-again method: Snip outer leaves when they’re 6–8 inches long, leaving the center leaves to grow.
-
Full harvest: When the plant matures fully, cut it at the base.
With the right care, chard will continue producing leaves for weeks or even months.
Tips for Success
-
Use clear bottles for better visibility, or paint them to protect roots from too much sunlight.
-
Avoid placing bottles where heavy rain can cause overwatering.
-
Rotate bottles occasionally if light is coming from one direction only.
Conclusion
Growing chard in plastic bottles is an easy, rewarding way to enjoy fresh greens at home while reducing plastic waste. With just a few simple materials and a bit of care, you can have a sustainable and productive garden even in the smallest spaces.
So don’t let space limitations stop you—grab a bottle, some soil, and chard seeds, and start growing your own healthy harvest today!


