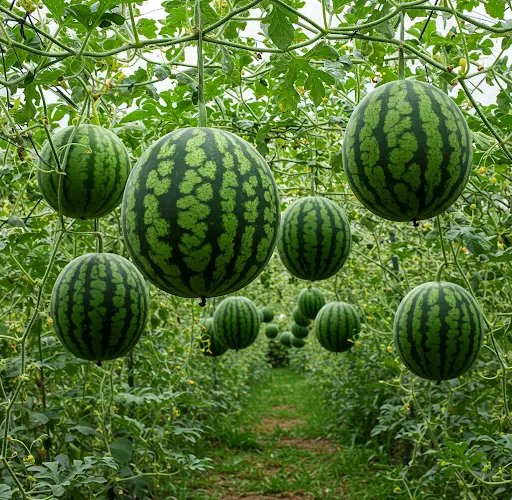
Growing watermelon is often thought to require large plots of land and sprawling vines, but a new method—growing watermelon in two layers—is changing that belief. This innovative technique makes it possible to grow sweet, high-yield watermelon even in small spaces such as balconies, rooftops, or paved yards. Whether you live in an urban setting or simply want to maximize limited space, this vertical approach to watermelon cultivation offers a practical, productive, and space-saving solution.
The two-layer watermelon growing method involves a combination of vertical gardening, smart container use, and organic fertilization. With careful attention, even beginners can enjoy homegrown watermelons without access to traditional garden beds.
Why Try the Two-Layer Method?
Watermelon vines typically spread widely on the ground, which limits their suitability for small home gardens. The two-layer system uses containers or stacked beds along with vertical supports to grow vines upward rather than outward.
Here are the main benefits:
-
Space-saving: Ideal for patios, balconies, rooftops, and concrete areas.
-
High yield: More fruit per plant due to vertical support and layered nutrient access.
-
Improved airflow and sun exposure: Reduces fungal issues and helps fruit ripen evenly.
-
Easier maintenance and harvesting: Compact design makes care simpler.
What You’ll Need
To implement this method, gather the following materials:
-
Two large planting containers (at least 15–20 inches deep)
-
Sturdy trellis or vertical frame (wooden, metal, or plastic mesh)
-
Strong nylon or cloth slings (for supporting developing fruit)
-
Watermelon seeds or seedlings (choose compact or early-maturing varieties)
-
Rich potting soil or garden mix
-
Organic fertilizer (homemade compost, fermented liquid fertilizer, or worm castings)
Step 1: Set Up the Two-Layer Growing Structure
Start by stacking two large containers or placing two separate containers vertically, one slightly behind the other to allow the vines to climb.
-
The bottom layer is the primary growing base, where the seedling is planted.
-
The second layer acts as a nutrient reservoir or can be used to anchor the trellis or support vines as they grow upward.
Place the structure in an area that receives 6 to 8 hours of sunlight per day. Rooftops, balconies, or a bright courtyard corner are ideal.
Step 2: Prepare the Soil and Fertilizer
Watermelon plants are heavy feeders, so fertile soil is essential. Fill your primary container with the following mix:
-
50% quality compost or aged manure
-
25% coco coir or rice husks for moisture control
-
25% sand or perlite for drainage
For added nutrition, you can prepare a homemade organic fertilizer by fermenting banana peels, vegetable scraps, and rice water in a covered container for 5–7 days. Mix this liquid with water and apply it weekly.
Place a few crushed eggshells or ashes in the planting hole to provide calcium and potassium—key nutrients for fruit development.
Step 3: Plant the Seedlings
Start with seeds or seedlings of compact watermelon varieties, such as:
-
‘Sugar Baby’
-
‘Golden Midget’
-
‘Bush Sugar Baby’
Plant one seedling per container. Water thoroughly and place the container where it will receive full sun. As the plant grows, begin training the vines to climb the trellis or vertical support.
Step 4: Train the Vines Vertically
As watermelon vines extend, gently guide them onto the trellis or frame. Secure with soft ties or cloth strips to avoid damaging the stems. Keep space between the leaves to improve airflow and light penetration.
When fruits begin to form, support each melon using nylon netting, old T-shirts, or cloth slings tied to the frame. This prevents the fruit from detaching or becoming misshapen due to hanging weight.
Step 5: Watering and Feeding
Consistent watering is key. Watermelons need:
-
Deep, infrequent watering: Encourage roots to grow deeper by watering thoroughly but not daily.
-
Mulching: Add a layer of dry leaves, grass clippings, or rice husks to retain moisture.
Fertilize every two weeks using compost tea, banana peel water, or diluted fermented fertilizer to boost flowering and fruit development. Stop fertilizing once fruits begin to ripen.
Step 6: Pruning and Fruit Selection
For better results, prune side vines and leave 2–3 main fruits per plant. This helps the plant focus its energy on ripening a few high-quality melons instead of many small ones.
Remove yellow or damaged leaves to keep the plant healthy and prevent disease buildup.
Step 7: Harvesting Sweet, Ripe Melons
Most watermelon varieties are ready for harvest in 75–90 days. Signs of ripeness include:
-
The bottom (belly spot) turning creamy yellow
-
The tendril near the fruit stem drying and turning brown
-
A deep, hollow sound when tapped
Harvest with a clean cut, leaving a short piece of stem attached to prolong freshness.
Final Thoughts
Growing watermelon without a garden is entirely possible with this two-layer vertical method. By using organic fertilizer, recycled materials, and efficient space-saving techniques, even small households can enjoy juicy, sweet melons grown right at home.
This method not only makes watermelon growing accessible but also promotes sustainability through reuse and organic practices. Once you try this approach, you’ll discover that big harvests can come from even the smallest spaces.


