Watermelon is a refreshing and sweet summer fruit that you can grow right at home—even from seeds taken from supermarket-bought watermelons. Many people throw away these seeds, not realizing they can be used to grow beautiful, fruit-bearing plants. With the right techniques and some patience, you can germinate watermelon seeds and enjoy the rewarding process of watching them grow from seed to harvest.
Here’s a step-by-step guide to germinating watermelon seeds from store-bought fruit and cultivating them into healthy, productive plants.
Can You Grow Watermelon from Supermarket Seeds?
Yes, you can—but with a few considerations. Store-bought watermelon is usually grown from hybrid varieties, so the seeds may not always produce fruit identical to the parent. However, many gardeners have had success growing tasty melons from these seeds. If you’re growing for fun, curiosity, or a small home harvest, supermarket seeds are a great starting point.
Step 1: Collect and Prepare the Seeds
-
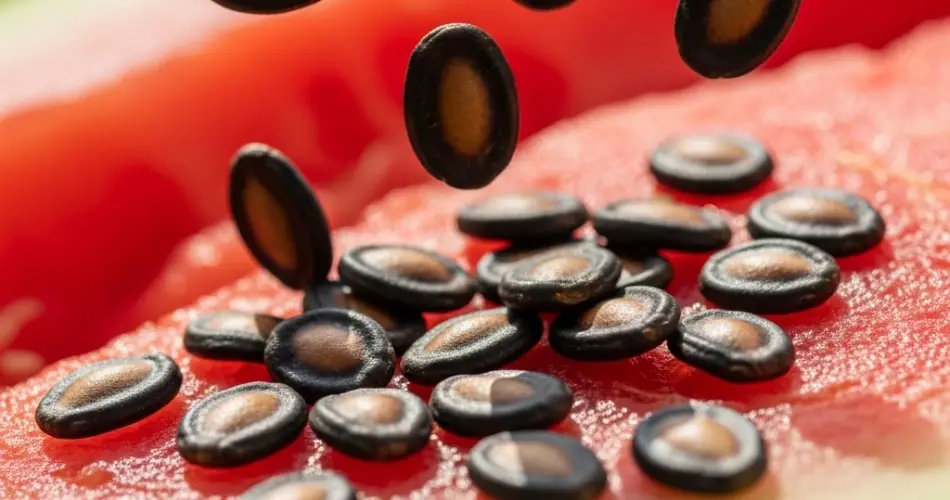
Choose a Healthy Watermelon: Select a ripe, flavorful watermelon from the store.
-
Extract the Seeds: Scoop out the seeds from the flesh. Avoid white or undeveloped seeds.
-
Clean the Seeds: Rinse thoroughly to remove any pulp or sugar, which could cause mold during storage or germination.
-
Dry the Seeds: Spread them on a paper towel in a single layer and let them dry completely for 3–5 days in a cool, dry place. Make sure they don’t stick together.
Optional: If you’re not planting right away, store the dried seeds in an envelope or airtight container in a cool, dark place.
Step 2: Germinating the Seeds
Watermelon seeds need warmth to germinate—ideally between 25–30°C (77–86°F). You can start them indoors if the weather outside is still cool.
Materials You’ll Need:
-
Watermelon seeds
-
Paper towels or cotton pads
-
Sealable plastic bag or container
-
Spray bottle with water
-
Heat source (sunny windowsill, heating mat, or warm room)
Germination Method:
-
Moisten a Paper Towel: Dampen it lightly so it’s moist but not dripping.
-
Place the Seeds: Lay the seeds about 2 cm apart and fold the towel over them.
-
Seal: Put the towel in a zip-lock bag or plastic container to retain humidity.
-
Warm Location: Place the container somewhere warm and out of direct sunlight.
-
Check Daily: Open every day to check for sprouting and mold. Keep the towel moist if needed.
Seeds typically sprout within 5–10 days. When the root reaches about 1–2 cm, the seeds are ready for planting.
Step 3: Planting Seedlings in Soil
Once sprouted, it’s time to plant the seedlings in soil, either in pots or directly in the garden (depending on climate).
If Starting in Pots:
-
Use biodegradable pots or small containers.
-
Fill with light, fertile soil.
-
Plant sprouted seeds root-down, about 1–2 cm deep.
-
Water gently and place in a warm, sunny location.
After 2–3 weeks, when the seedlings have 2–3 sets of leaves and the outside temperatures are consistently warm (above 18°C or 65°F), you can transplant them outdoors.
Step 4: Outdoor Transplant and Care
Location:
-
Watermelons need full sun and warm temperatures.
-
Choose a spot with well-drained, fertile soil and plenty of space for vines to spread.
Soil Preparation:
-
Mix compost or aged manure into the soil before planting.
-
Mound the soil into small hills about 1 meter apart. Plant 1–2 seedlings per hill.
Watering:
-
Keep the soil evenly moist, especially during flowering and fruit development.
-
Avoid overhead watering to prevent mildew—use drip irrigation or water at the base.
Feeding:
-
Fertilize every few weeks with a balanced or potassium-rich fertilizer to encourage fruiting.
Support (Optional):
-
For smaller varieties, trellising is possible. For large watermelons, let them sprawl on the ground.
Step 5: Flowering, Pollination, and Fruit Formation
Watermelons produce both male and female flowers. Bees and other pollinators are crucial for fruit set, so avoid using pesticides during flowering. If pollinators are scarce, you can hand-pollinate using a soft brush to transfer pollen from male to female flowers.
Step 6: Harvesting
Watermelons take about 70–90 days from planting to harvest, depending on the variety. Signs that your melon is ready include:
-
The underside (where it rests on the soil) turns creamy yellow.
-
The tendril nearest the fruit turns brown and dries up.
-
The fruit sounds hollow when tapped.
Cut the melon from the vine with a sharp knife or pruners, leaving a bit of stem attached.
Final Tips
-
Growing watermelon from supermarket seeds is a fun and educational project.
-
Be patient: melons take time but are worth the wait.
-
Use mulch to retain moisture and reduce weeds.
-
Protect young plants from cold and pests.
With the right care, those discarded seeds can turn into delicious, juicy watermelons grown right in your own backyard.


