Tomatoes are one of the easiest and most rewarding vegetables to grow at home. Even if you don’t have seeds on hand, you can start growing your own tomatoes by simply using a ripe tomato purchased from the store. With a few basic materials and a little patience, you can quickly germinate tomato seeds and begin your journey toward harvesting delicious, homegrown tomatoes.
This guide walks you through an easy, step-by-step method to germinate tomato seeds at home using slices of store-bought tomatoes.
Why Use Store-Bought Tomatoes?
Using tomatoes from the store is a simple and affordable way to start your home garden. Many people discard the seeds when cooking, but those tiny seeds inside the fruit are fully capable of producing new plants—especially if the tomato is ripe and not genetically modified to be sterile.
This method is especially helpful if you want to test your gardening skills without investing in seed packets or if you’re simply curious to see how tomatoes grow from scratch.
Materials You Will Need
To begin, gather the following items:
-
1 ripe tomato (organic or heirloom varieties work best)
-
A small planting container or seed tray
-
Quality potting soil or seed-starting mix
-
Water
-
A clear plastic cover or plastic wrap (optional)
-
A knife and cutting board
Step 1: Choose the Right Tomato
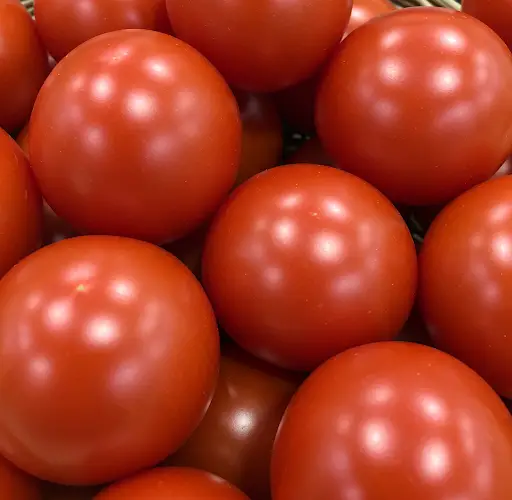
Select a fully ripe tomato from the store. Avoid unripe or green tomatoes, as their seeds are not yet mature enough to germinate properly. Ideally, choose an organic or heirloom tomato, since some hybrid varieties may not produce viable seeds or may not grow true to the original fruit.
Wash the tomato to remove any pesticide residue or dirt before beginning the process.
Step 2: Slice the Tomato
Using a clean knife, slice the tomato into thin rounds, about ¼ inch thick. Make sure to include the seed cavities in each slice. You’ll notice that each slice contains dozens of seeds suspended in a gel-like substance.
There’s no need to extract or clean the seeds individually. Leaving them in the tomato pulp can actually help maintain moisture during the germination process.
Step 3: Prepare the Soil
Fill a small container, pot, or seed tray with high-quality potting soil or seed-starting mix. The soil should be:
-
Light and well-draining
-
Moist but not soggy
-
Free from large debris
Gently pat the soil down to level the surface, leaving about 1 inch of space at the top of the container.
Step 4: Place the Tomato Slices
Lay the tomato slices flat on top of the soil, spacing them out so that seeds have room to grow. Don’t worry about removing excess pulp — it will decompose and provide nutrients to the young seedlings.
Once the slices are in place, lightly sprinkle about ½ inch of soil over them. This thin layer will help hold in moisture and promote root development.
Step 5: Water and Cover
Using a spray bottle or watering can with a gentle flow, water the soil thoroughly but gently. The goal is to moisten the soil without displacing the tomato slices.
To maintain warmth and humidity—two key factors for fast germination—you can cover the container with a piece of clear plastic wrap or a plastic lid. This creates a mini greenhouse effect and encourages sprouting.
Place the container in a warm, sunny location, such as a windowsill. Tomato seeds germinate best at temperatures between 70–80°F (21–27°C).
Step 6: Watch for Germination
Within 5 to 10 days, you should begin to see tiny seedlings emerging from the soil. Once most of the seeds have sprouted, remove the plastic covering to improve airflow and prevent mold growth.
Keep the soil moist but not soggy by watering regularly. A spray bottle is useful at this stage to avoid damaging the delicate seedlings.
Step 7: Thin and Transplant
As the seedlings grow to a few inches tall and develop two sets of true leaves, it’s time to thin them out. You can gently pull or snip the weaker seedlings, leaving the strongest ones spaced about 2–3 inches apart.
Once they are about 4–6 inches tall, and temperatures outside are warm and stable, you can transplant the young tomato plants into larger pots or directly into your garden. Be sure to harden them off by gradually exposing them to outdoor conditions over a period of 4–7 days.
Tips for Success
-
Use fresh soil to avoid introducing pests or diseases.
-
Choose deep containers for transplanting so the plants can develop strong root systems.
-
Support the plants with stakes or cages as they grow.
-
Water consistently but avoid waterlogging, which can cause root rot.
With proper care, your tomato plants will begin producing fruit in 60–90 days, depending on the variety.
Conclusion
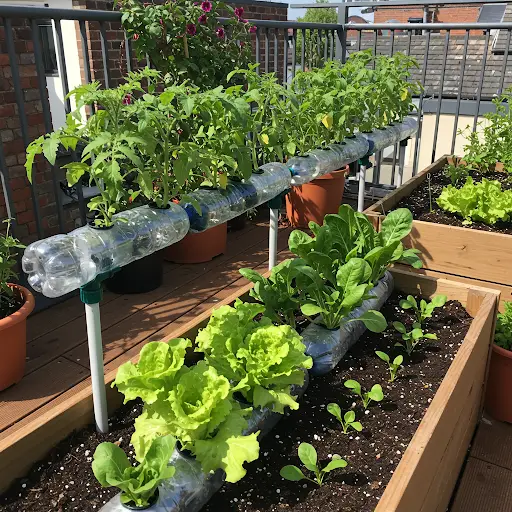
Growing tomatoes from store-bought fruit is an easy, satisfying way to start a garden using resources you already have at home. This method requires no special equipment and offers a fast-track to growing your own food. Whether you’re gardening on a balcony, patio, or small yard, tomato plants grown from store-bought fruit can flourish with the right attention and care.
Give it a try — you might be surprised how quickly your store-bought tomato turns into a thriving, fruit-bearing plant!