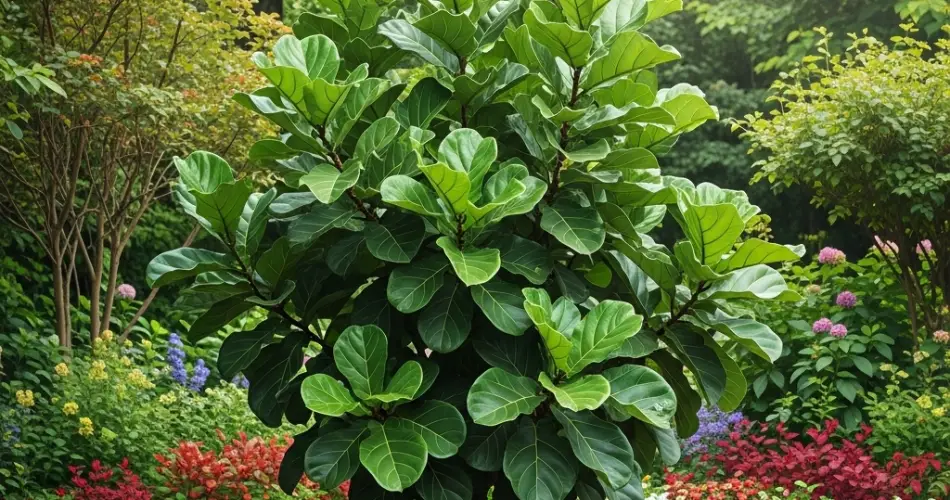
The fiddle leaf fig (Ficus lyrata) is a beloved plant known for its large, violin-shaped leaves and dramatic appearance. While it’s often grown indoors as a statement houseplant, you can also successfully germinate and grow it outdoors in a backyard—especially in warm climates. With the right conditions and a simple approach, even beginner gardeners can enjoy this tropical beauty with minimal effort.
Here’s a complete guide to germinating a fiddle leaf fig in your backyard, step by step, without the need for complicated tools or intensive care.
Understanding the Fiddle Leaf Fig
Native to the rainforests of West Africa, the fiddle leaf fig thrives in warm, humid conditions with bright but indirect sunlight. Outdoors, it can grow into a tall ornamental tree if planted in the ground or a large container. While mature plants are widely available at nurseries, starting from seed or cutting offers the satisfaction of nurturing your own plant from the very beginning.
You have two primary options for germinating fiddle leaf figs:
-
From seeds (less common and slower)
-
From stem cuttings (faster and more reliable)
This guide focuses on germinating from cuttings, as it’s the easiest, most successful method for backyard gardeners.
What You’ll Need
-
A healthy parent fiddle leaf fig plant
-
Sharp, sterilized pruning shears
-
Rooting hormone (optional but recommended)
-
Small container or nursery pot
-
Well-draining soil mix
-
Clear plastic bag or humidity dome (for the initial phase)
-
A warm, partially shaded spot in your backyard
Step 1: Take a Healthy Cutting
Select a healthy stem from a mature fiddle leaf fig plant. Choose a branch with at least one or two leaves and a node (the area where leaves grow from the stem). Nodes are essential—they’re where roots will emerge.
-
Cut a section about 6 inches long.
-
Remove the bottom leaf, leaving one or two leaves at the top.
-
If desired, dip the cut end into rooting hormone to encourage faster root development.
Step 2: Prepare the Container and Soil
Use a small container with good drainage. Fill it with a well-draining potting mix—ideally a blend designed for houseplants or made with:
-
2 parts peat moss or coconut coir
-
1 part perlite or coarse sand
Moisten the soil lightly before planting the cutting.
Step 3: Plant the Cutting
Insert the cutting into the soil, making sure the node is buried. Firm the soil around the base to provide stability. Water lightly again to settle the soil.
To create a greenhouse effect, cover the cutting with a clear plastic bag or humidity dome. This retains moisture and heat, both of which are crucial for root development.
Step 4: Choose the Right Outdoor Spot
Place the container in a warm, sheltered area of your backyard. Avoid direct sun during the rooting phase, as it can scorch the cutting or dry out the soil. A location with dappled sunlight or light shade works best.
Consistent warmth (between 70–80°F or 21–27°C) is ideal. If temperatures drop at night, consider bringing the cutting indoors until it becomes more established.
Step 5: Care During Rooting Phase
-
Watering: Keep the soil consistently moist but not soggy. Overwatering can lead to rot.
-
Humidity: The plastic cover helps, but you can also mist the cutting every few days.
-
Airflow: Remove the cover for an hour daily to prevent mold buildup.
Roots typically form within 3–6 weeks. You’ll know rooting is successful when you see new growth at the top.
Step 6: Transplanting and Ongoing Care
Once the cutting has strong roots and new leaves, transplant it into a larger pot or directly into the ground (if your climate permits year-round warmth).
-
Choose a location with bright, indirect light or partial sun.
-
Use rich, well-draining soil.
-
Water deeply but allow the top few inches of soil to dry out between waterings.
-
Protect the young plant from strong wind or heavy rain during its first few months.
Bonus Tips for Hassle-Free Growth
-
Climate matters: Fiddle leaf figs do best outdoors in USDA zones 9–11. In cooler areas, keep them potted so you can bring them indoors in winter.
-
Fertilize during spring and summer with a balanced liquid fertilizer every 4–6 weeks to support healthy growth.
-
Prune sparingly to shape the plant and remove any damaged leaves.
-
Watch for pests like scale or spider mites, especially in humid weather. Use neem oil or insecticidal soap if needed.
Conclusion
Germinating a fiddle leaf fig in your backyard doesn’t have to be complicated. With just a few tools, the right outdoor conditions, and a bit of patience, you can grow this stunning plant from a simple cutting. The result? A striking, tropical focal point for your outdoor space—and the satisfaction of knowing you grew it yourself, hassle-free.


