Growing your own pine tree from seed is a fascinating and rewarding process. One of the most beautiful and iconic species, the Stone Pine (Pinus pinea), is not only prized for its elegant umbrella-like shape but also for producing edible pine nuts. Though these trees take years to mature, starting one from a seed is surprisingly simple and can produce visible results in as little as 7 days with the right method.
This guide outlines a fast, efficient way to germinate pine nuts at home—perfect for gardeners, bonsai enthusiasts, or anyone looking to grow their own Mediterranean pine tree.
What is a Stone Pine?
The Stone Pine, also known as the Italian Stone Pine or Umbrella Pine, is native to the Mediterranean region. It’s valued for its ornamental form, drought resistance, and, of course, the delicious pine nuts hidden inside its large cones.
These trees thrive in full sun, well-drained soils, and temperate climates. In addition to being a beautiful landscape tree, they’re also grown for reforestation and edible nut production.
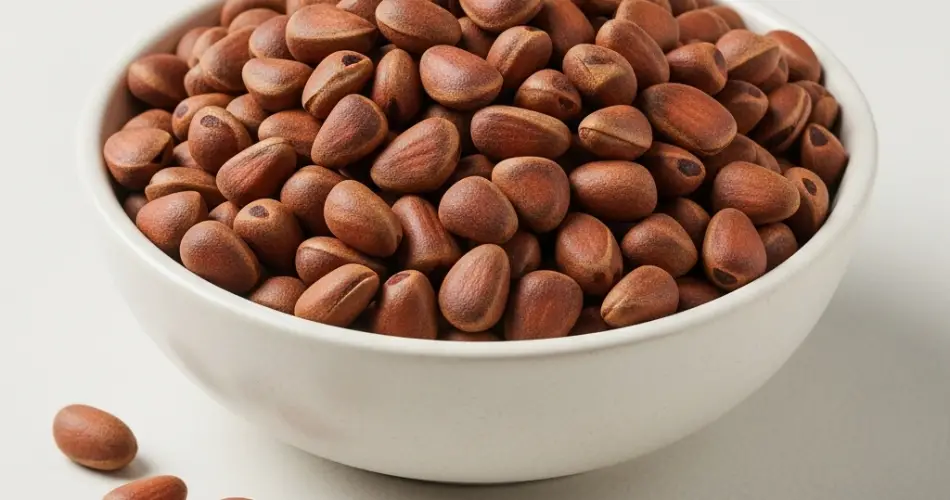
Step 1: Choose and Prepare Your Pine Nuts
You’ll need raw, unshelled Stone Pine nuts (Pinus pinea), preferably freshly harvested or packaged for planting. Pine nuts sold for consumption are often shelled and heat-treated, making them non-viable for germination.
How to select the right seeds:
-
Choose pine nuts still in their hard outer shell.
-
Avoid any cracked or shriveled seeds.
-
For best results, purchase seeds from a reputable nursery or collect directly from a mature cone.
Step 2: Cold Stratification (Optional But Recommended)
In nature, pine seeds go through a cold winter before sprouting in spring. Mimicking this process through cold stratification can improve germination rates.
Instructions:
-
Soak the unshelled pine nuts in water for 24 hours to soften the shell and identify viable seeds (discard floaters).
-
Drain and wrap the seeds in a damp paper towel.
-
Place the towel inside a ziplock bag or sealed container.
-
Store in the refrigerator (not freezer) for 5 to 7 days.
Check daily to ensure the towel remains damp but not soaking wet. You may begin to see small white roots emerge during this period.
Step 3: Crack the Shell (Optional for Faster Germination)
For even faster germination, some gardeners carefully crack or nick the shell of the seed before planting. This helps moisture reach the embryo more quickly.
Caution: Do this gently to avoid damaging the inner seed. Use pliers or a nutcracker with light pressure, or file a small portion of the shell.
If you’re unsure, you can skip this step and let nature take its course during cold stratification and soaking.
Step 4: Planting the Seeds
Once you see tiny roots or after stratification is complete, it’s time to plant your seeds.
Materials:
-
Small pots or seedling trays
-
Well-draining potting mix (you can mix sand with regular potting soil)
-
Spray bottle or watering can
Instructions:
-
Fill containers with moist potting mix.
-
Plant the pine nuts 1–2 cm deep, with the pointed end facing down.
-
Lightly cover with soil and water gently.
-
Place the pots in a warm, bright location, away from direct midday sun.
Maintain the soil slightly moist but not soggy. Pine seeds are prone to rot if overwatered.
Step 5: Germination and Growth
Under optimal conditions, your Stone Pine seed should begin to sprout within 5 to 10 days. Once the seedling emerges:
-
Keep it in a well-lit area, such as a sunny windowsill.
-
Gradually increase sunlight exposure as the seedling grows.
-
Avoid overwatering—these trees prefer slightly dry soil once established.
Seedlings grow slowly at first but become more robust after several months. If multiple seeds germinate, thin them out or transplant each into its own pot.
Aftercare Tips
Once your pine seedling reaches about 10–15 cm in height, you can begin acclimating it to outdoor conditions if your climate allows.
Tips:
-
Transplant into a larger pot or garden bed with good drainage.
-
Protect young trees from harsh wind and strong sun.
-
Avoid fertilizing in the first few months; pine trees are adapted to lean soils.
Final Thoughts
Growing a Stone Pine from seed is a fulfilling project that connects you to nature and brings a bit of the Mediterranean into your garden. With proper care, your seedling can grow into a magnificent, shade-giving tree that lives for centuries and may even produce pine nuts of its own.
Whether you’re planting for beauty, sustainability, or curiosity, the journey from pine nut to pine tree is one worth taking. All it takes is patience, care, and a small handful of seeds.


