Freezing kale is a great way to preserve its nutrients and extend its shelf life for future use in soups, smoothies, and stir-fries. Kale is a hardy green that can often grow in abundance, leaving gardeners and home cooks with more than they can use immediately. Luckily, freezing kale is a simple process that maintains its flavor and nutritional value. Here’s a detailed guide on how to freeze kale properly for long-term storage.
Step 1: Harvesting or Choosing Fresh Kale
Start with fresh, tender kale leaves. Whether you’re harvesting from your garden or buying from the store or market, choose leaves that are deep green and free from yellowing, wilting, or insect damage. The fresher the kale, the better it will freeze and retain its quality. Avoid mature leaves that have grown tough or woody stems.
Step 2: Wash Thoroughly
Before freezing, it’s essential to wash the kale thoroughly. Kale can often harbor dirt, sand, or small insects in its crevices. Fill a large bowl or clean sink with cold water, and submerge the leaves. Swish them around to loosen any debris, then lift them out into a colander. Repeat if necessary until the water is clear. Let the leaves drain, or use a salad spinner to remove excess moisture.
Step 3: Remove Tough Stems
After washing, strip the leaves from their thick central stems. This step is optional, but recommended, as the stems can become tough after freezing and are less desirable in most recipes. Simply hold the base of the stem with one hand and strip the leaf upwards with the other. Discard or compost the stems, or save them for making vegetable broth.
Step 4: Blanch the Leaves
Blanching is a key step when freezing leafy greens like kale. It stops enzyme actions that can lead to loss of flavor, color, and texture. To blanch kale:
-
Bring a large pot of water to a boil.
-
Fill a large bowl with ice water.
-
Add the kale leaves to the boiling water and blanch for 2 to 3 minutes.
-
Quickly transfer the blanched kale into the ice water to stop the cooking process.
-
Let it sit in the ice water for the same amount of time it was blanched.
This process helps kale keep its vibrant green color and slightly softens it, making it easier to pack and use later.
Step 5: Drain and Dry
Once the kale has cooled in the ice bath, drain it thoroughly. Spread the leaves on a clean towel or use a salad spinner to remove excess water. Pat dry if necessary—excess moisture can lead to freezer burn and clumping during storage.
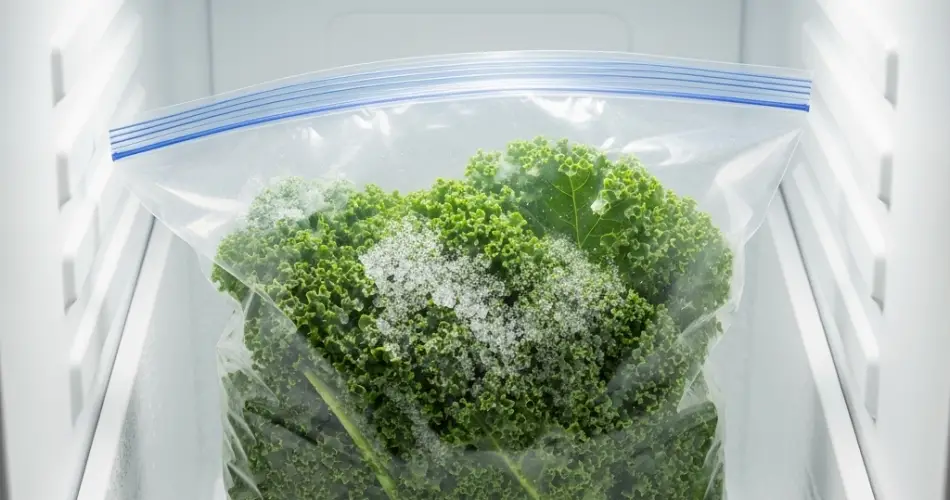
Step 6: Portion and Pack
Divide the kale into meal-size portions for convenience. You can pack it into freezer bags, silicone freezer cubes, or airtight containers. When using bags, press out as much air as possible to prevent freezer burn. Label the containers or bags with the date so you can keep track of how long they’ve been in the freezer.
For smoothie prep or quick use, consider freezing kale in ice cube trays with a little water. Once frozen, transfer the cubes to a freezer-safe bag.
Step 7: Freeze
Place the packed kale in the coldest part of your freezer. Frozen kale can last for up to 10–12 months. While it will still be safe to eat after that, the quality may begin to degrade over time.
Tips for Using Frozen Kale
-
No need to thaw: You can use frozen kale directly in soups, stews, and smoothies.
-
Cooking tip: For stir-fries or sautés, let the kale thaw slightly and squeeze out excess water to avoid sogginess.
-
Smoothie boost: Add frozen kale cubes directly into your blender for a nutrient-dense addition.
Final Thoughts
Freezing kale is a fantastic way to reduce food waste and keep a nutrient-rich green on hand all year. With just a few simple steps—washing, blanching, drying, and packing—you can stock your freezer with this versatile vegetable. Whether you’re meal prepping or saving your garden harvest, frozen kale is a smart addition to your kitchen.


