Jeans are one of the most iconic pieces of clothing ever created. Originally designed as durable workwear for laborers in the late 1800s, they have transformed into a fashion staple worn around the world. Today, jeans are found in every closet, from casual wear to high fashion, strutting down runways and shaping modern style.
But while jeans are versatile and stylish, they also come with their own quirks—especially when it comes to their hardware. Unlike other trousers, jeans do not use standard buttons sewn on with thread. Instead, they feature metal buttons and rivets designed for strength and durability. Over time, however, these buttons can loosen, break, or need replacing. Sometimes you might even want to salvage a button from an old pair of jeans to use on another.
If you’ve ever wondered how to remove and reattach a jeans button, you’ll be happy to know it’s surprisingly simple. With just two basic tools and a little care, you can handle it yourself at home. Below, we’ll guide you through the entire process, step by step.
Why Jeans Use Special Buttons
Unlike chinos, trousers, or dress pants, jeans are built to last. Their buttons are not sewn on with needle and thread but instead are made of metal and pressed into place through the fabric. These are often called tack buttons. They come in two parts:
-
The front piece (the button you see)
-
The back tack (a metal pin or rivet that holds it in place through the fabric)
This design makes the fastening much stronger than traditional buttons, which might otherwise tear away under the strain of thick denim.
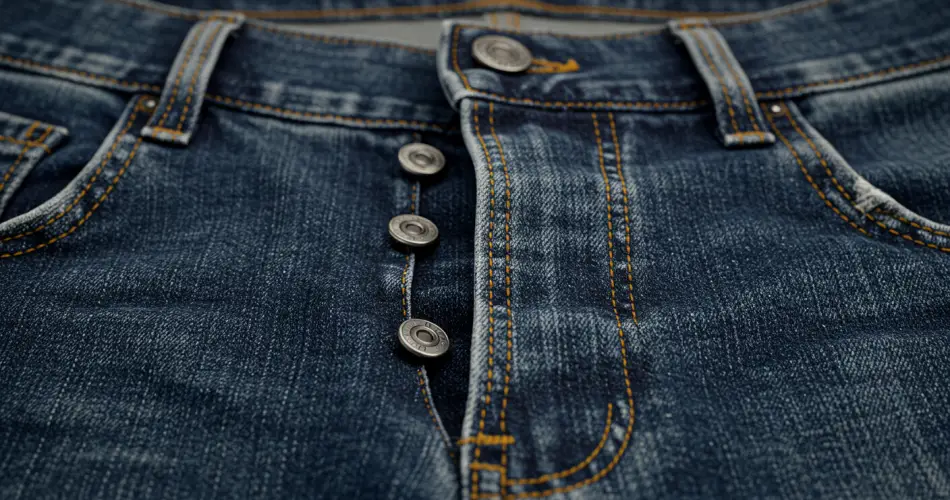
In addition to the main button at the waistband, jeans also feature small rivets near the pockets. These rivets are not meant to be removed—they reinforce stress points and prevent tearing. The button we’re focusing on is the main fastening button at the waist, which sometimes needs replacing.
Tools You’ll Need
Removing and reattaching a jeans button doesn’t require a sewing kit. Instead, you’ll need:
-
A pair of pliers: To hold the front of the button steady.
-
A small pair of wire cutters (or strong snips): To remove the back tack of the button.
-
Optional tools for reattachment: A seam ripper, awl, or small scissors/knife to make a hole if needed, plus a hammer for securing the button.
That’s it—two to three simple tools you may already have at home.
Step 1: Position the Jeans
Place the jeans on a flat, sturdy surface such as a table or workbench. Lay them face up with the front button area exposed. Unzip the fly to give yourself a little more room to work and reduce tension in the waistband.
Step 2: Remove the Button
Use the pliers to hold the front of the button firmly in place. Then, take the wire cutters and carefully work on the back tack (the part inside the jeans). Apply steady pressure until the tack comes loose.
Be careful not to squeeze too hard or at an odd angle, as the button can bend slightly if too much force is used. With a little patience, the tack will come free, and the button will separate from the fabric.
At this point, you’ve successfully removed the jeans button. You can either discard it if broken or save it for reattachment to another pair of jeans.
Step 3: Prepare the New Spot
If you’re reattaching the button to the same pair of jeans, you can often use the original hole. If not, or if you’re attaching it to a different pair, you may need to create a new hole.
To do this, use a seam ripper, an awl, or even the tip of a sharp pair of scissors. Gently make a small hole in the waistband where the button will go. Be careful not to cut too wide—just enough for the tack to pass through snugly.
Step 4: Reattach the Button
Now it’s time to put the button back in place:
-
Insert the tack (the back part) through the hole from the inside of the waistband.
-
Place the front button piece over the tack on the outside.
-
Press the two pieces together firmly.
In many cases, pushing them together with your hands and applying strong pressure will be enough to lock them in place. However, if the button feels loose, you can use a hammer to secure it.
Step 5: Secure With a Hammer (Optional)
If needed, place a protective surface like a cutting board, piece of wood, or thick cloth on your work surface to avoid damage. Position the jeans button flat on this surface, then give it a few firm but controlled taps with a hammer. This helps lock the tack and button together securely.
Check that the button sits firmly in place and doesn’t wobble. Your jeans are now ready to wear again.
Tips for Success
-
Work slowly and carefully: Forcing the tack out or hammering too hard may bend the button or damage the denim.
-
Always protect your work surface: A cutting board or old piece of wood will prevent dents or scratches from hammering.
-
Reuse when possible: If the button is still in good condition, you can save money by reusing it on another pair of jeans.
-
Consider a button kit: Many craft and sewing stores sell jeans button replacement kits that come with spare tack buttons, making the process even easier.
Why This Method Works
This approach mirrors the technique used by denim repair shops and professional laundries. Because jeans buttons are not sewn on, traditional needle and thread won’t work. Using pliers and cutters ensures you can safely remove the old button, while reattaching with firm pressure or a hammer guarantees the new button will hold up to daily wear.
Final Thoughts
Replacing or reusing a jeans button may sound complicated at first, but as you’ve seen, the process is straightforward and requires minimal tools. With just a pair of pliers, wire cutters, and a hammer, you can remove a broken button and reattach it in minutes.
Whether you’re repairing a favorite pair of jeans, customizing denim with different hardware, or salvaging buttons from old clothing, this method is quick, efficient, and cost-effective. Instead of discarding jeans over a small issue like a missing button, you can give them new life and keep them in your wardrobe for years to come.


