Cooking can be one of life’s greatest joys. Whether preparing a family meal, hosting guests, or simply experimenting in the kitchen, many people find comfort and creativity in preparing delicious dishes. But even the most careful cook knows the frustration of accidentally burning food—and worse, burning the pot itself.
At some point, everyone has faced this dilemma: a once-trusty pan or pot ends up with stubborn black residue stuck to the bottom. It looks ruined, the burnt marks seem impossible to scrub off, and the first instinct is often to throw it away and buy a replacement. However, that’s not necessary. With the right method, you can restore your cookware and make it look nearly as good as new—without resorting to harsh chemicals or endless scrubbing.
Here’s a step-by-step guide to saving your burnt pots and pans using a simple but very effective technique.
Why Pots Burn—and Why It’s So Hard to Clean Them
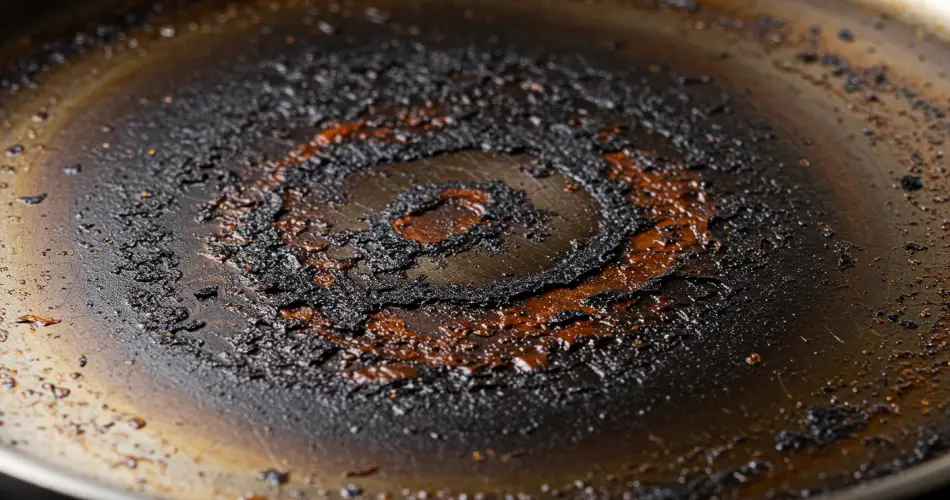
Burnt pots usually result from high heat, lack of stirring, or letting liquids evaporate completely. Once food or oil sticks to the hot metal surface, it carbonizes, leaving behind a tough black layer that clings to the pot. Ordinary dishwashing alone rarely removes this residue.
Scrubbing aggressively may seem like the only option, but it can scratch the surface of your cookware, especially if it’s nonstick or enamel-coated. Strong chemical cleaners can also damage the finish or leave harmful residues. That’s why a gentler, proven method is ideal—not only for saving the pot but also for keeping it safe for future cooking.
Safety First: Precautions Before Starting
Before attempting to clean burnt pots with this method, it’s important to protect yourself. Here are some quick safety tips:
-
Wear gloves to avoid irritation from detergents and to protect your hands from hot water.
-
Use a mask if you’re sensitive to fumes, even though this process is relatively safe.
-
Keep the windows open to allow ventilation while boiling the pot.
-
Use kitchen tongs to handle the pot safely during the process, avoiding burns.
These small precautions will make the process safer and more comfortable.
The Step-by-Step Cleaning Method
This cleaning technique requires very few materials—most of which you already have in your kitchen. It works by softening the burnt layer so that it loosens naturally, making removal much easier.
Step 1: Prepare a Larger Container
Find a container or pot that is larger than the burnt pot you need to clean. If you don’t have a container specifically for cleaning, another cooking pot or stockpot will work fine. Fill it with enough water to completely submerge the burnt pot.
Step 2: Submerge the Burnt Pot
Place the burnt pot inside the larger container of water. Let it sink until it rests fully at the bottom. The idea is to create a “bath” that will help soften the burnt material without aggressive scrubbing.
Step 3: Boil with Dish Detergent Flakes
Bring the container of water with the submerged pot to a boil. Once the water begins boiling, add some dishwashing detergent flakes. If you don’t have flakes, you can shave a bit of solid dish soap or use a small amount of liquid dish detergent.
The hot, soapy water will begin to loosen the carbonized residue inside the pot.
Step 4: Rotate the Pot Occasionally
Using kitchen tongs, carefully rotate the burnt pot inside the water. This ensures that every part of the burnt area gets exposed to the boiling soapy water. Be patient and keep it on the boil for several minutes.
During this time, you may notice small bits of burnt residue starting to detach. Even if the process doesn’t look dramatic, it’s working to soften the stubborn burnt layer.
Checking the Progress
After a few minutes of boiling, carefully check the pot using tongs. If the burnt areas look softened or are peeling away, you’re ready for the next step. If not, give it a few more minutes in the hot soapy bath.
One of the great advantages of this method is that it does not damage the paint or coating of your cookware. The boiling water softens only the burnt layer, leaving the pot itself intact.
Step 5: Cooling and Scrubbing
Once the burnt material has loosened, remove the pot from the boiling water using tongs and place it in the sink. Allow it to cool slightly until it’s safe to handle with gloved hands.
Now it’s time for the final cleaning:
-
Apply a small amount of dishwashing liquid directly to the burnt areas.
-
Use a kitchen sponge (avoid steel wool if your pot is coated) and gently scrub the softened residue.
-
The burnt layer should come off much more easily now, without endless scrubbing or damaging the surface.
If small traces remain, repeat the scrubbing process until the surface looks clean.
Final Wash and Sanitization
After removing all the burnt residue, rinse the pot thoroughly under warm water. For complete cleanliness, wash it again using your regular dishwashing method—either by hand with sponge and detergent or in the dishwasher, depending on the type of pot.
This final wash removes any leftover detergent used during boiling and ensures the pot is safe and hygienic for cooking again.
Why This Method Works
This process combines heat and detergent to break down the carbonized layer. Boiling softens the burnt residue, while detergent penetrates and lifts grease and food particles. The combination makes cleaning much easier than trying to scrape off a hardened burnt layer with brute force.
Unlike harsh chemicals or abrasive scrubbers, this method preserves the integrity of your cookware, extending its lifespan. It’s a gentle yet effective way to bring your burnt pot back to life.
Conclusion: No More Throwing Away Burnt Pots
Burnt pots and pans don’t need to be thrown out at the first sign of disaster. With a simple boiling and detergent method, you can save your cookware, avoid unnecessary expense, and reduce waste.
The next time you’re faced with a pot that seems ruined beyond repair, remember: patience, boiling water, and a little dish detergent can make all the difference. With these steps, burnt residue becomes just a memory—and your pot will be ready for many more meals to come.


