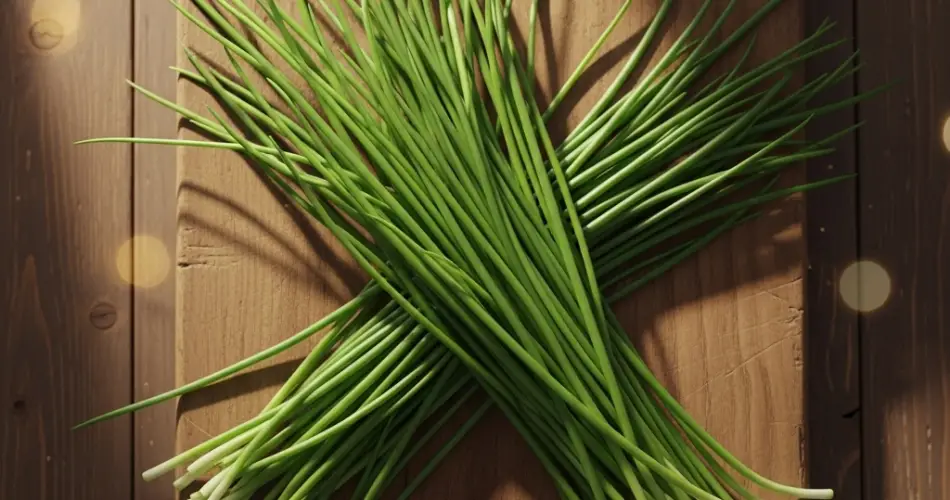
Chives (Allium schoenoprasum) are a delightful and versatile herb, valued for their mild onion flavor and vibrant green appearance. Whether sprinkled on scrambled eggs, baked into bread, or used as a garnish, fresh chives bring a refreshing lift to any dish. Fortunately, they are easy to grow, even for beginners. And best of all, you don’t need synthetic fertilizers to get lush, healthy chives.
By using natural methods and organic materials, you can grow robust, productive chive plants that provide flavor throughout the season. Here’s how to boost chive growth naturally—right from your backyard, balcony, or kitchen windowsill.
1. Start with Rich, Well-Drained Soil
The foundation of strong chive growth is healthy soil. Chives prefer loamy, well-drained soil rich in organic matter.
What to do:
-
Before planting, enrich your soil with compost, aged manure, or leaf mold.
-
If your soil is heavy or clay-like, improve aeration and drainage by mixing in coarse sand or perlite.
-
For container gardening, use an organic potting mix blended with compost or worm castings.
Soil pH: Chives grow best in slightly acidic to neutral soil (pH 6.0–7.0). If needed, add a little wood ash or garden lime to adjust the pH naturally.
2. Use Compost as a Natural Fertilizer
Instead of relying on synthetic nitrogen sources, feed your chives with compost—a slow-release, balanced fertilizer that improves both fertility and structure.
How to use it:
-
Add a 1–2 inch layer of compost to the soil surface around the plants once a month.
-
Lightly mix it into the top layer without disturbing the roots.
-
For potted chives, top-dress with compost and water well to help nutrients filter through the soil.
Compost not only feeds the plant but also encourages microbial life that supports root health and growth.
3. Apply Organic Liquid Fertilizers
For an occasional nutrient boost, organic liquid fertilizers work wonders without harming the environment or your health.
Options include:
-
Compost tea – Steep mature compost in water for 2–3 days and apply the strained liquid directly to the soil.
-
Fish emulsion – Rich in nitrogen and trace minerals, this diluted solution is ideal during active leaf growth.
-
Seaweed extract – Supplies potassium and micronutrients, stimulating root development and overall vigor.
Apply every 2–3 weeks during the growing season, especially after harvesting large amounts of foliage.
4. Incorporate Natural Mulches
Mulching is more than weed control—it conserves moisture, adds nutrients, and keeps soil temperatures stable.
Best mulches for chives:
-
Chopped straw
-
Grass clippings (untreated with chemicals)
-
Shredded leaves
-
Pine needles (in small amounts to avoid overly acidic soil)
As these materials break down, they add organic matter to the soil and encourage earthworm activity, which improves aeration and nutrient availability.
5. Practice Companion Planting
Chives benefit from natural symbiosis with certain neighboring plants. Companion planting enhances soil quality and discourages pests without synthetic inputs.
Best companion plants:
-
Carrots, beets, lettuce – chives help repel pests like aphids and carrot flies
-
Tomatoes – chives can deter spider mites and boost overall plant health
-
Fruit trees – planted around the base, chives may help reduce fungal infections
Avoid planting chives near legumes like beans or peas, as their root systems can compete for nitrogen.
6. Water Smartly
Proper watering supports strong chive growth. Overwatering can lead to root rot, while underwatering can cause the leaves to yellow and dry out.
Tips:
-
Water when the top inch of soil feels dry, especially during hot weather.
-
Use rainwater or distilled water if your tap water contains high levels of chlorine or fluoride, which can affect plant health.
-
In containers, ensure pots have adequate drainage holes to prevent soggy roots.
Consistent, deep watering encourages deep root development and steady leaf production.
7. Harvest Frequently to Encourage Growth
Chives love regular harvesting. Trimming back the leaves not only gives you a steady supply but also signals the plant to grow new shoots.
How to harvest:
-
Use clean scissors to snip chives about 1–2 inches above the soil level.
-
Always leave at least one-third of the plant to continue photosynthesizing and growing.
-
Avoid pulling leaves from the base, which can disturb the roots.
Frequent harvesting also helps prevent the plant from going to seed too early, keeping the foliage tender and flavorful.
8. Divide Mature Clumps
Every two to three years, chives benefit from being divided. As the clumps grow dense, competition among roots can slow growth.
How to divide:
-
In early spring or fall, dig up the clump carefully.
-
Separate into smaller sections, each with roots attached.
-
Replant in enriched soil and water well.
Dividing rejuvenates the plant, improves air circulation, and gives you more chive patches to enjoy.
Final Thoughts
Boosting chive growth without synthetic fertilizers is not only possible—it’s rewarding. By working with natural soil amendments, organic feeds, and thoughtful gardening techniques, you’ll cultivate chives that are lush, flavorful, and completely chemical-free. Whether grown in containers or garden beds, these hardy herbs will thrive with a little compost, smart watering, and regular care. Embrace these organic methods and enjoy a steady harvest of fresh chives all season long.


